It’s the week of Festival! The main showcase for our project is Friday from 6-10pm at the end of this week, and we have a lot to do beforehand.
Room Setup
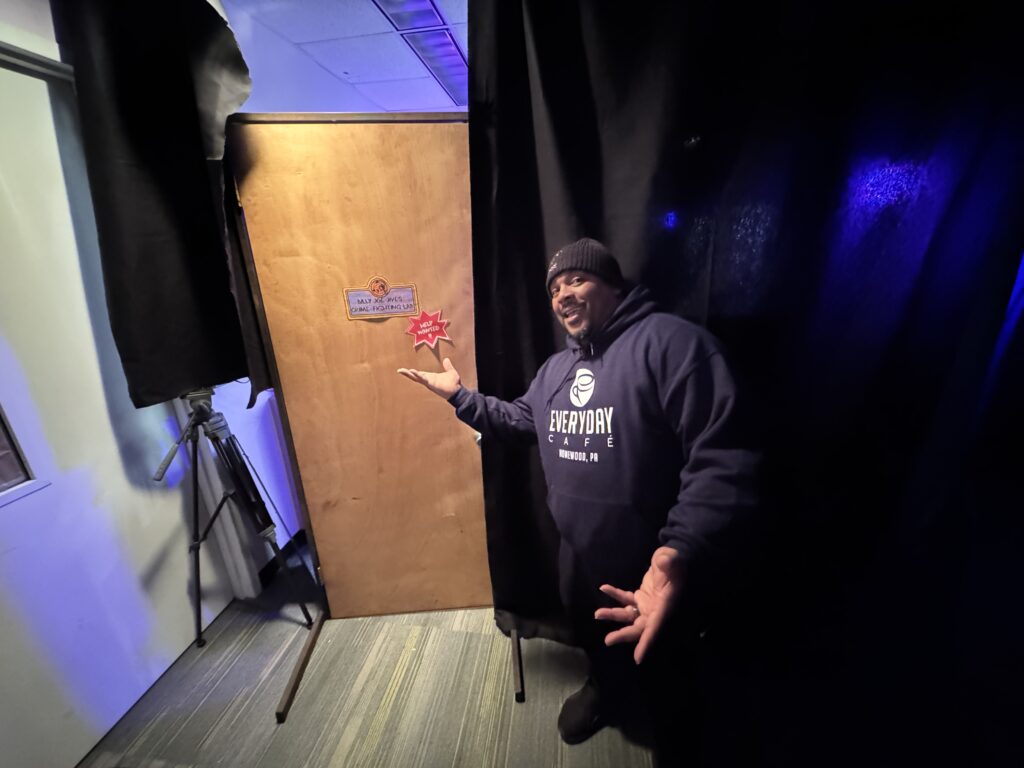
For our escape room, we’re creating our version of Billy Jo Jive’s “crime lab.” We want to transform the room we have into one that has the right aesthetic and atmosphere. Our target audience is children aged 10-12 and the crime lab is something that would have been set up by kids, so we want to make sure our room doesn’t feel too adult-like.
Lighting
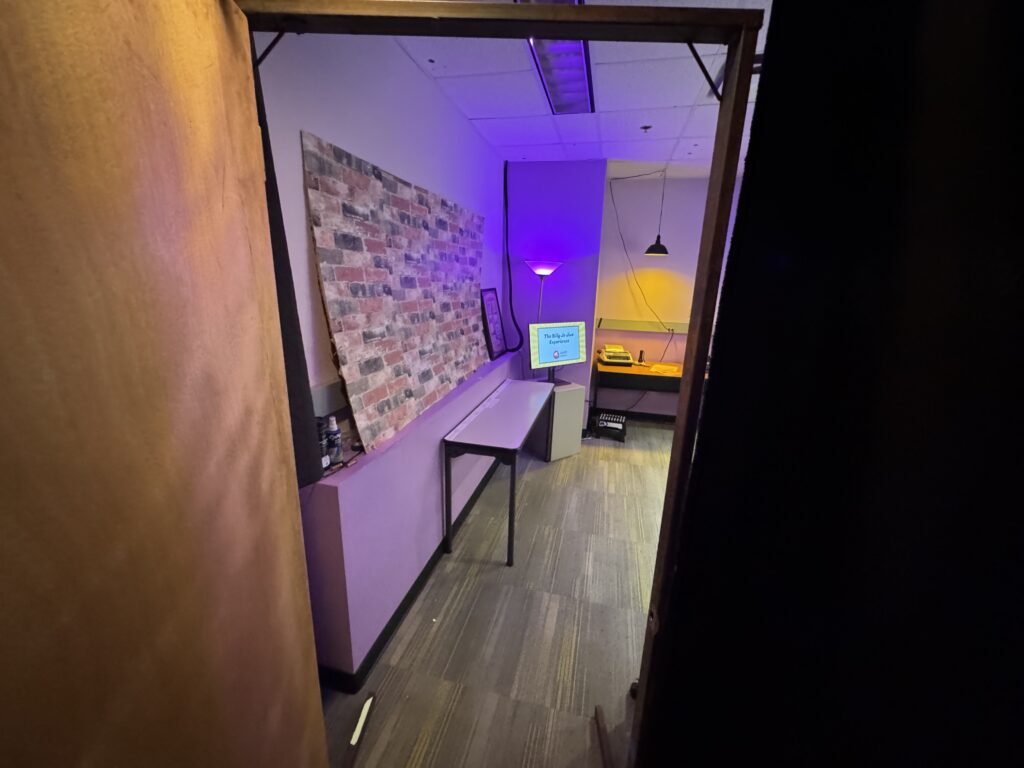
To start, the overhead lights are too bright and don’t fit the atmosphere. If we keep them off during the experience, we need to figure out how to light the room. Lighting serves three purposes: drawing attention to the important areas of focus, creating the right atmosphere, and providing enough visibility for people to safely move around.
We chose to use warm white light in areas where reading was necessary, such as the detective board, and yellow and purple lights elsewhere to match our theme colors. We discussed lighting options with Dave Purta from the ETC Tech Team and figured out different ways of safely mounting lights around the room. We ended up borrowing several hanging pendant lights, one floor lamp, and two standing RGB lights. All of these were positioned and angled to light up the space without shining in guests’ eyes.

We used a combination of hooks to hang lights off the ceiling and keep the wires out of the way, and fishing line to angle to angle some of the lights away from the eyes of guests.
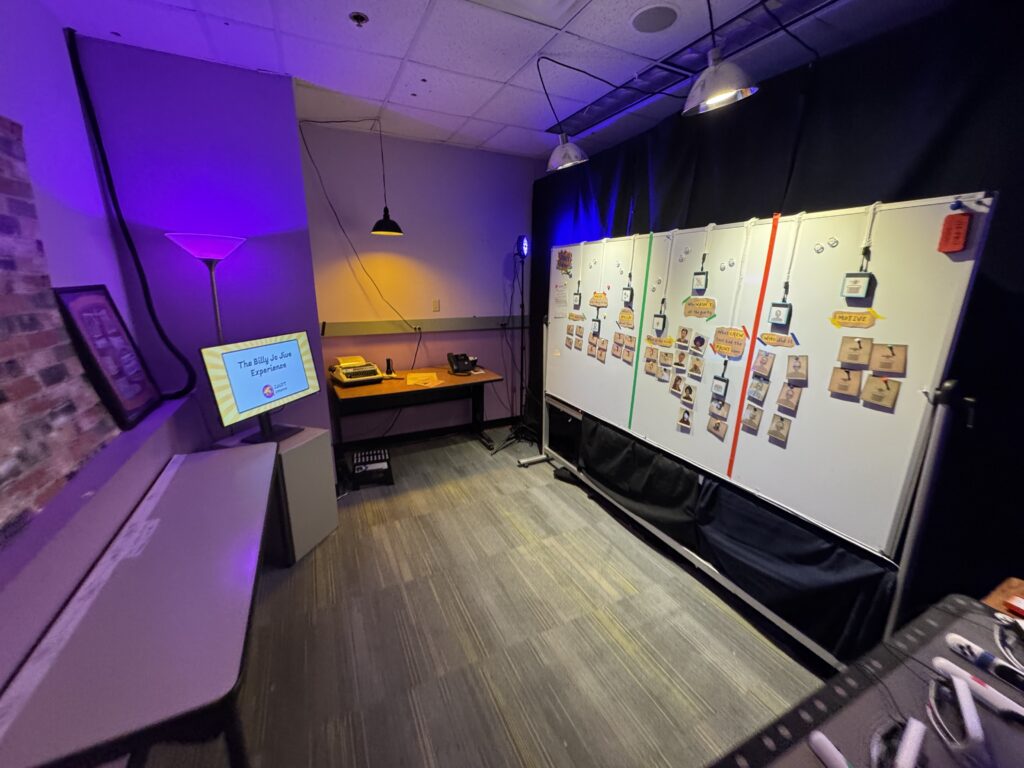
Detective Board
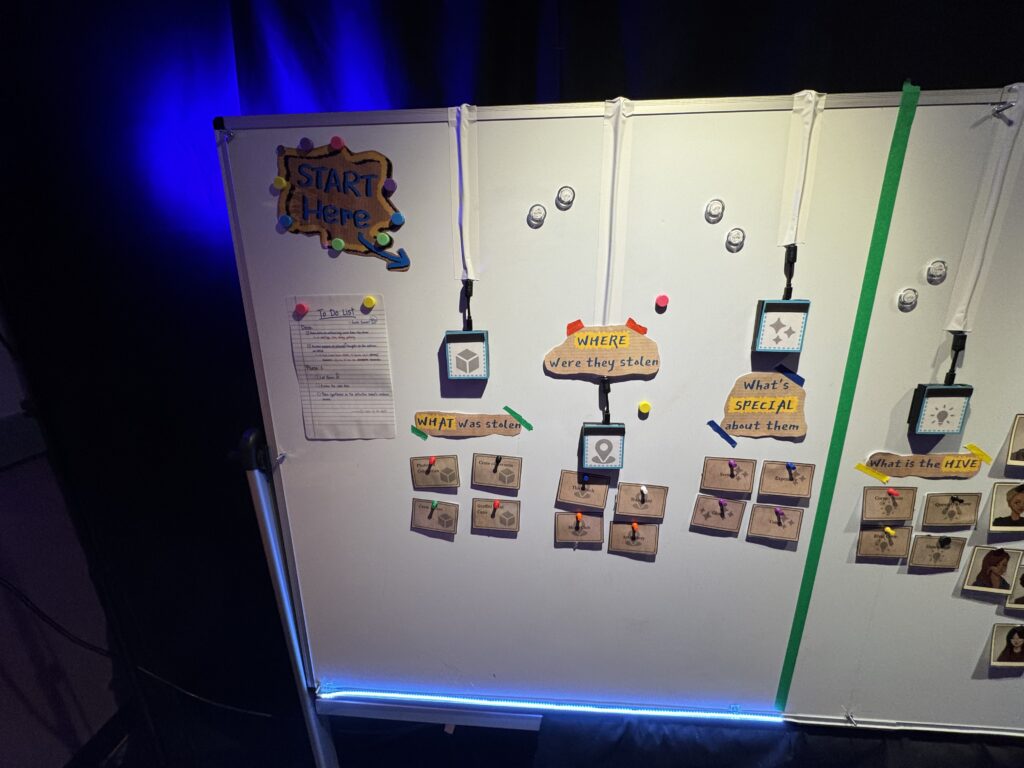
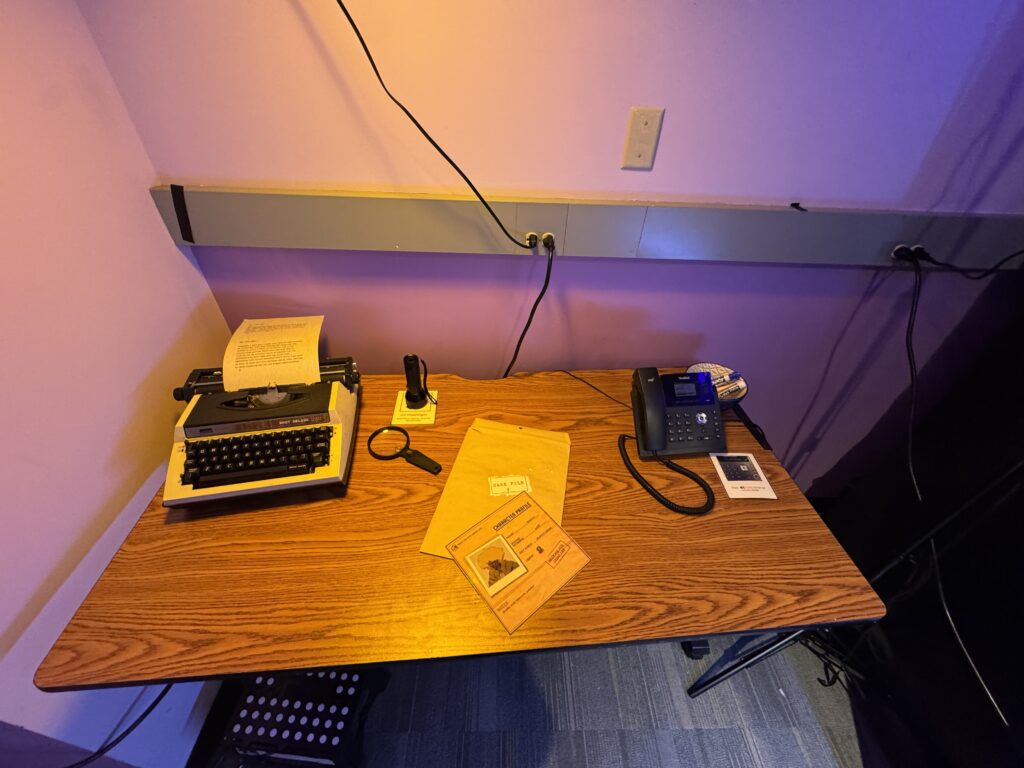
The “detective board” is the place where players solve the mystery in a way that both they and the game can see. We needed to put RFID readers on the board and RFID tags on all of the clues so that our system could detect players’ guesses.
When prototyping earlier in the semester, we laid out our detective board with the final deduction in the center.

After playtesting, we switched to a linear order to better guide players through the flow of the experience.

For the clue cards on the board, we chose to use magnetic pins that look like thumbtacks to lean into the traditional detective corkboard aesthetic while preventing players from getting hurt from actual thumbtacks. We initially just used loose magnets to pin up the clues, but to prevent the magnets getting lost, we decided to attach the magnets to the clues. We tried hot glue at first, and then superglue. This worked well enough for festival, but neither the hot glue nor the superglue attached well to the laminated surface of the clues. In the future, we would fabricate the clues differently to work around this issue.

We switched to Phidget RFID readers because we didn’t have time to solder all the arduino RFID readers. These readers didn’t support the same flat sticker tags we used in the past, so as a quick solution, we taped bulkier RFID tags to the backs of the clues.

Unfortunately, the metal in the board that lets magnets attach to it also blocks RFID signal. We wanted to hide these readers behind the board, but to make them work, we had to put them on the front of the board. This meant we had two additional challenges to solve: how do we stick the clues to the readers, and how do we mount the readers on the board in a way that looks nice.
First, to make the readers look nice, we covered them with a label and put magnetic tape at the top.

To mount the readers on the board, we used velcro.

The readers all have a long power cord that obscures the board. We experimented with a few possible layouts to try to find what looks the best.


In the end, we routed them all upwards to avoid a light strip at the bottom on the board, covered them with white tap so they wouldn’t stand out, and put our questions on paper signs over the cables instead of writing them on the board.

Also of note: We put a light strip at the bottom of the board. It lights up
- white – when a phase is active and nothing is on a reader
- yellow – when a clue (correct or incorrect) is on one of the readers
- green – when the entire phase is correct
- red (flashing) – when something is wrong in the phase
Sound
We found a funk playlist to play quietly in the background of the experience to avoid awkward silences. In our opening and ending animatics, we used edited versions of the song “Afrocat,” which was the opening song of the Billy Jo Jive animation on Sesame Street.
We also added some Sunset and Jive voice lines to our map so guests would feel more connected to the main characters.
Phone
We talked to Dave Purta about making our speaker phone sound better. We discovered that when the audio we were sending to the phone went above -10dB, it would clip and be hard to understand. There was also a bug we discovered with phone audio cutting out at 30 seconds. I tried many different things to fix it, but in the end wasn’t able to. We ended up providing printed transcripts of the calls so people would be able to read them.
Festival
At Festival, we put up a sign up sheet with time slots every half hour to control flow and throughput. The Festival opened at 6:00pm, and since no one was there at exactly 6:00pm, we had to skip that time slot to keep everything else on track.
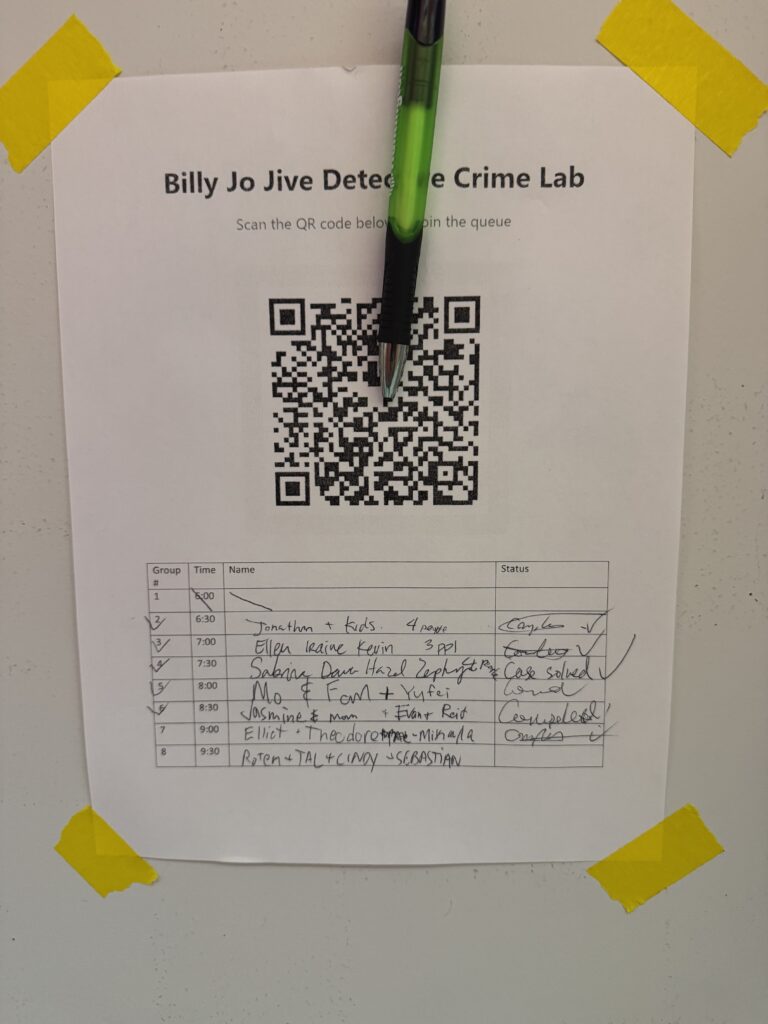
We ran two additional groups after Festival ended. A bit over half the groups solved the mystery! It was interesting to see that different groups solved it in different ways. We intentionally included several ways people could solve our puzzles, and each approach we put in was discovered by at least one group.
We took turns hosting, and created a facilitation script for our teammates to use to know when to give certain physical pieces of information and hints.
Here are some pictures of the final layout of the room.