
Go to https://superspl.at/
Here, you can edit your own splats, view other’s splats, and download selective splats.
Advantages of SuperSplat
- Zero Installation: Being web-based, it requires no software installation or complex environment setup, allowing for immediate cross-platform use.
- Open-source and Accessible: It is free to use, and allows for community-driven improvements.
- Scene Navigation & Recovery: Features a “View Reset” tool, which is essential for re-orienting the camera when navigating large, complex 3D scenes.
- Precision Editing via Orthographic Views: Includes top-down and side orthographic perspectives, providing the necessary precision for aligning, moving, or pruning objects within a scene.
- Targeted “Ring” Selection Mode: This mode makes it easy to remove “floaters.”
- Color-Based Selection (Eyedropper): Allows users to select and batch-edit splats based on color similarity, which is useful for isolating specific materials or objects.
- Integrated Measurement Tool: Features a measurement tool for determining distances within the scene, facilitating accurate scaling and spatial planning.
- Dynamic Visualization: The built-in keyframe function allows users to create professional flythrough animations directly within the editor.
Disadvantages of SuperSplat
- Web-Based Performance Limits: As a browser-resident application, performance is heavily dependent on the user’s hardware (GPU/RAM) and internet speed.
- Lack of Advanced AI Pruning: While it offers manual selection tools, it lacks the automated, AI-driven “clean-up” features found in some high-end, dedicated desktop workstations.
- Limited Undo History: If you want to undo a step you did a while ago, you’re out of luck. There is no version history.
Stitching Splats in SuperSplat
- Open any one scene
- File – import: import the ply file of the other splat you want to combine into the scene
- Manually move, rotate, and scale the object to your desired location
- Remember to click on the layer you want to work on
Case study: How We Stitched Together Two Bonsai Trees
We scanned two bonsai trees individually.
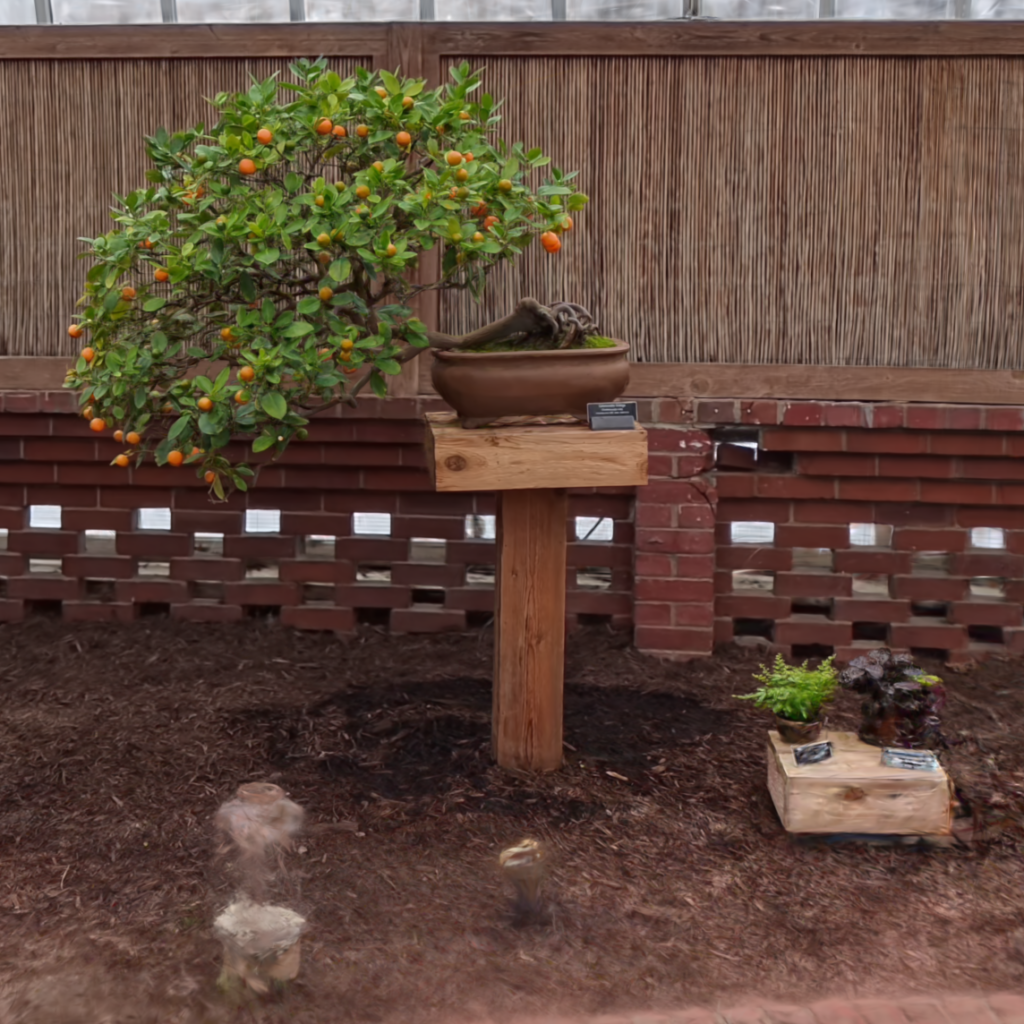
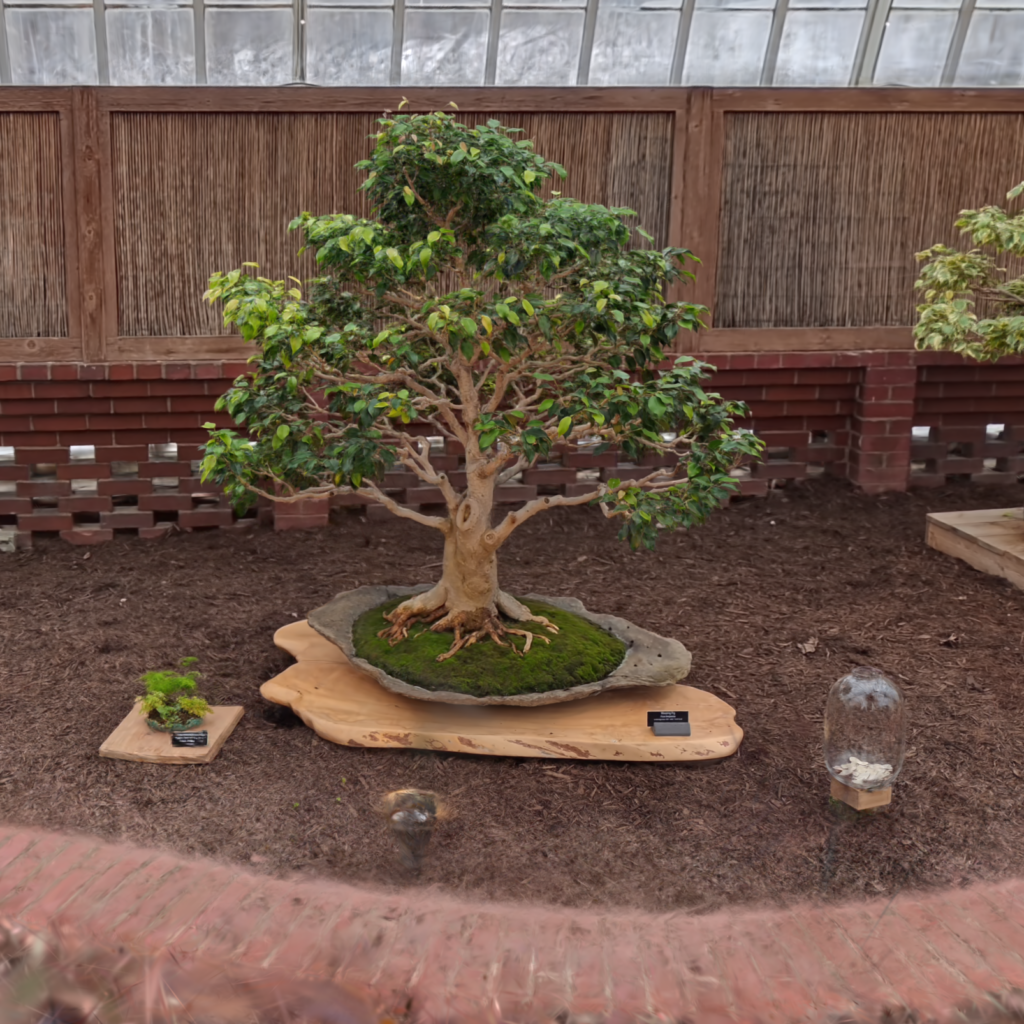
We wanted to stitch the splats together so both trees can be clear in one single scene.
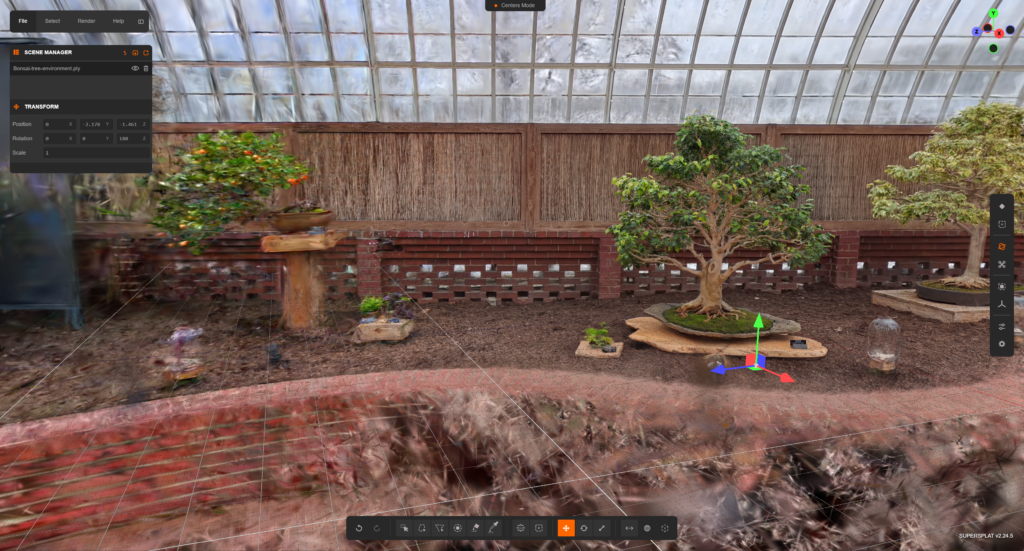
So this is the experiment we did: clean up Orange Tree as an object, and add that object into the Bonsai Tree scene. The different viewport options on the top right will be your friend in this step.


Now that the Orange Tree is cleaned up, import the ply file into the Bonsai Tree scene. The next step would be to put it in the correct spot, in the correct scale and orientation.
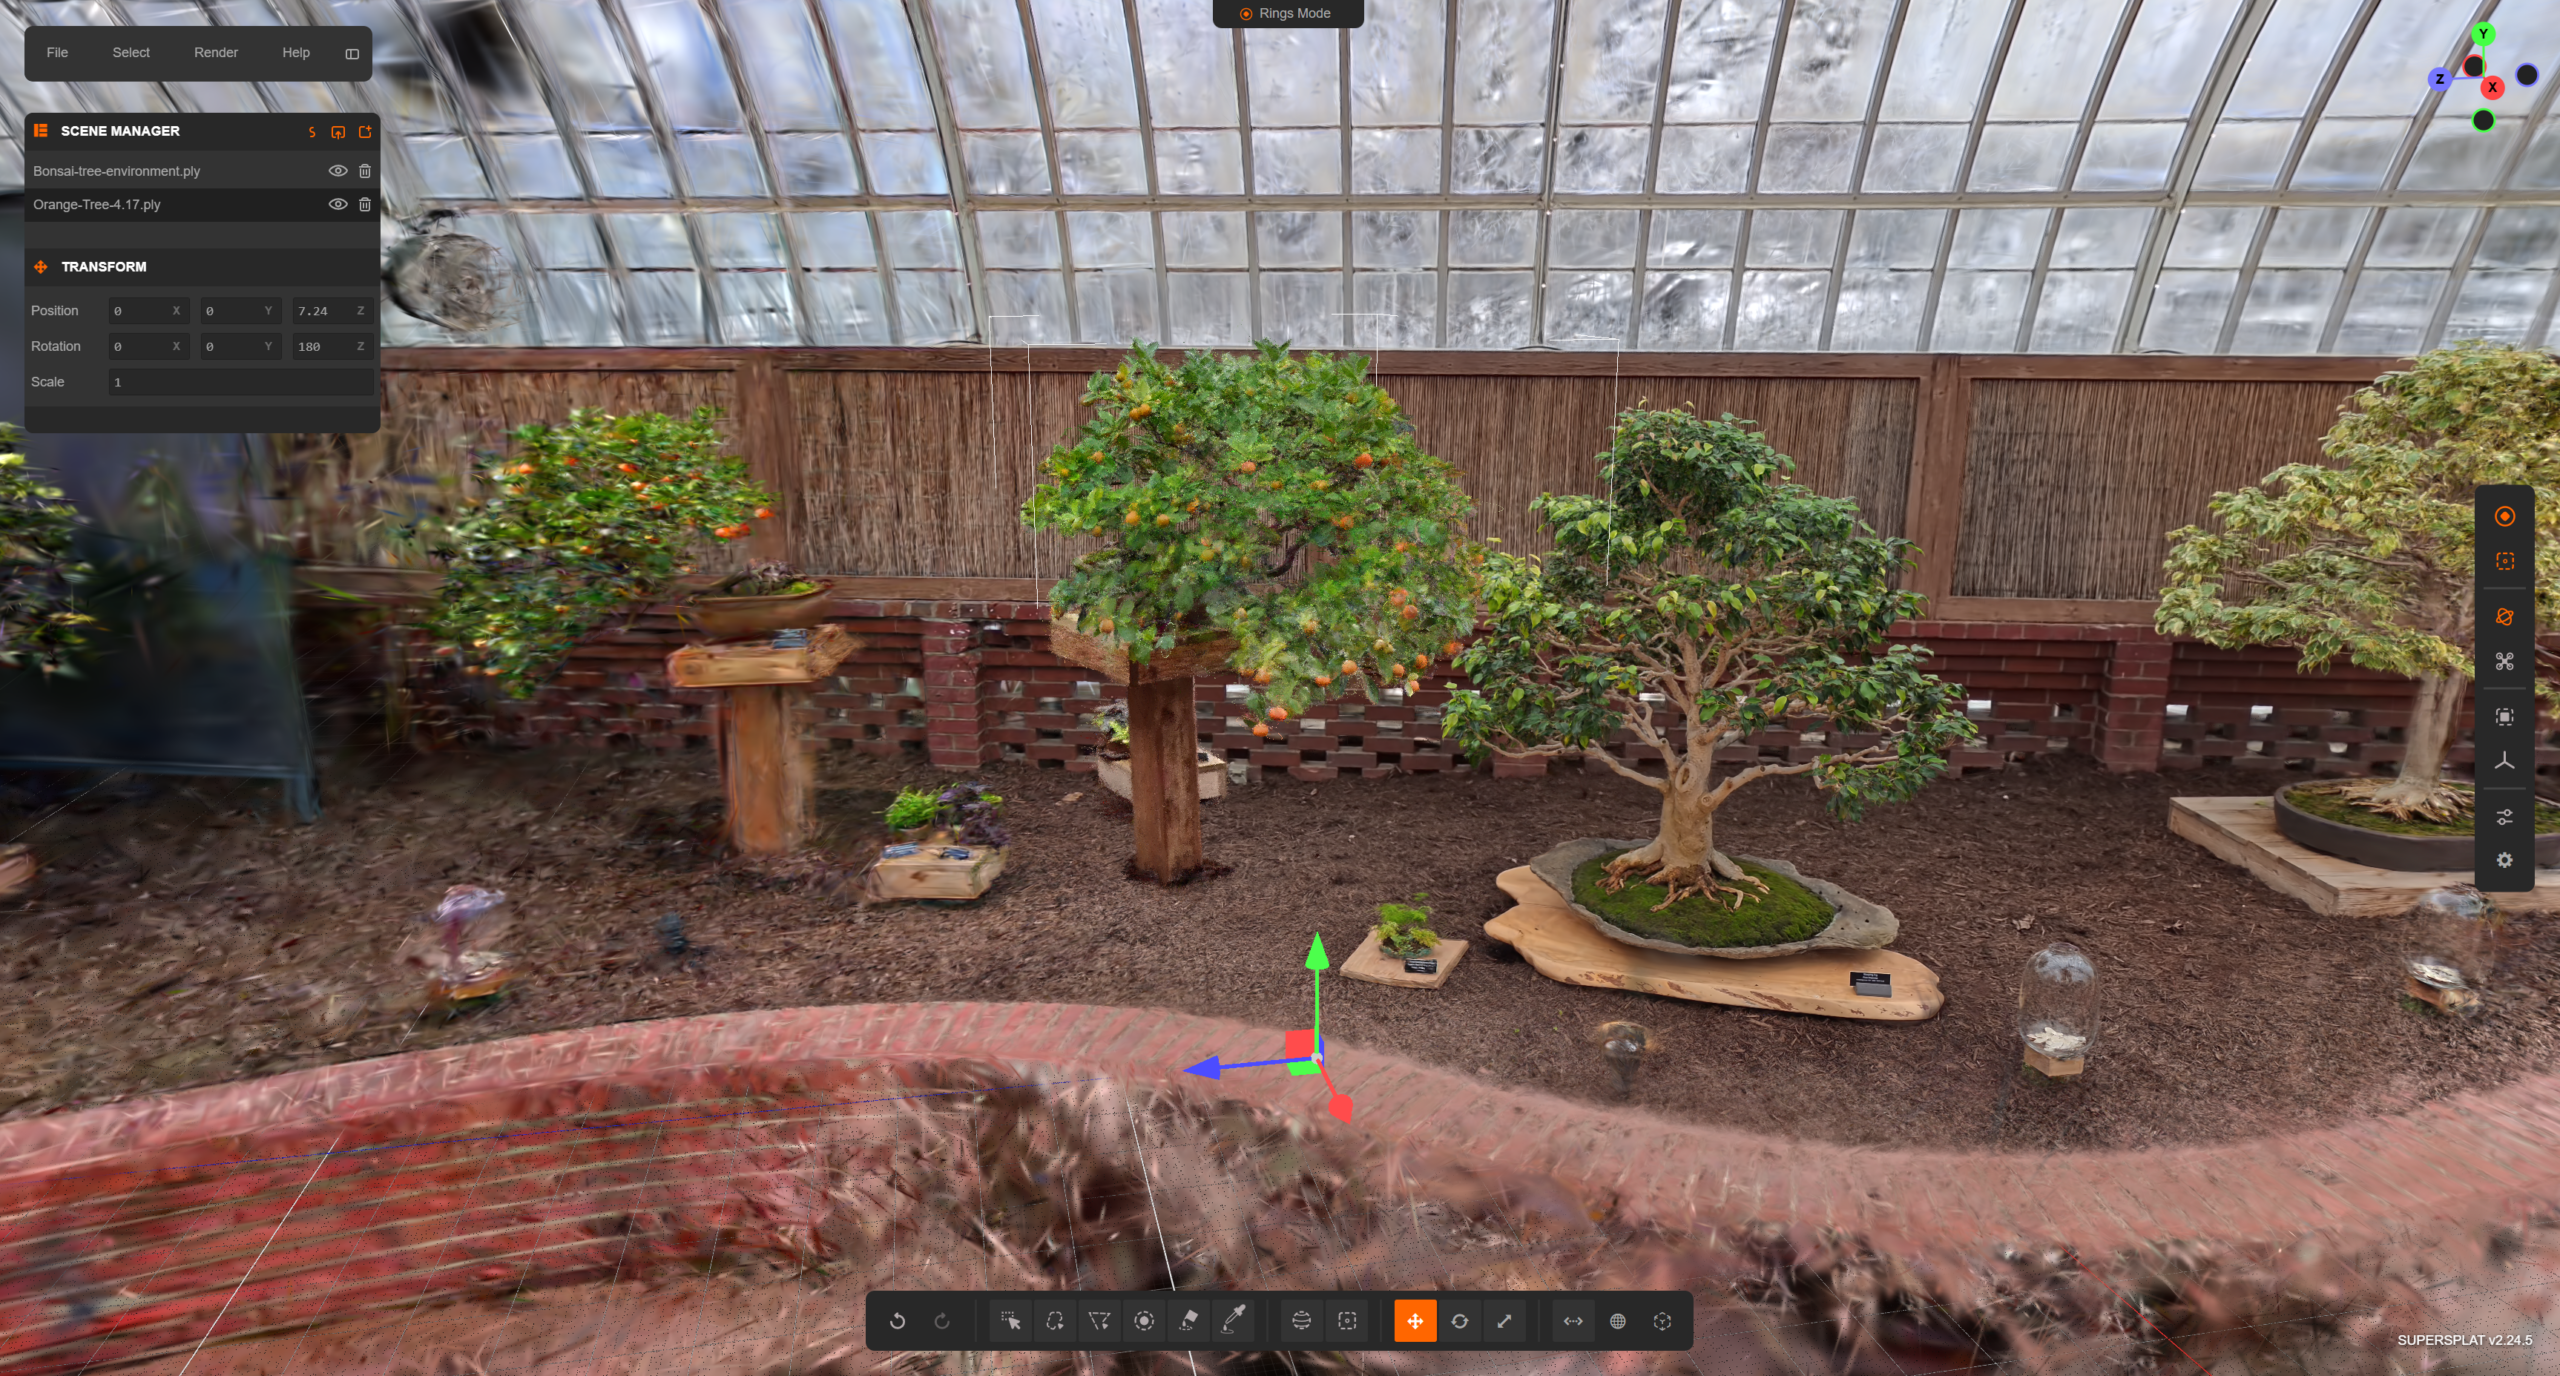
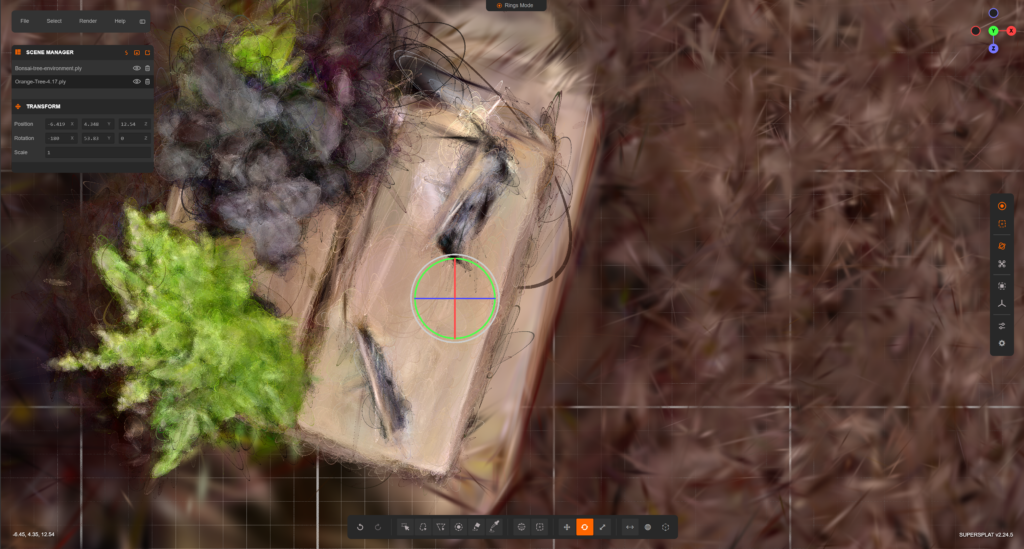
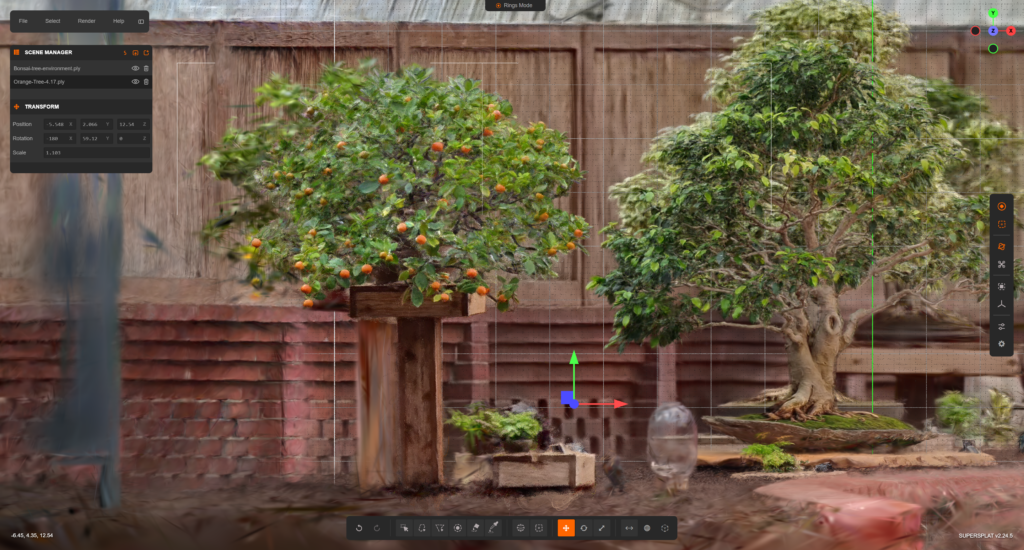

As the above picture shows, the Orange Tree is now correctly placed, but you can still see the fuzzy splats of the background Orange Tree.
We then attempted to clean up the background Orange Tree, by going into Ring Mode, and opening the Splat Data panel to help with this cleaning process. The Splat Data panel shows you where splats are the most concentrated, so the peak would be an object, and the slopes down are the backgrounds.


We started with the Brush Select tool to cover more ground quicker, but as you reach fewer splats, this selection method is no longer the best. In the pictures below, look at the thin yellow lines on top of the columns in the Splat Data panel. The yellow lines are spread out, meaning that your selections are also spread out.
What looks like a single blob selected on the left, is actually a string of splats selected, including the back wall, which you do not want to delete.


One solution is to switch from the Brush Select tool to the Rect Select tool. This selection method can select a single ring at a time.
Below is the screenshot of when I chose to stop. You can always get better cleaning results if you spend more time on it.

Toggle the Orange Tree layer back on, and you have your final scene, where both trees are sharp renders.

One might ask: why go through the effort of stitching two Bonsai trees when they could simply be captured as a single object? While these trees were physically close together, this case study serves as a proof of concept for scaling Gaussian Splatting to much larger environments.
According to our Subject Matter Experts, the “sweet spot” for a high-quality scan is a video approximately one minute in length; however, real-world locations — such as expansive museum exhibits or sprawling tradeshow floors — cannot be adequately captured in a single sixty-second loop. To maintain high-fidelity renders across vast spaces, the most effective strategy is to scan individual zones or assets independently and then stitch the resulting splats together. This modular approach allows for the reconstruction of massive, complex scenes without sacrificing the clarity of the individual components.
More Resources
Gaussian Splatting Editing Tutorial with SuperSplat by the YouTube channel Radiance Fields.
This tutorial video is beginner-friendly, and it goes into more detail about keyframing that the case study above does not cover.
Last Updated: April 2026