This week, we had our first visit to South Fayette High School, where we met the students who will be using our toolkit. We also reached a major milestone with Toolkit 1.0, bringing together stereoscopic rendering and our beautiful botanical garden sample scene into a fully testable and demo-able package. To wrap up the week, we took a well-earned break for High Tea team bonding, celebrating our progress before diving into the next phase of development.
Camera 2.0 – Achieving Stereoscopic Rendering (For Real This Time)
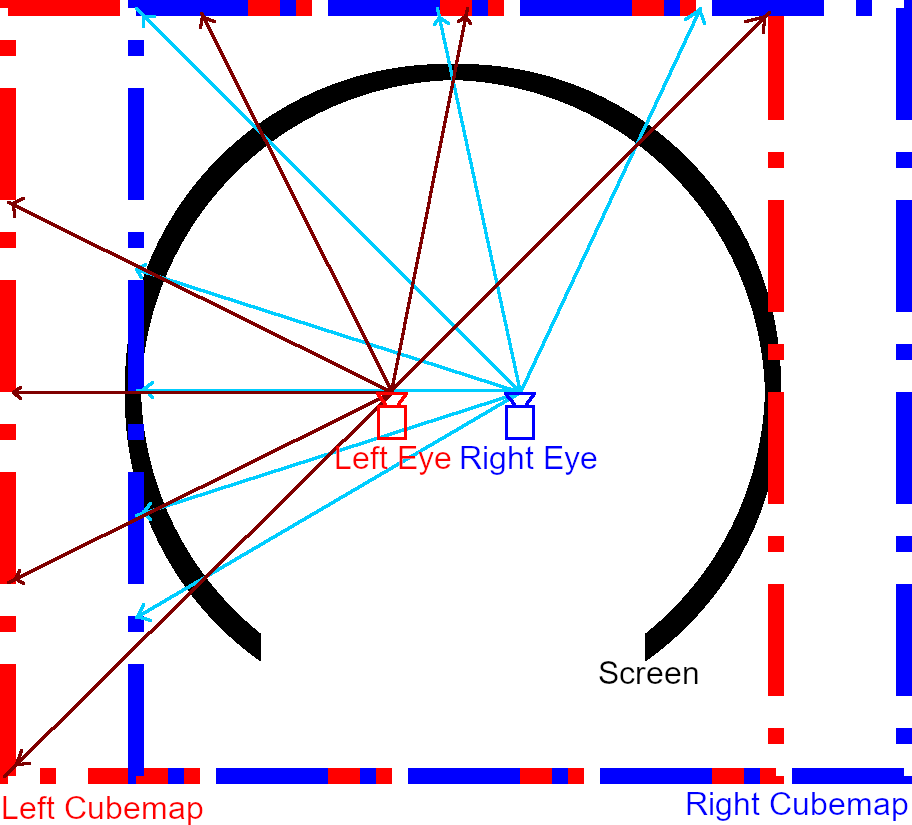
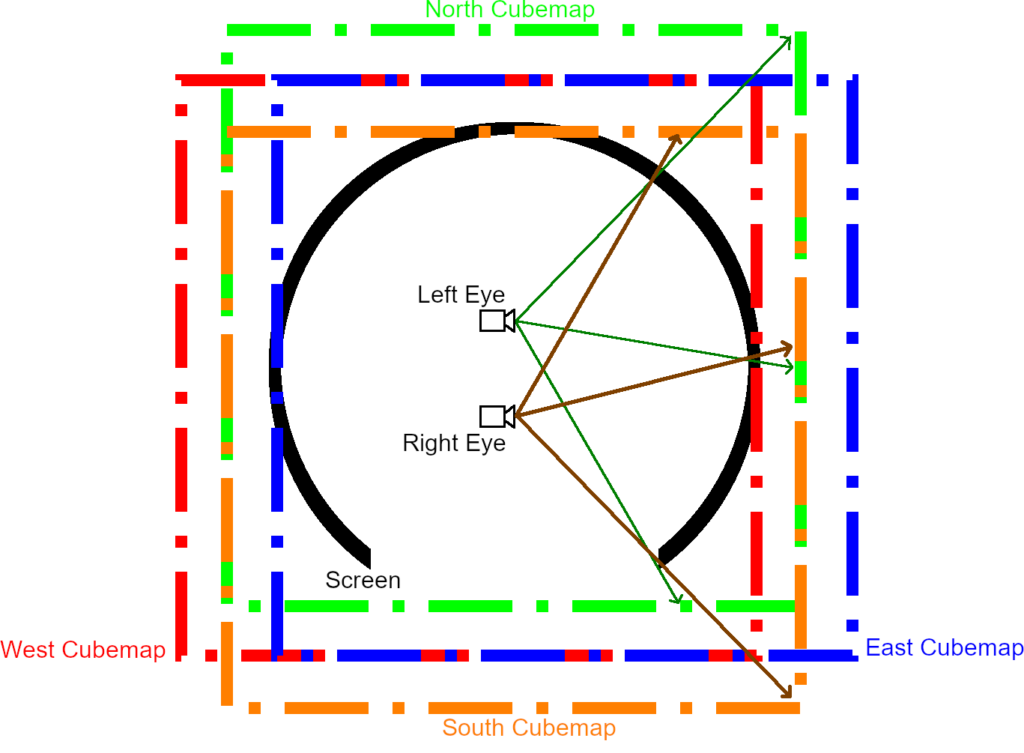
Last week, we had partial success with stereoscopic rendering. To recap the issue, notice that as the screen angle approaches 90°, the stereoscopic effect decreases as the IPD between the eyes approaches zero. Moreover, going beyond 90°, the view from the left eye is now to the right of the right eye, resulting in the depth perception of objects being reversed.
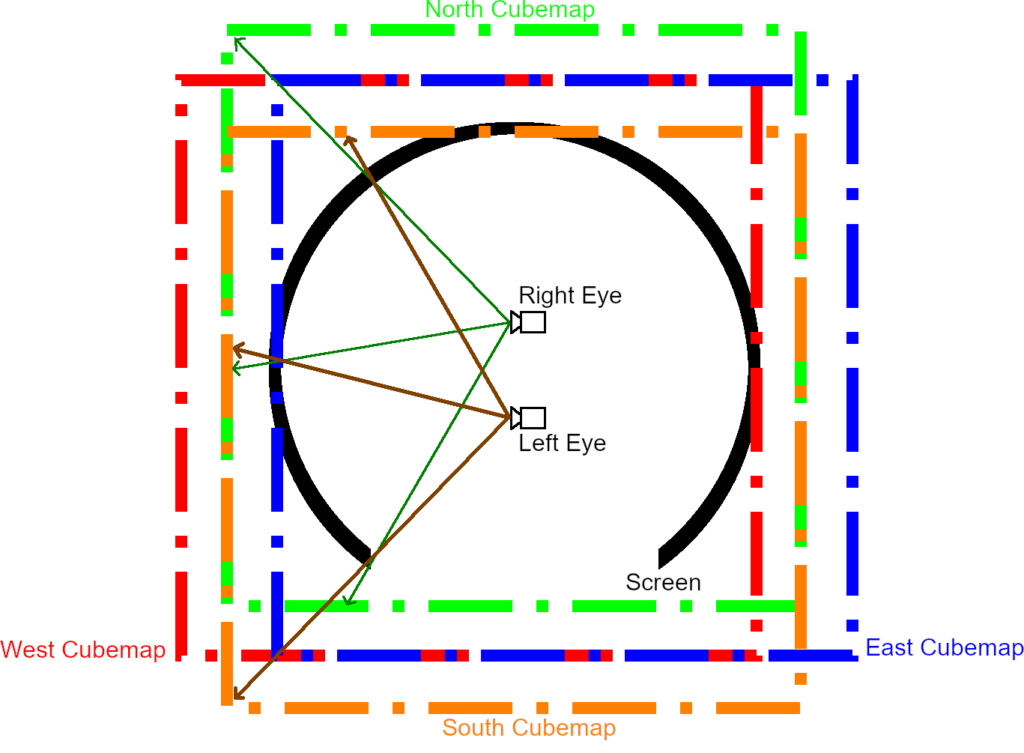
To solve this, we used four cubemaps, each with an offset in each cardinal direction. Then, splitting the screen into four quadrants (one for each cardinal direction), the left and right eye will select a different cubemap to sample from each quadrant.
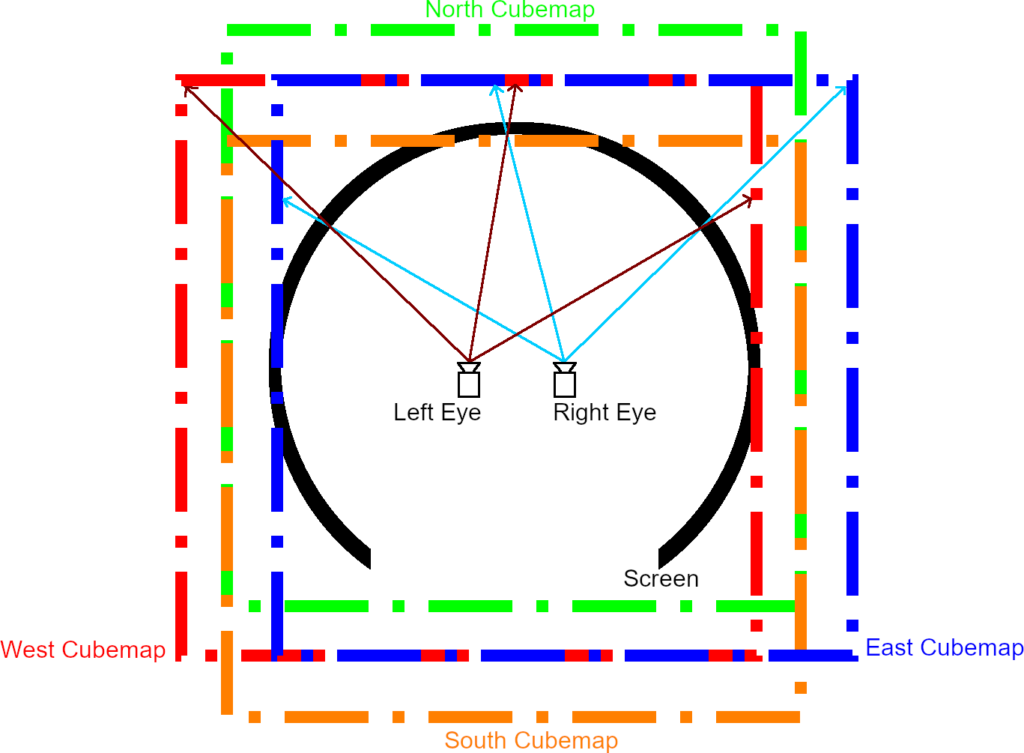
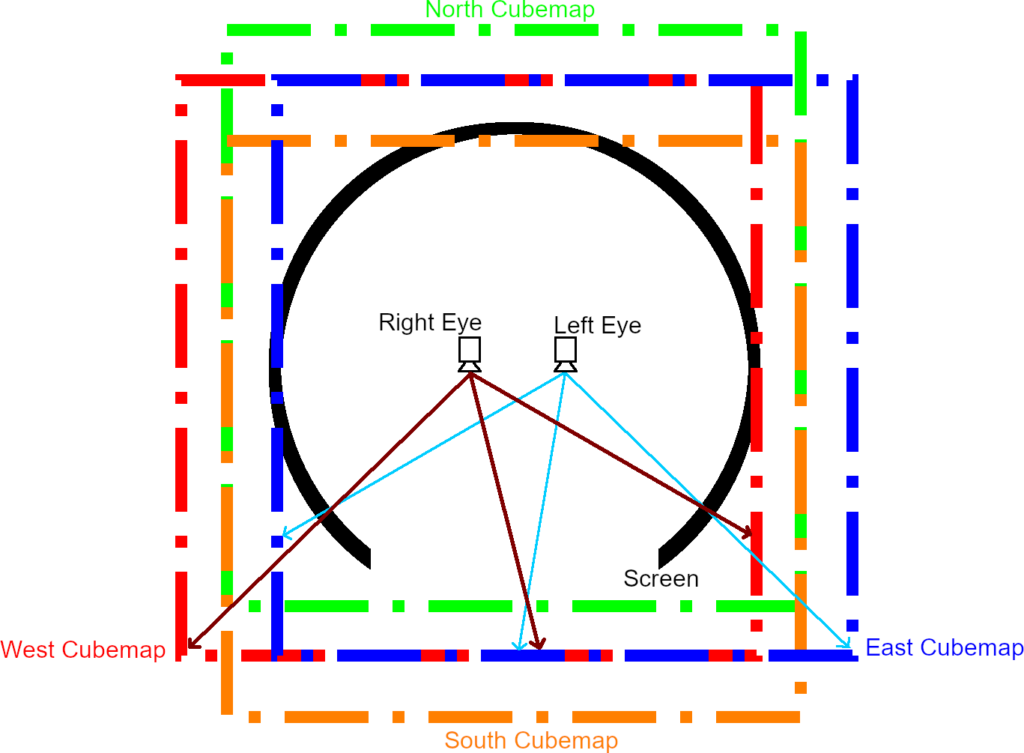
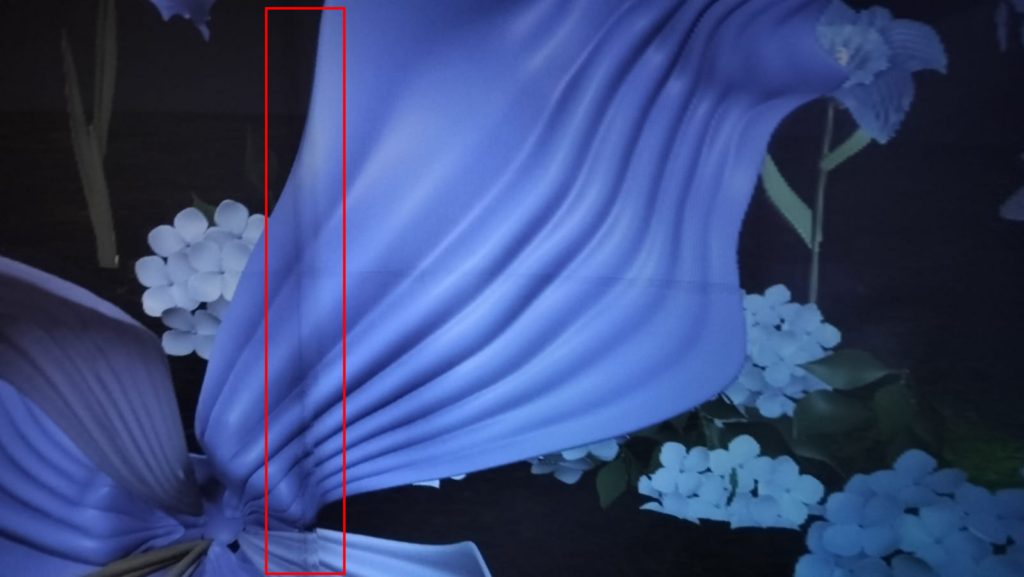
Stereoscopic rendering now works! However, a drawback of this method is that it creates a vertical seam along the lines where the quadrants meet. Despite that, during playtesting, the majority of our users who spent an average 15 minutes time in the Cavern, would not notice it unless it was specifically pointed out to them. Sometimes, a technical solution is not the most theoretically correct one, but one that works most effectively without taking all of our efforts and time!
South Fayette Visit
Learning from Future CAVERN Developers
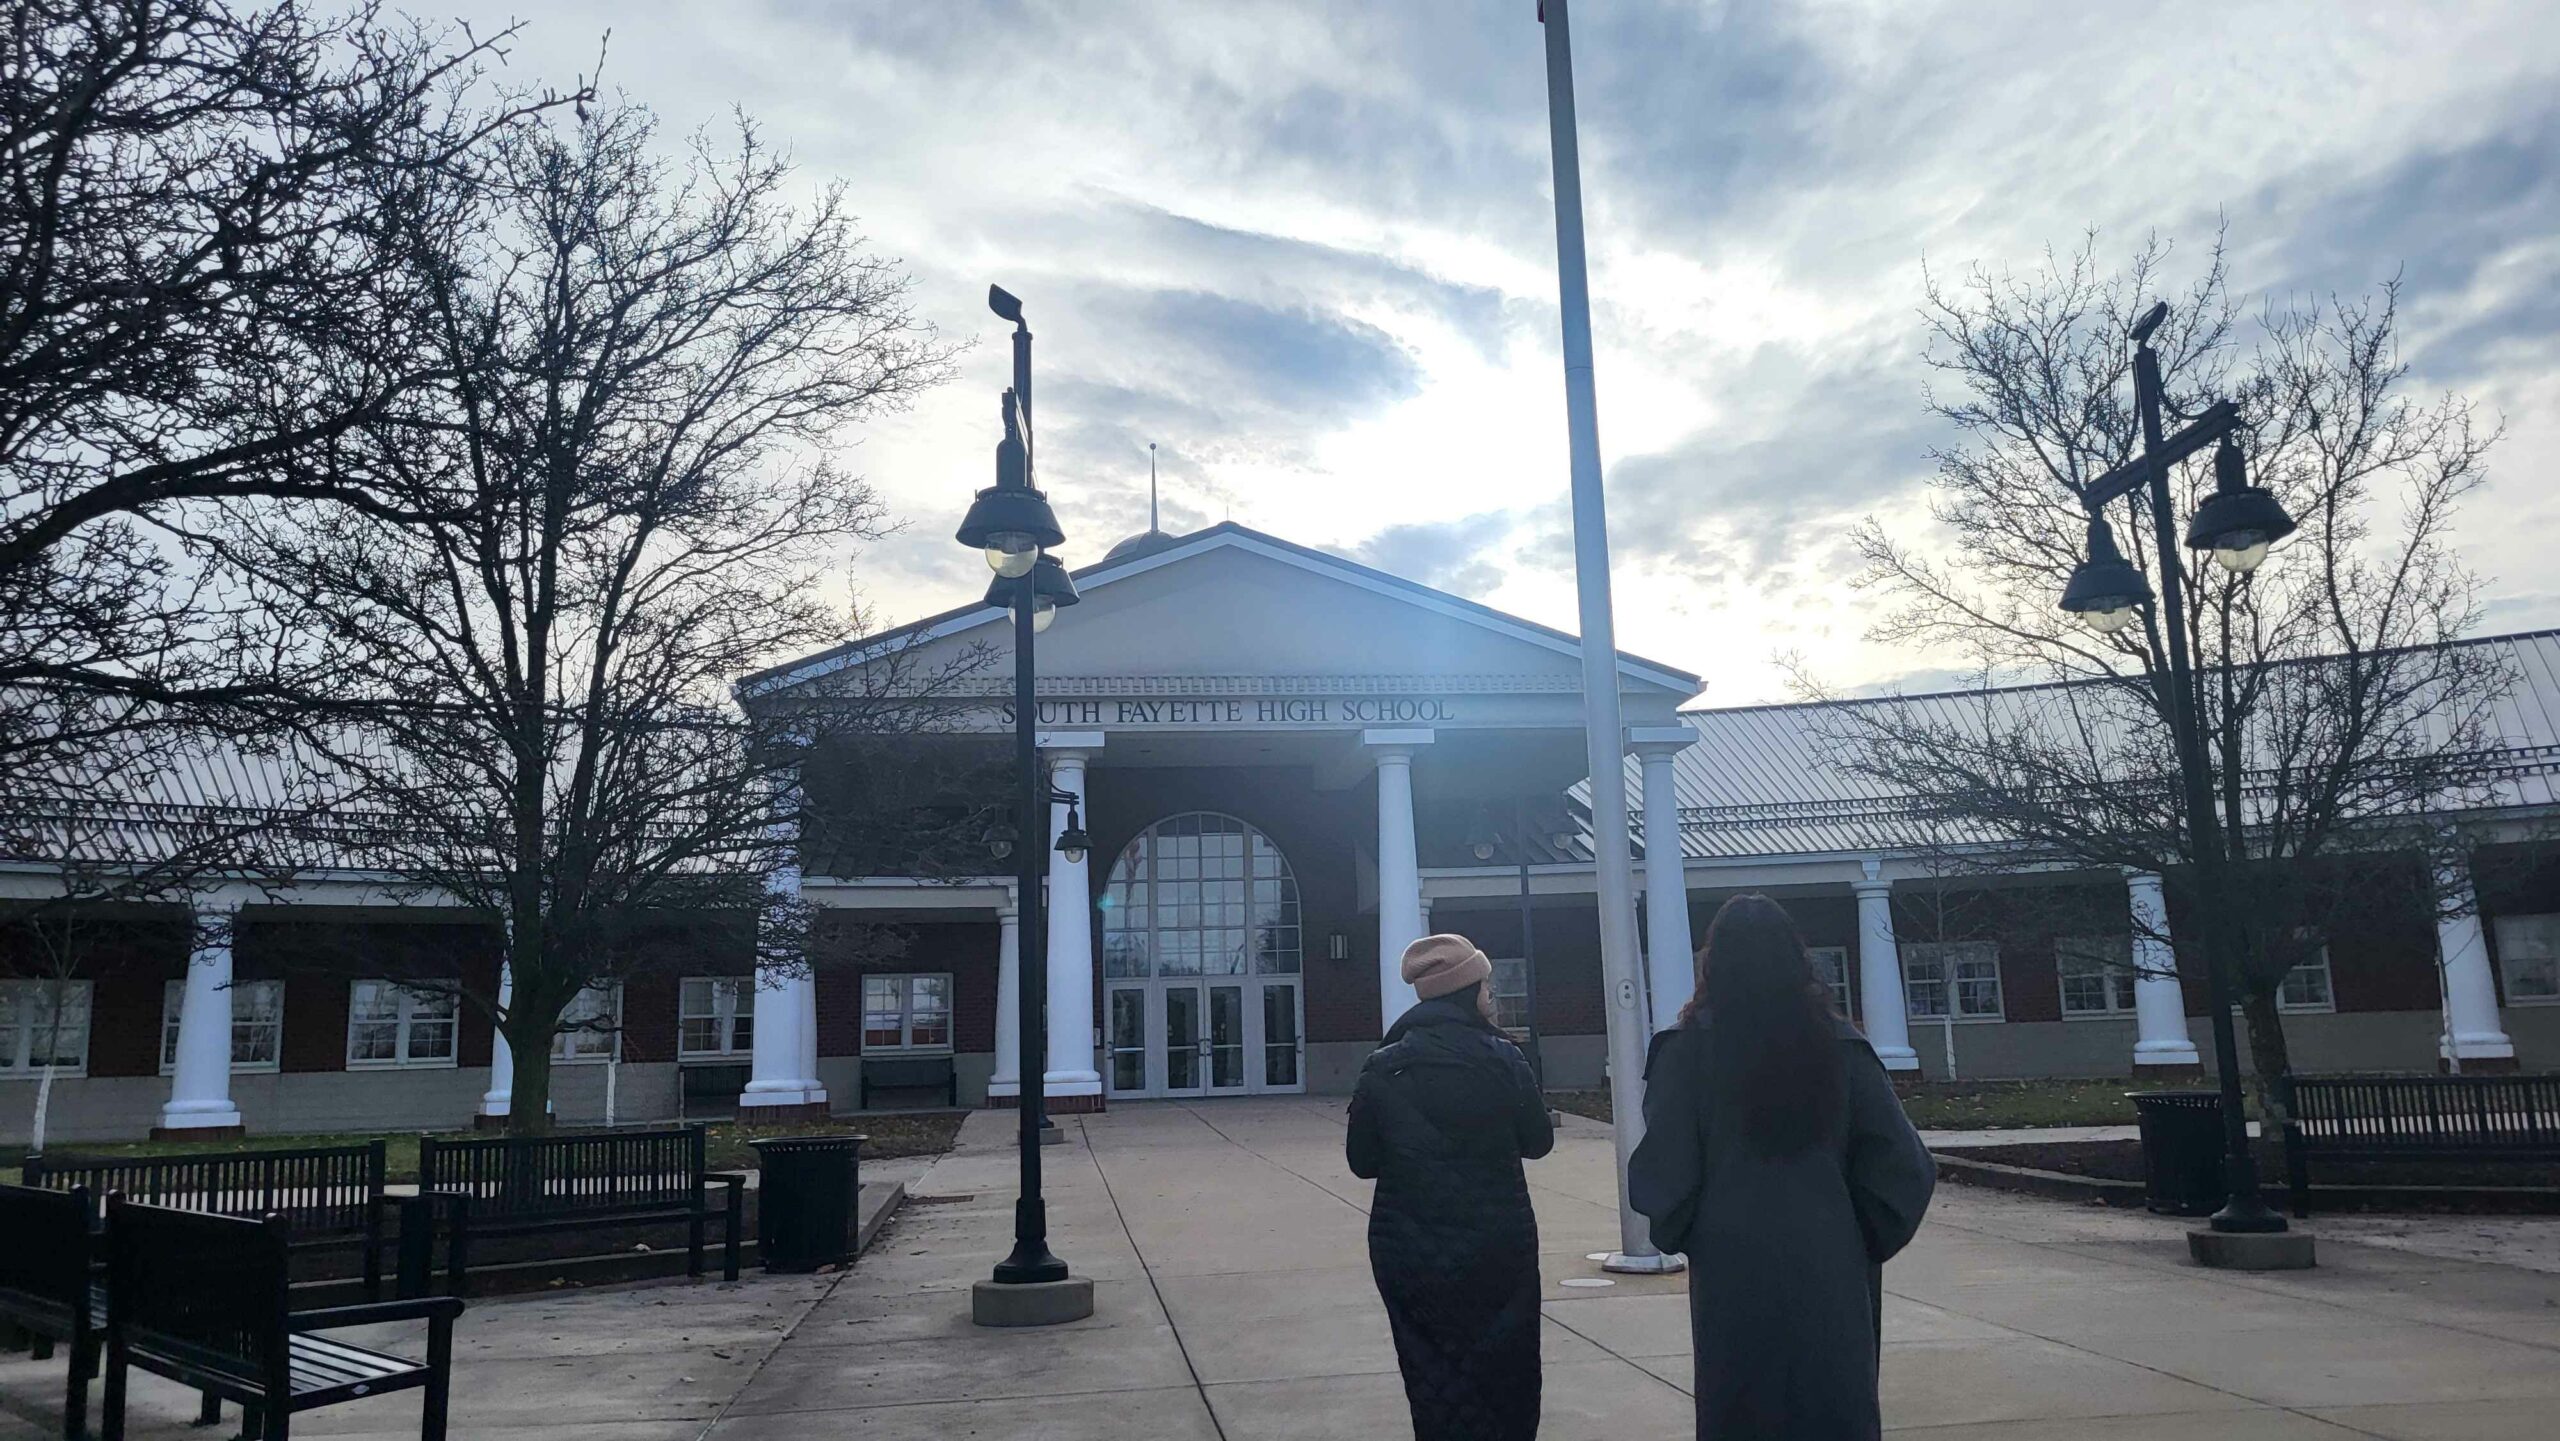
On Wednesday, we traveled to South Fayette High School to introduce students to CAVERN and understand how they engage with interactive development. We wanted to understand what drew them to self-select into this Building Virtual Worlds course, what kinds of experiences they are hoping to build, and what support they need to get started.
Students shared a mix of interests, with some drawn to programming and game mechanics, while others were excited about art, world design, and immersive storytelling. When asked what they would build if they could make anything, students imagined overgrown ruins, apocalyptic worlds, and turn-based RPGs with rich visuals.
Collaborating on a Shared Lesson Roadmap
One challenge students faced was figuring out where to start. They weren’t sure how to break down development into manageable steps, and using the toolkit through UPM (Unity Package Manager) was unfamiliar and difficult. Stacey, their teacher, suggested that if we could provide a structured learning roadmap, she could incorporate it into their lesson plan. In return, we could use their lesson plans into our toolkit for future teachers and developers.
Working with a Different CAVERN
South Fayette’s CAVERN setup was different from ours at ETC, which led to unexpected technical hurdles when testing our package:
- Dimensions – South Fayette’s CAVERN screen is 4 inch above ground as opposed to directly starting from the floor like at ETC. Also, the radius and heights are larger and taller. We already have settings for dimensions in our toolkit, but have yet to determine the actual numbers to assist them with developing.
- Display Setup – Unlike our driver-level mirroring, theirs uses VNC remoting, and so more documentation of working with different mirroring options are needed.
- Speaker Configuration – Their four speakers are mounted above the space instead of facing inward, and they use a stereo setup instead of a quad arrangement. This affects spatial sound, and will require a next visit to test how to adjust our toolkit.
Toolkit 1.0
We also released the first stable version of our toolkit! We integrated what each of us worked on in the previous weeks into a Unity package.
What is in the Package
- Stereoscopic Rendering – Our optimized single-camera rendering system is now fully functional, with monoscopic mode as a toggle-button option.
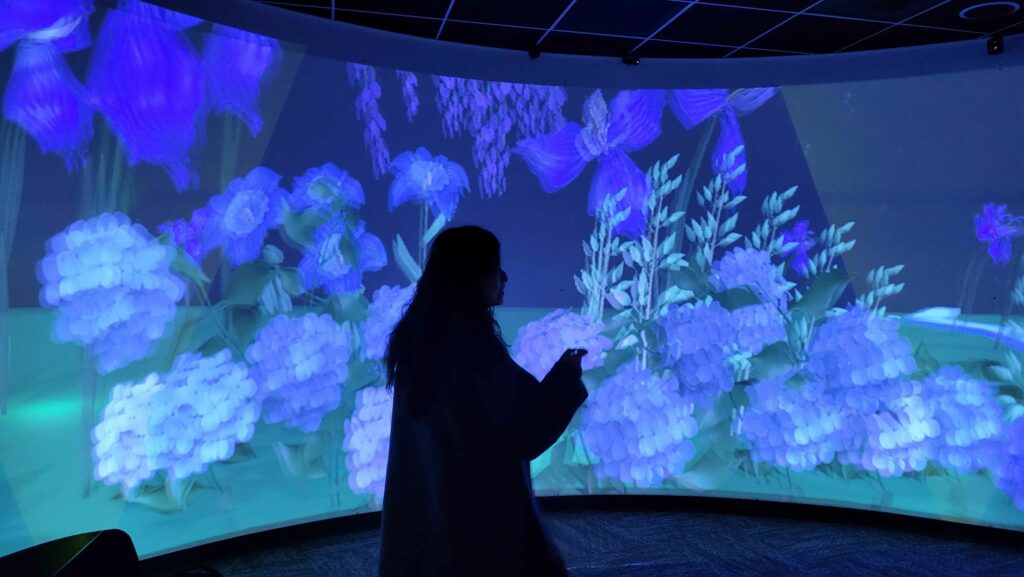
- Sample Scene – A botanical garden with giant flowers and a swing that showcases 3D immersion, along with spatial sound examples, such as a 2D ambience, and a circulating cricket 3D sound.
- CAVERN Tools Panel in Unity – A simple UI that allows users to add the CAVERN camera setup with one click.
- CAVERN Previewer – A Unity tool that lets developers preview their scene at the correct size and curvature before testing in CAVERN. Saves a lot of time during development.
What is still in Progress
- Vive Tracker Integration – Not included in this release due to ongoing stability issues, which we plan to fix in the next iteration.
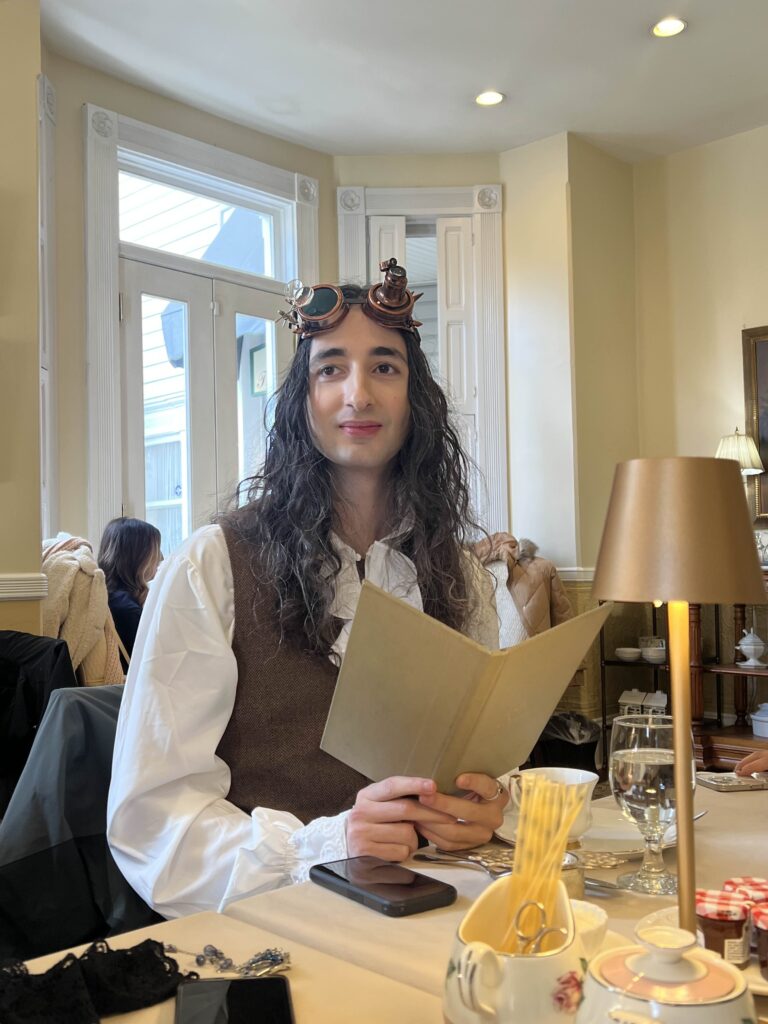
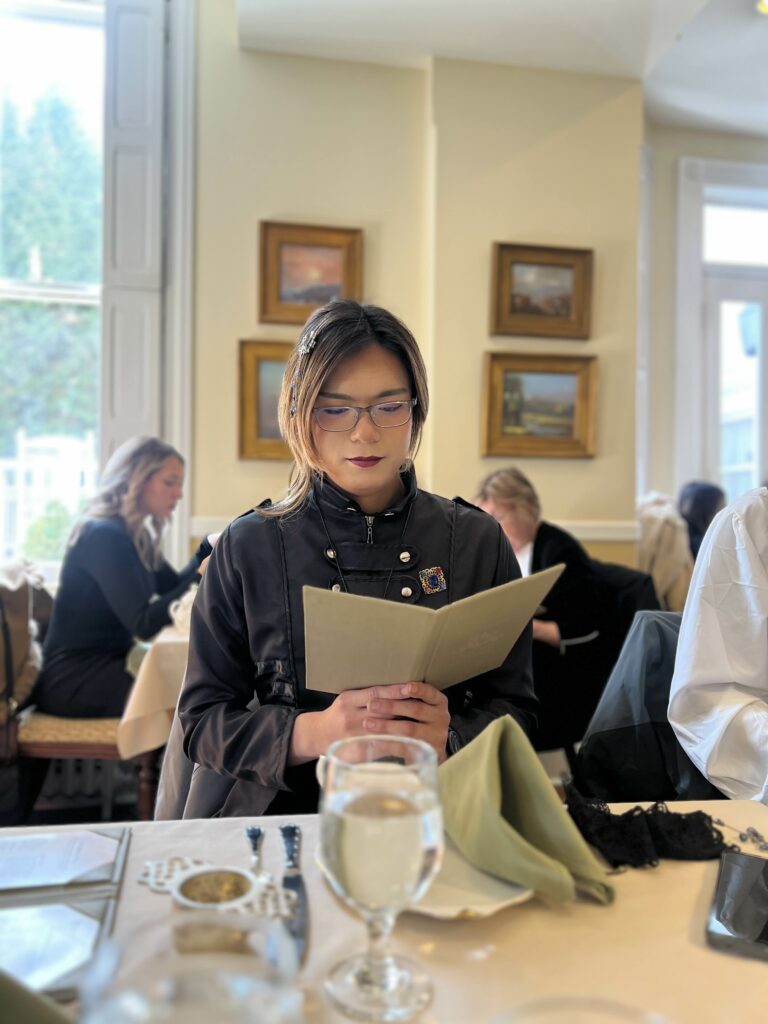
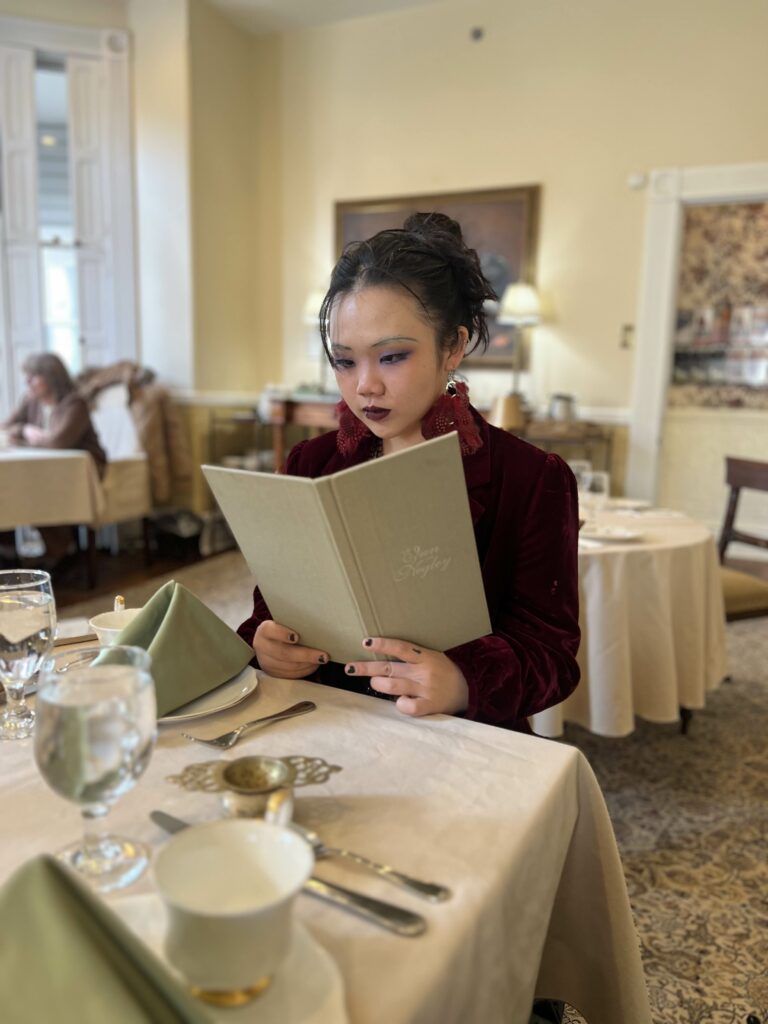
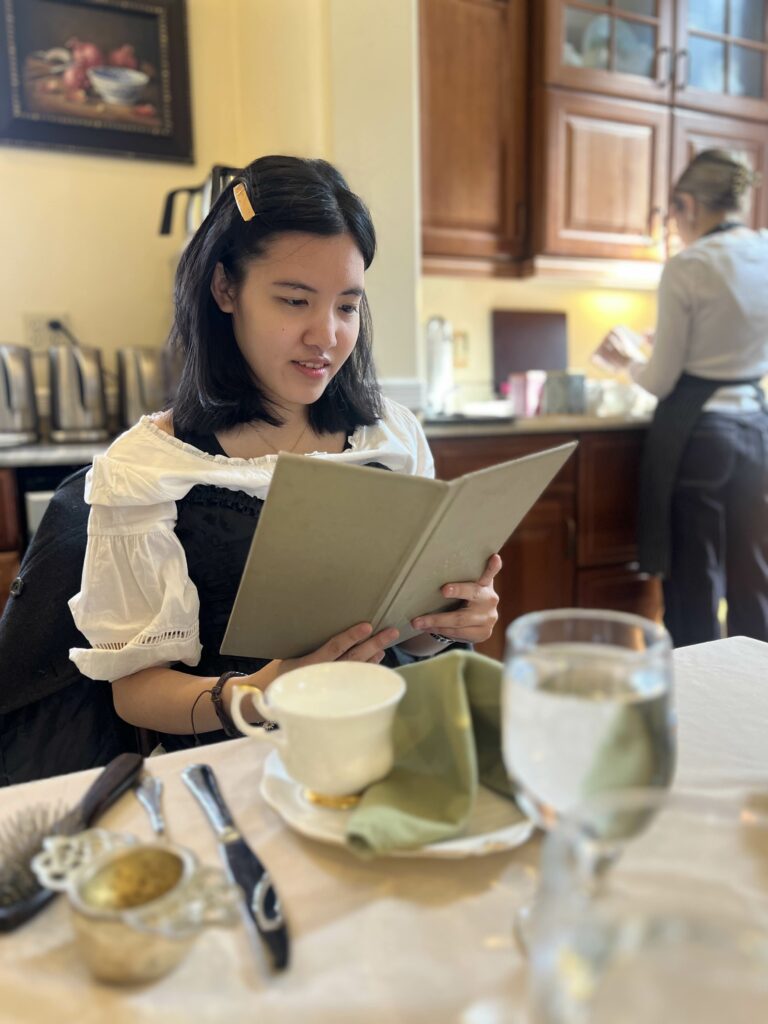
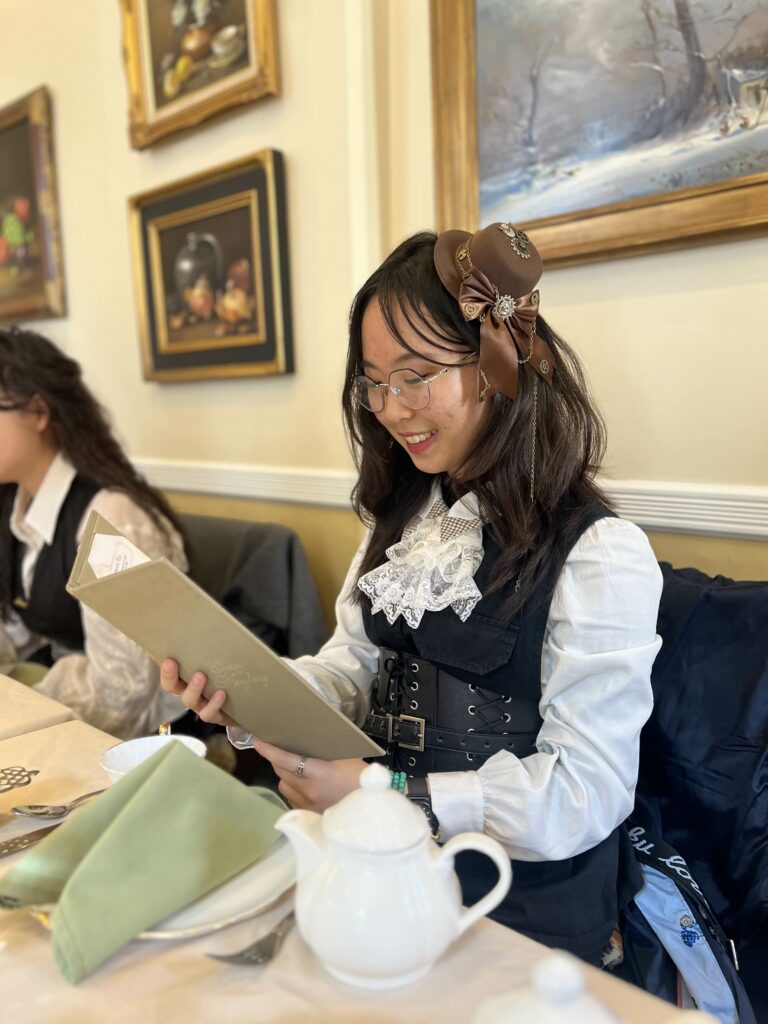
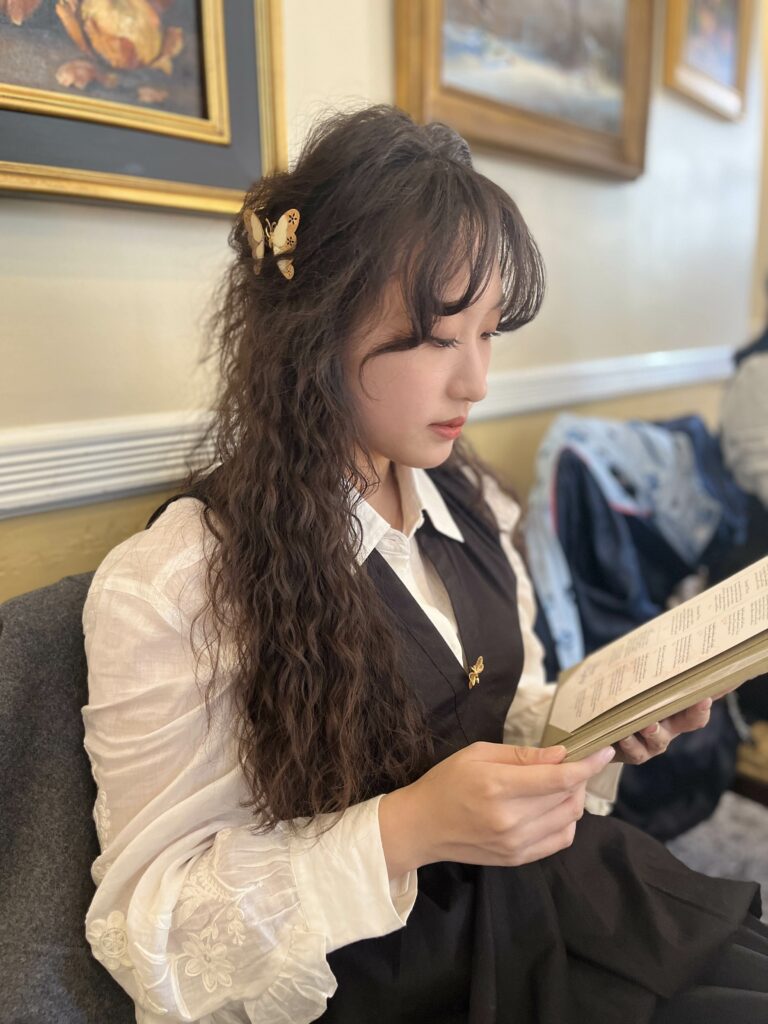
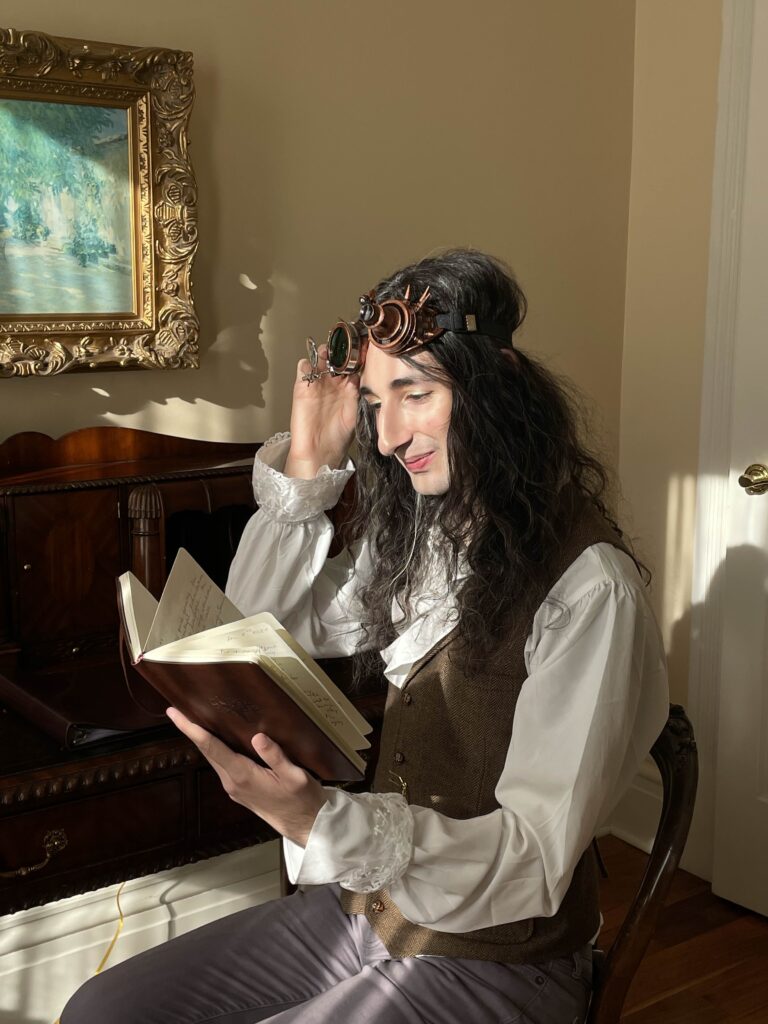
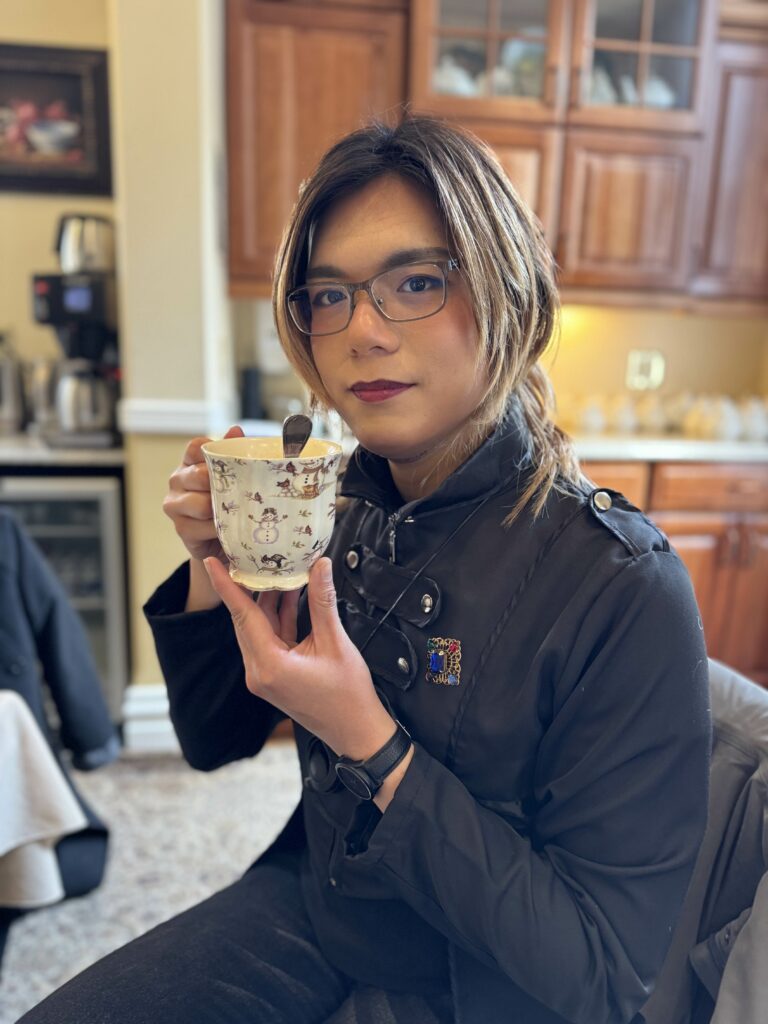
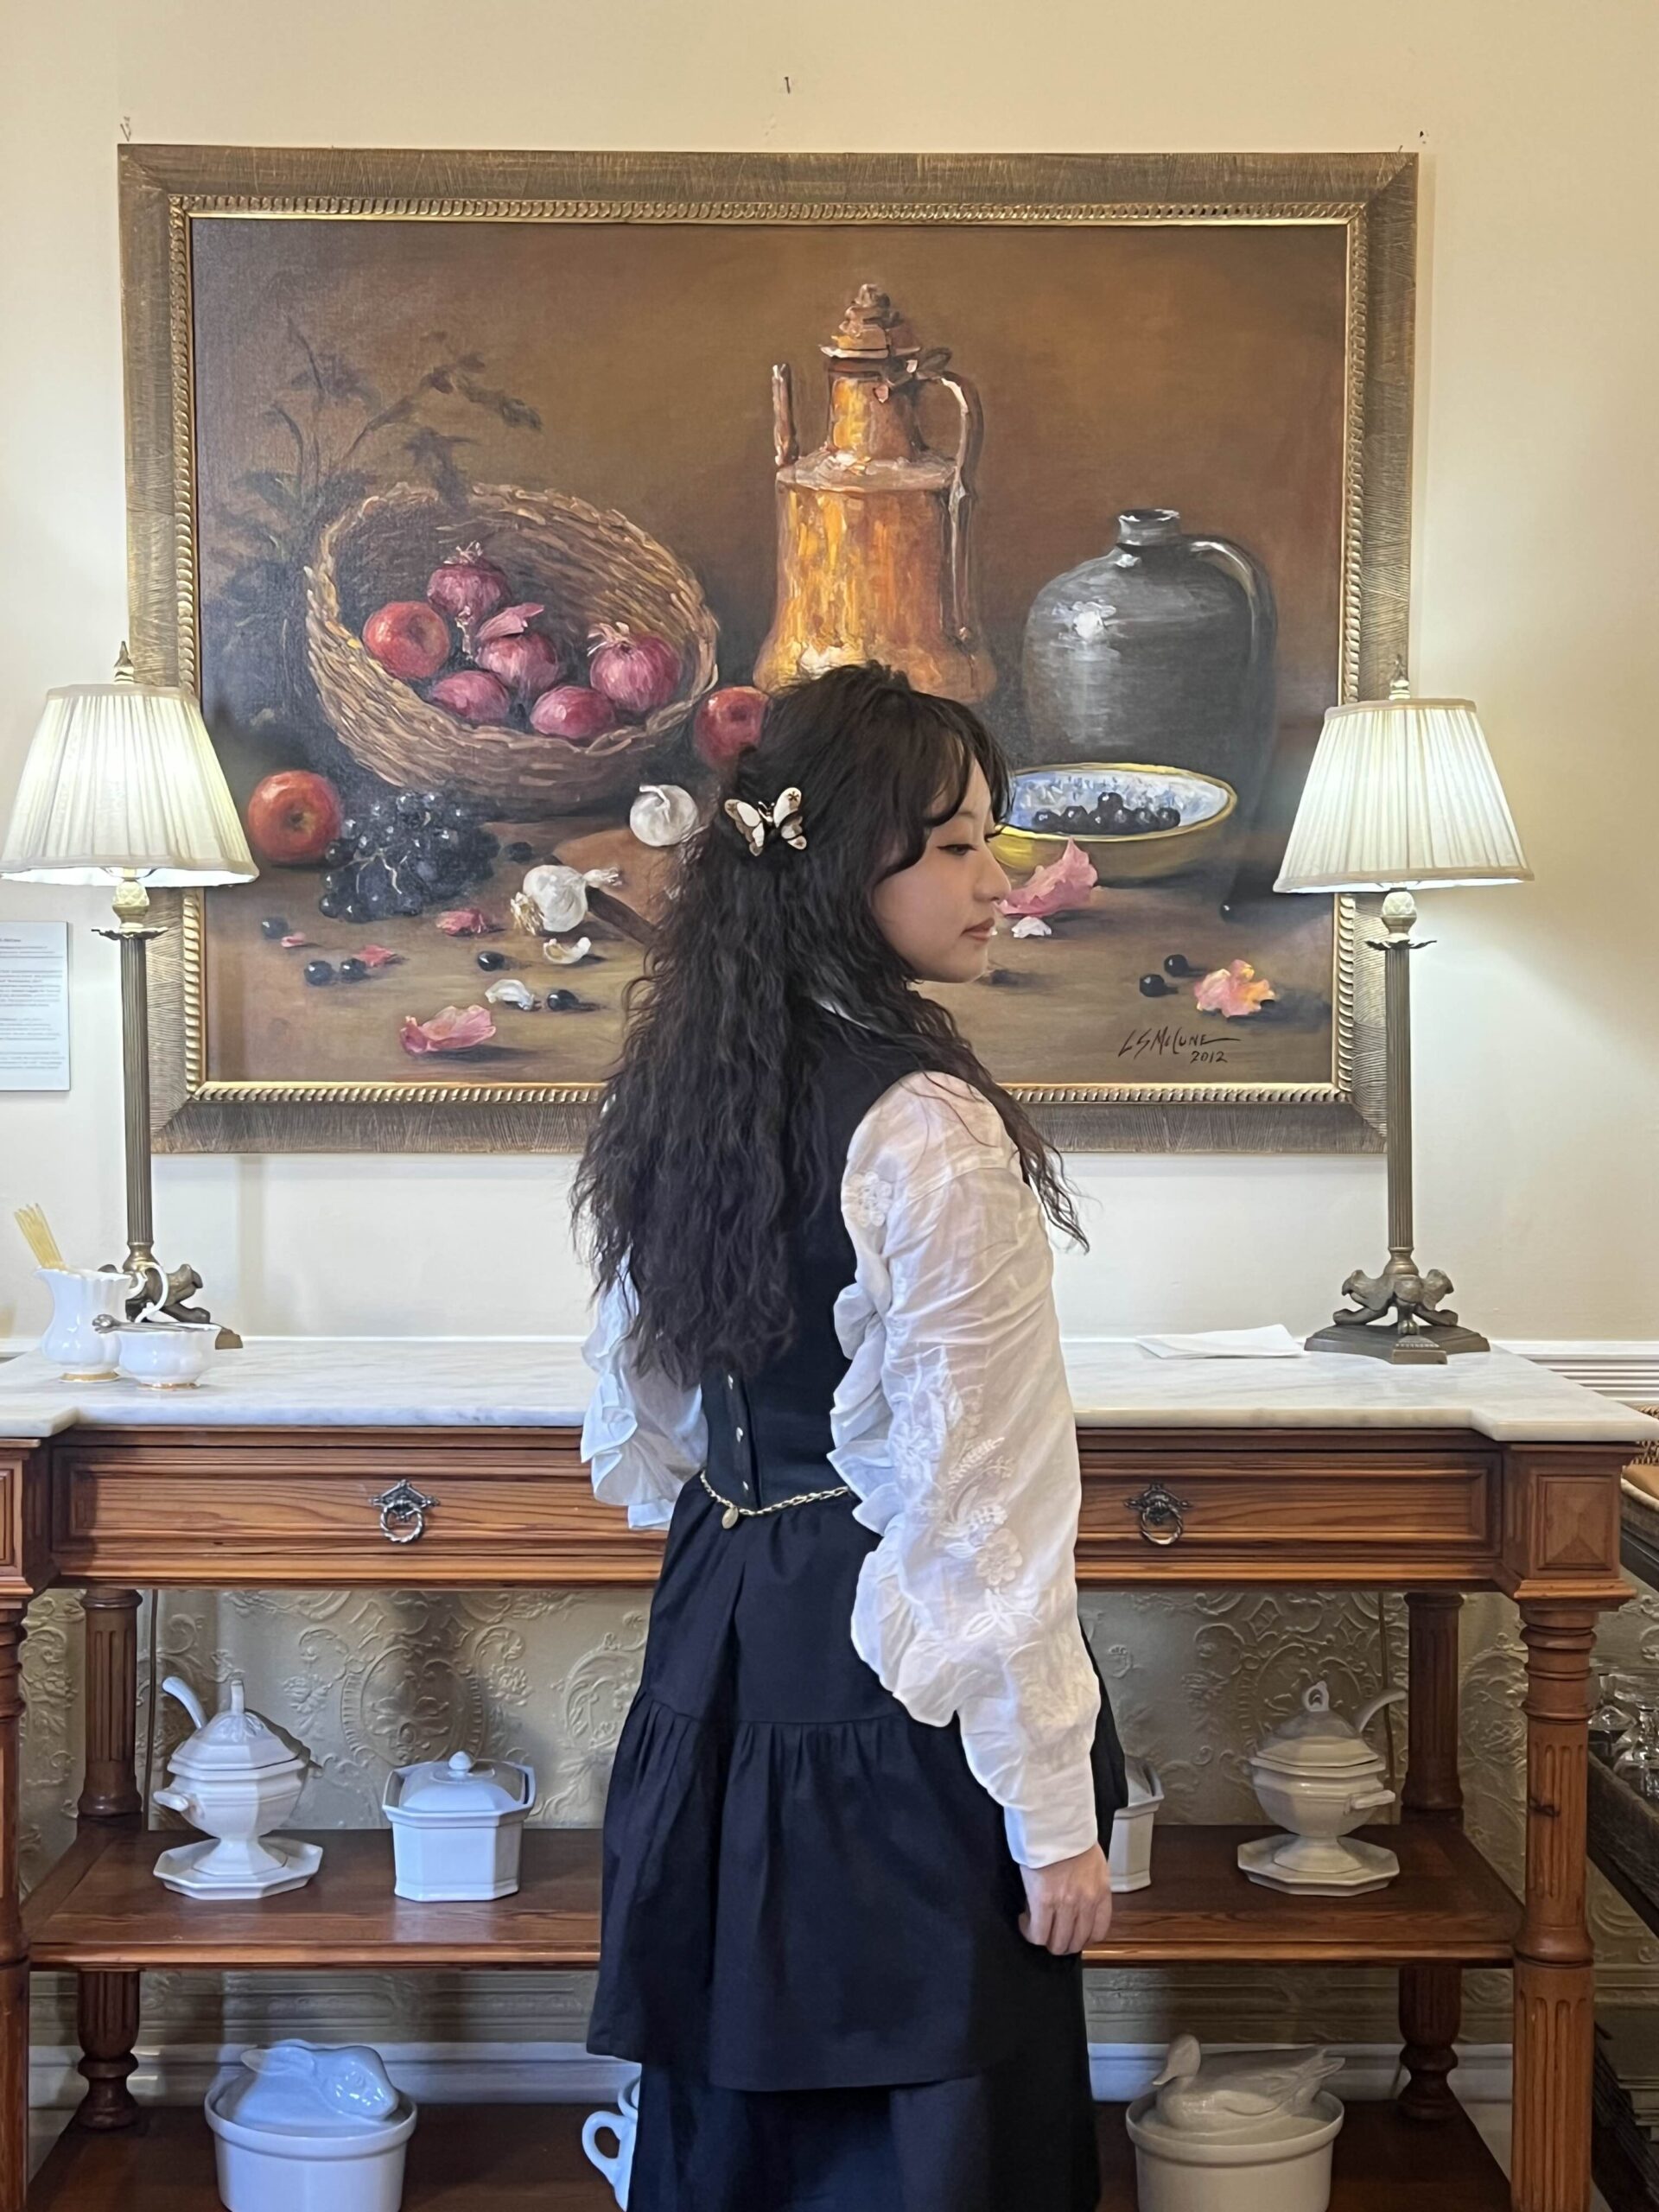
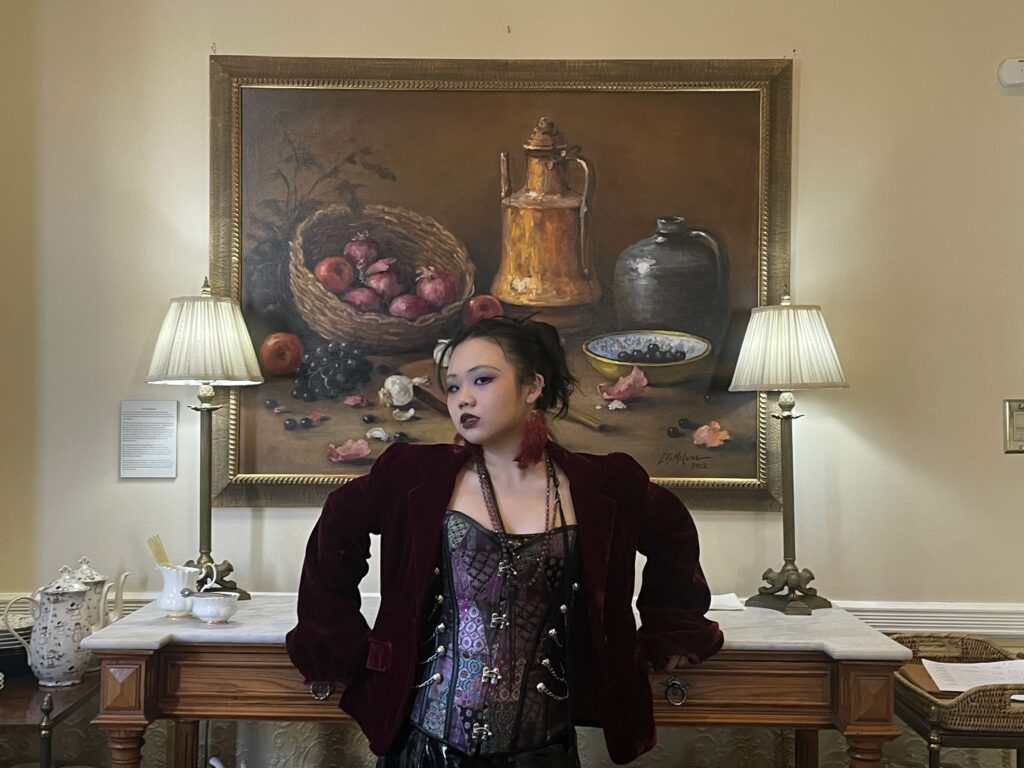
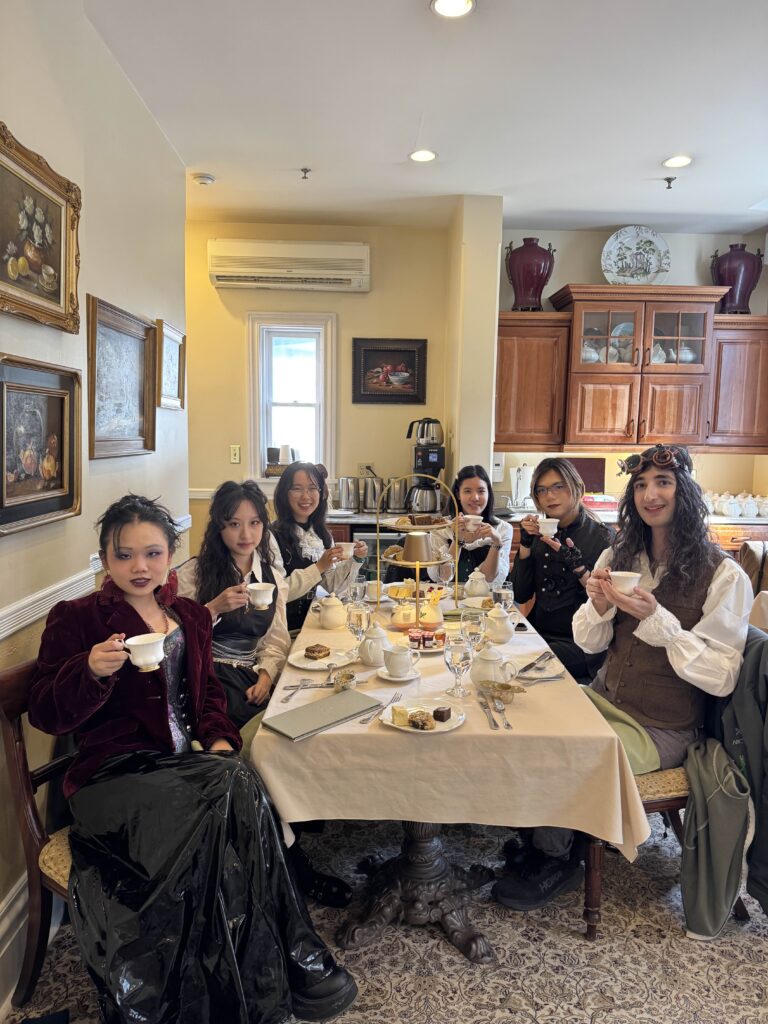
Team Bonding: A Steampunk High Tea Adventure
After an intense few weeks of development, we also had our official team bonding! After voting between karaoke and axe throwing and more, we settled on going to High Tea at the Inn on Negley. To immerse into scene even more, we decided to dress up with a Steampunk theme, and look at the photo! We had a lot of fun, not only developing, but also as a team.


Other Updates
While the South Fayette visit and Toolkit 1.0 were the big highlights, there were plenty of other developments this week:
- Interactions scripts: we implemented a mirroring effect and a shy creature (backing away from tracker) interaction script for non-programmer CAVERN developers to directly use as an asset. It will be featured in our sample scene in the future as well.
- Fullscreen Integration: we moved fullscreen-on-play into our package, so that developers will be able to test in the CAVERN without having to build the project every time.
- CAVERN Preview: Constantly improving upon feedback, we added a CAVERN screen renderer, where when you enter play mode, you can see what your 3D world would look like in the CAVERN screen, right at your desk. This helped a lot for our artists to visualize where to put assets in the scene.
Next Steps for Week 5
With Toolkit 1.0 in place, our next priority is to rapidly test with developers to understand how we can improve. Therefore, we decided to host a CAVERN Jam on the 7th week. In week 5, we will polish all our current technology, such as polishing the code style in rendering, actually fix Vive Tracker integration, building a more modular sample scene, creating onboarding documentation, and planning for user testing process.
Stay tuned for Week 5 updates!