
Filming
- Holding the camera: the screen should always face you, and the camera should always face the object you want to film
- For objects: Walk around the object in a complete loop.
- For rooms: Walk around the room in a complete loop, in concentric circles (at least a small circle and a big circle)
- For outdoor spaces: Walk a “crab walk” facing the side you want to capture.
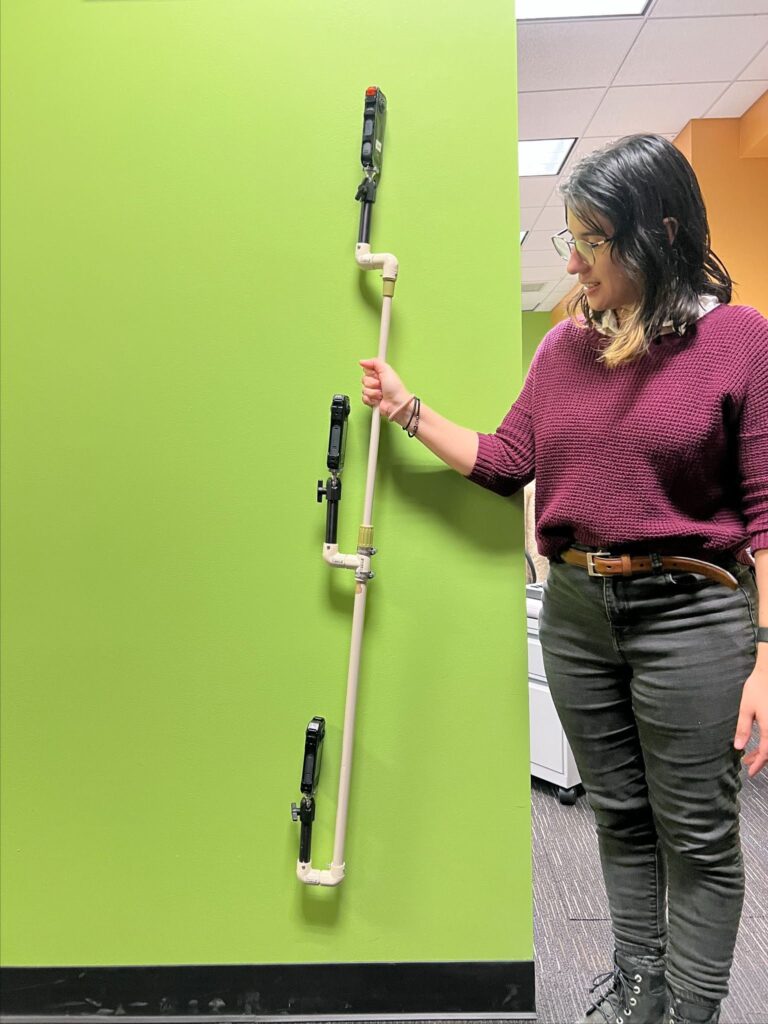
- Film three different angles: a high angle, a middle angle, and a low angle.
Insta360 Studio
- Plug in the camera to your computer, and open Insta360 Studio
- Turn on your Insta360 camera, and the File Transfer screen should automatically open. Click on File Transfer if it doesn’t start.
- Back on your computer, inside Insta360 Studio, click on the video you want to export from your camera
- On the right hand side, click Stabilization Type, toggle on FlowState Stabilization, and check Direction Lock. This way, when you preview the video, the object you filmed will always be in view.

- Click Export on the top. Export as a 360 Video, turn Bitrate all the way up, and Start Export.
- Repeat these steps with your two other videos of different angles.
Blender (with plugin)
- Install the 360 Extractor Blender plugin: Edit → preferences → add-ons → Add-on settings (on the right hand side, looks like a down arrow) → install from disk

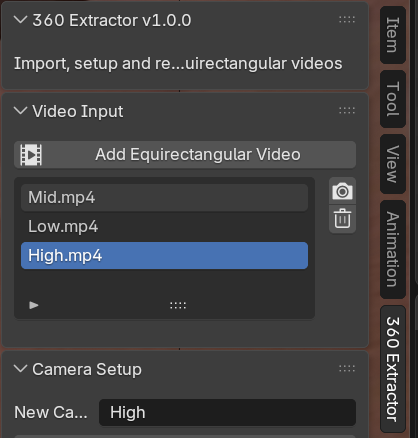
- Click Add Equirectangular Video and choose all three videos
Equirectangular is just the “unwrapped” version of your 360° footage, laid out flat so your computer can process the pixels before it turns them back into a 3D scene, similar to how a globe is projected onto a flat world map.
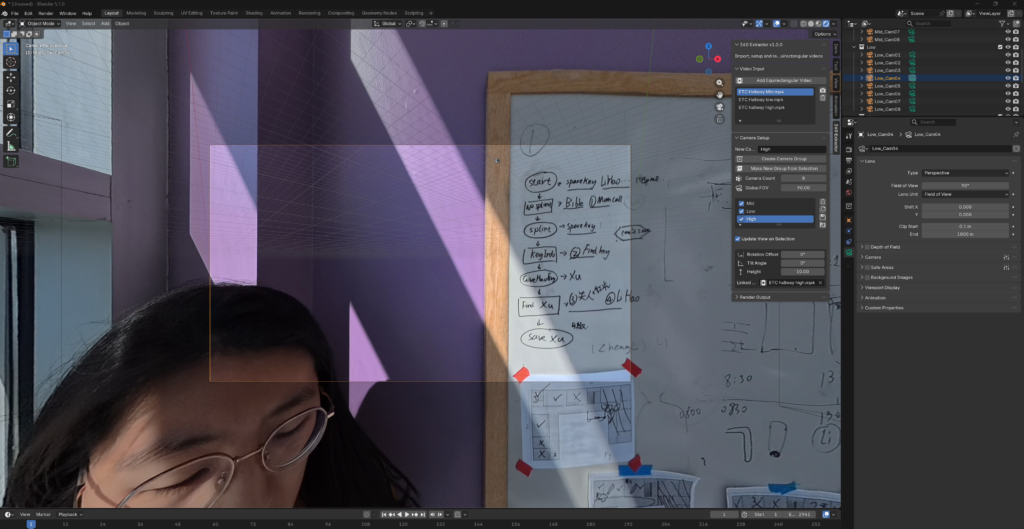
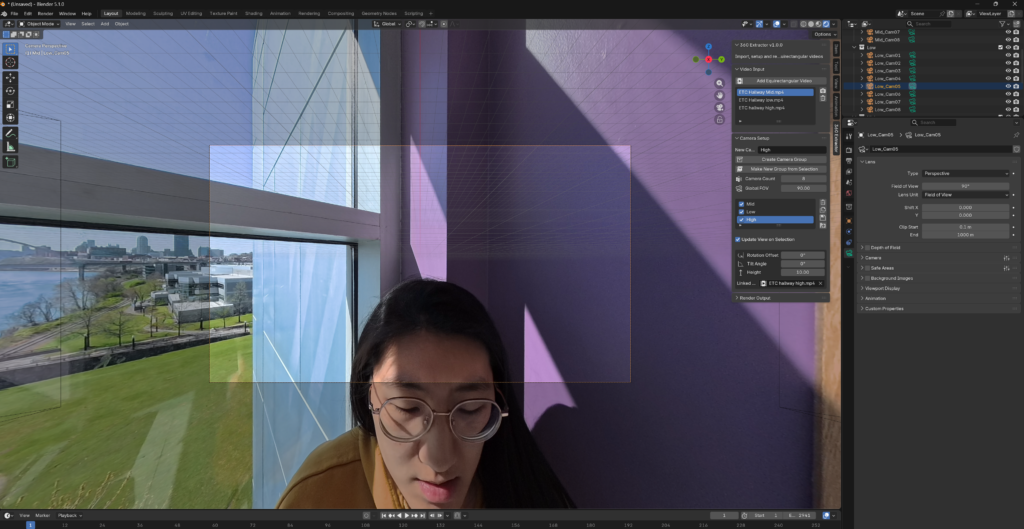
- Under Camera Setup, type in “High,” then click Create Camera Group. Adjust the Height to 10. Click “Linked” and choose the high-angle video.


- Rpeat the Create-Link-Height adjustment steps for the other two videos. For the mid-angle video, keep the defaut height. For the low-angle video, adjust the Height to -10.
- Moving on to the right panel. Feel free to delete Camera, Cube, and Light.
- In the Output tab, edit the Resolution X and Y to the desired numbers. We usually use a square of 1920×1920. You will see a square when you toggle on the camera view.

- Toggle the camera view on (by clicking back and forth on the camera icon circled in yellow below).

- Under Scene Collection, click all the cameras to check which ones show you in the square. Delete those cameras so they don’t confuse the algorithm later. Repeat for the other two angles. For example, you might end up with Camera 1, 2, 3, 7, and 8.
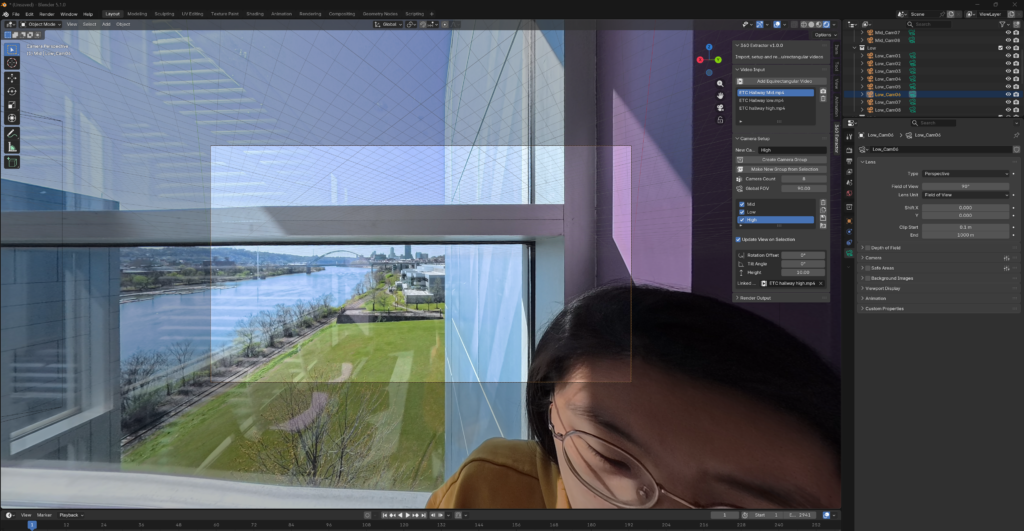
- Moving back to the Plugin window to the left of the Scene Collection. Under Render Output, choose a folder location.
- Change the Frame Step to a desired number: you can check how many photos you will get by clicking on Render Selected Camera Groups.
- Ideally, you want 300-500 photos total. It’s recommended not to exceed 1000 photos. We usually use a Frame Step of 30-60, which means that for every 60 frames, 1 photo is extracted.

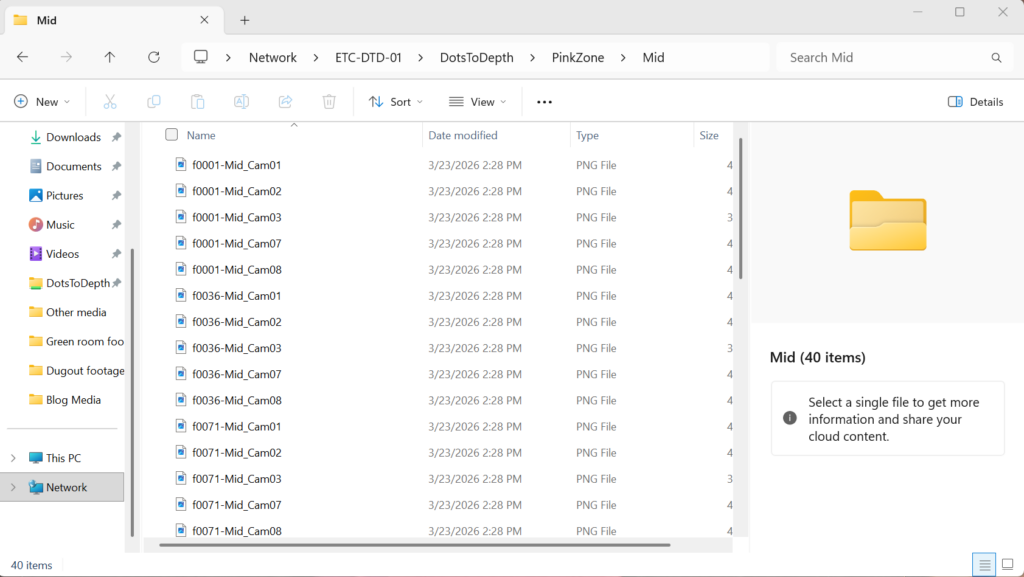
- Click Ok. There is no progress bar, so simply go to the folder you chose to find the three folders of photos gradually forming.
RealityScan
- Launch RealityScan in Unreal Engine.
- In the Workflow tab, import all three folders of photos.


- In the Alignment tab, click Align Images. It usually takes only minutes to complete. This is also why we do this step in RealityScan instead of in PostShot, which is a lot slower at image alignment.
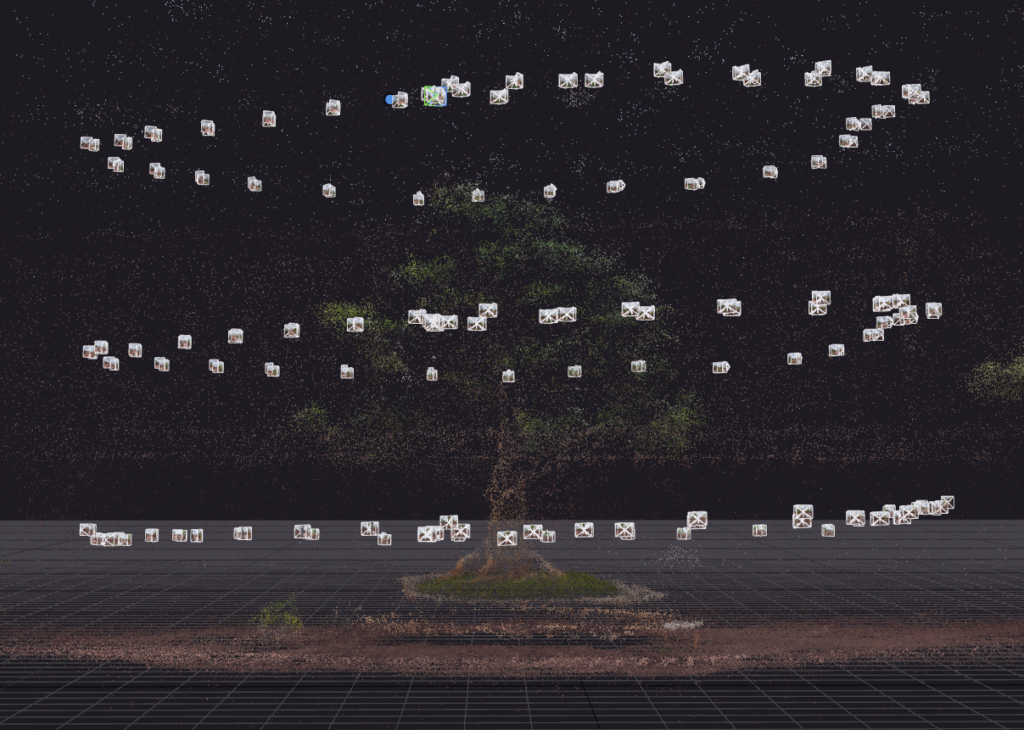
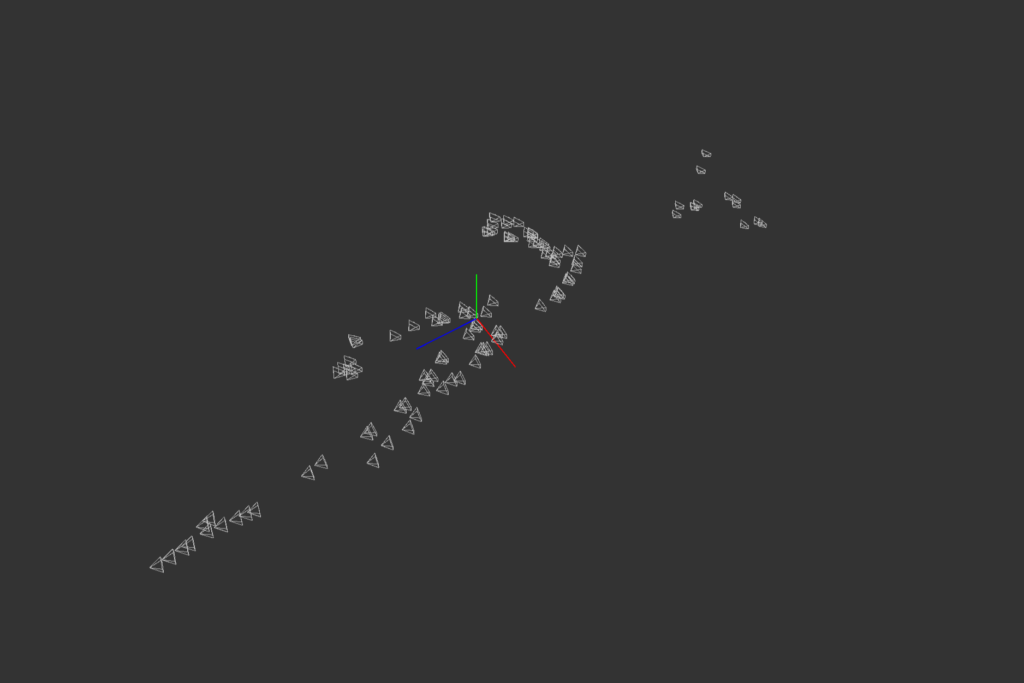

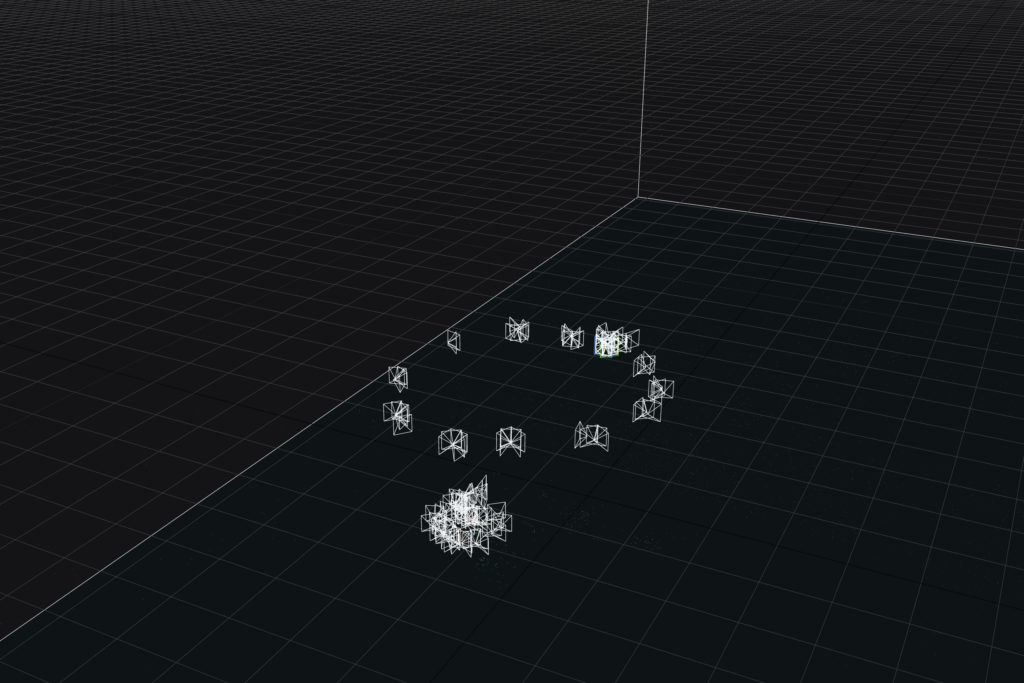
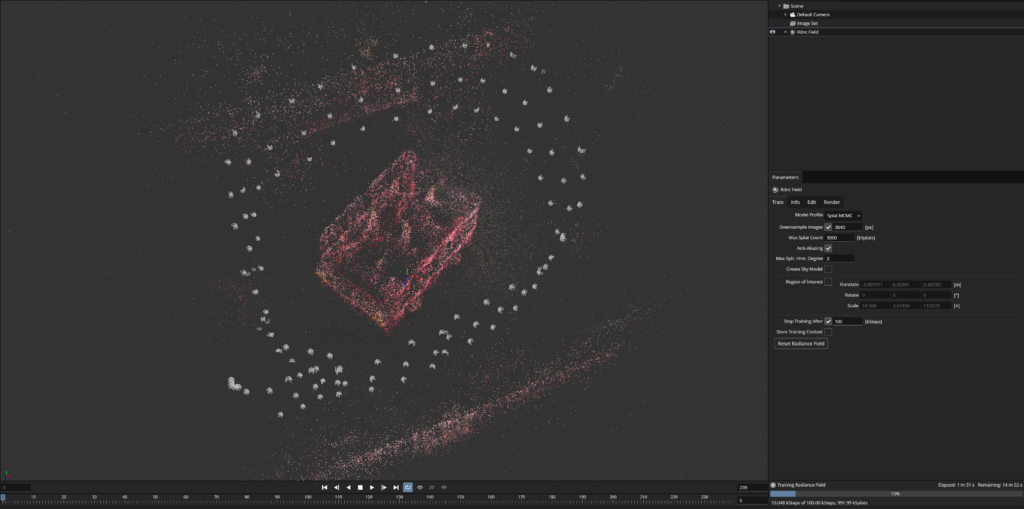
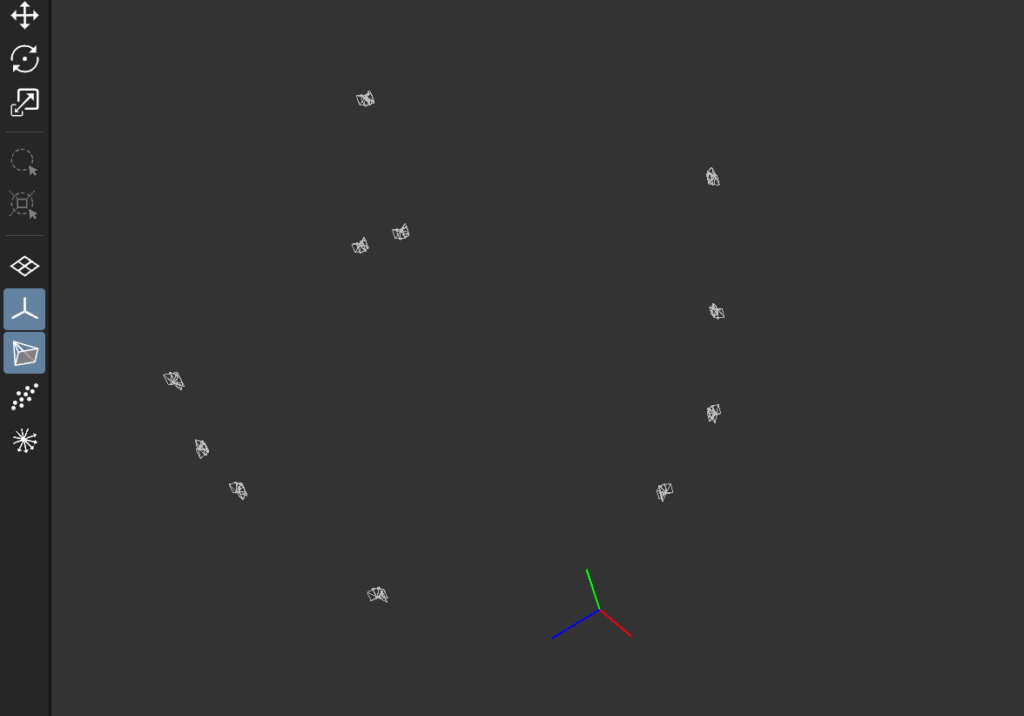


- In the Workflow tab, click Export, and export 2 things:
- Under Camera Alignment, click Internal/External Camera Parameters. The downloaded file should be a csv file (Excel file).
- Under Sparse Scene Structures, click Sparse point cloud as Polygon File Format (*.ply).
- In the export parameter details, toggle Export ascii to False. The downloaded file should be a .ply file.


As of April 2026, PostShot is not compatible with the latest version of RealityScan, so you need to open the Camera Parameters Excel sheet, and change 3 headings in the top column.
From:
f_35mm, px_norm, py_norm
To:
f, px, py
PostShot
- Import all three folders containing the photos, and the two files exported from RealityScan, into PostShot.

- You should see that Import becomes an option in Camera Poses, because PostShot is now reading the csv and ply files.
- For Image Selection: Use all images
- For Radiance Field Profile, select Splat MCMC, which, in our experience, renders the best-quality models.
- Under Stop Training After, set the value. Our team has used from 30k to 200k Steps. While more steps generally lead to a sharper result, using a very high number won’t fix blurry or low-quality footage.
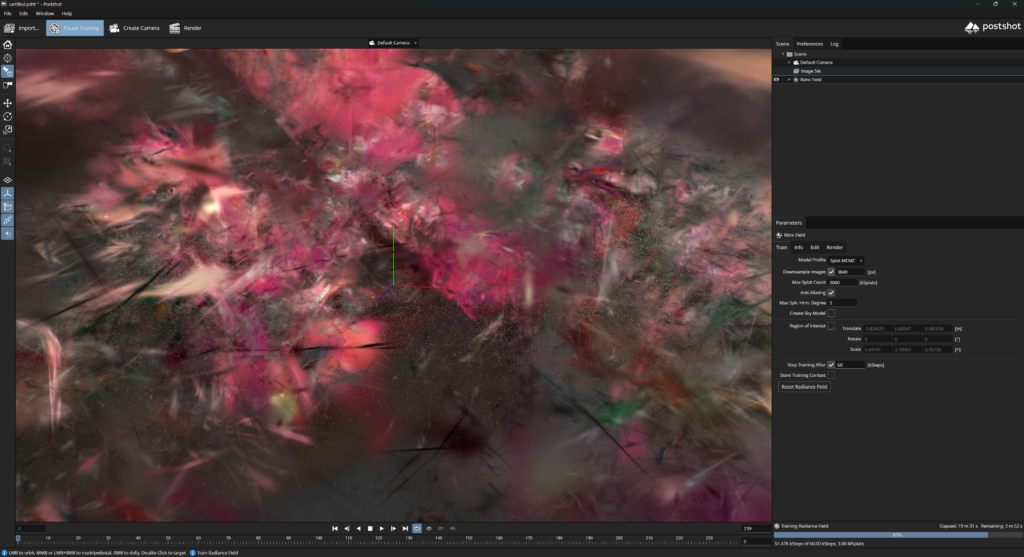
- After clicking Import, the screen should automatically show the Radiance Field changing, and you will quickly see if the process is a success or not. A failed render will look like a ball of messy colors, while a successful render will look like the real environment very quickly.
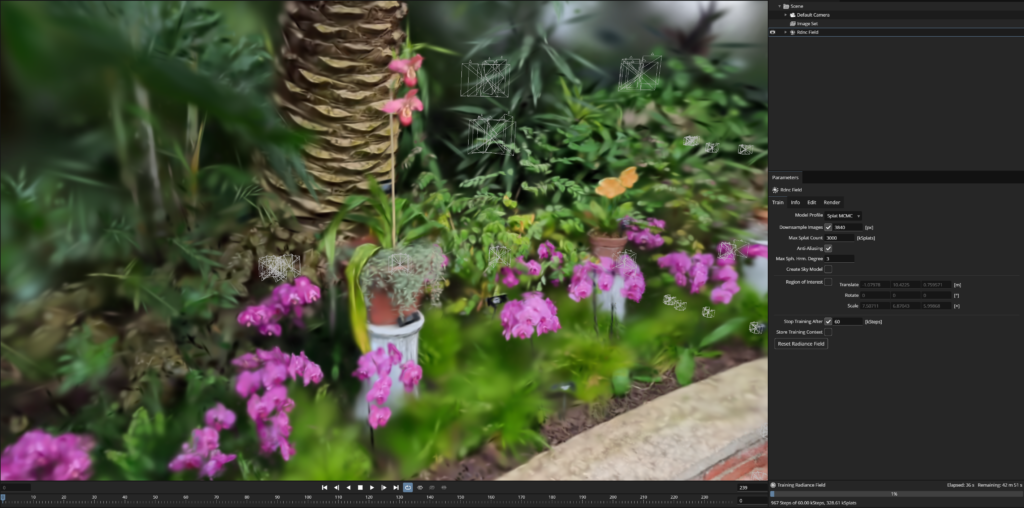
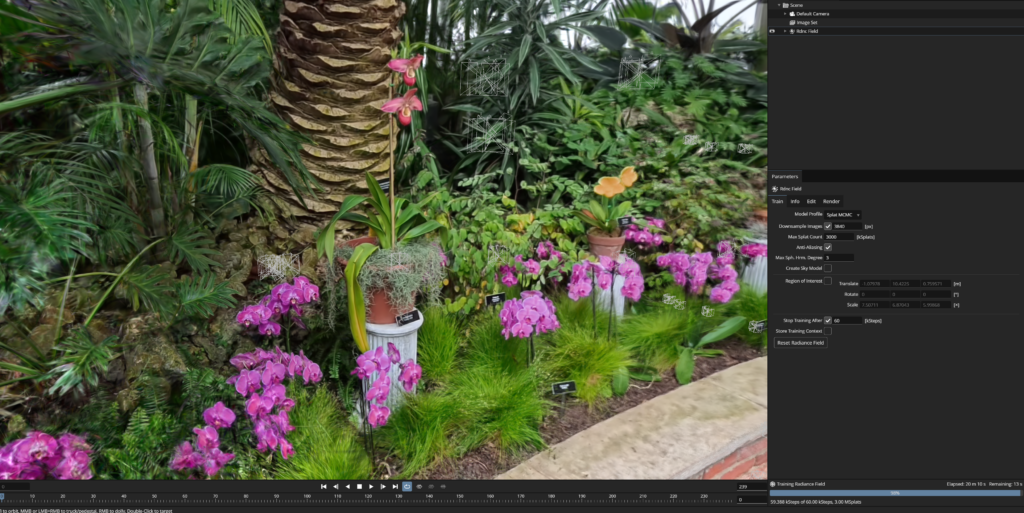
- Clean-up is needed if:
- The ply file is too big (it usually is)
- You want an isolated object
- A good practice is to always save a duplicate version of the file, so if you mess up, you can always restart.
- For more detailed instructions on cleaning up a splat using different software, see below.
- File → Export scene radiance field. You’ll get a ply file, which can be imported into Unreal.
Cleaning Up the Splats in PostShot
- Use the selection tool to select the area you want to keep.
- Click “invert”
- Click “delete”

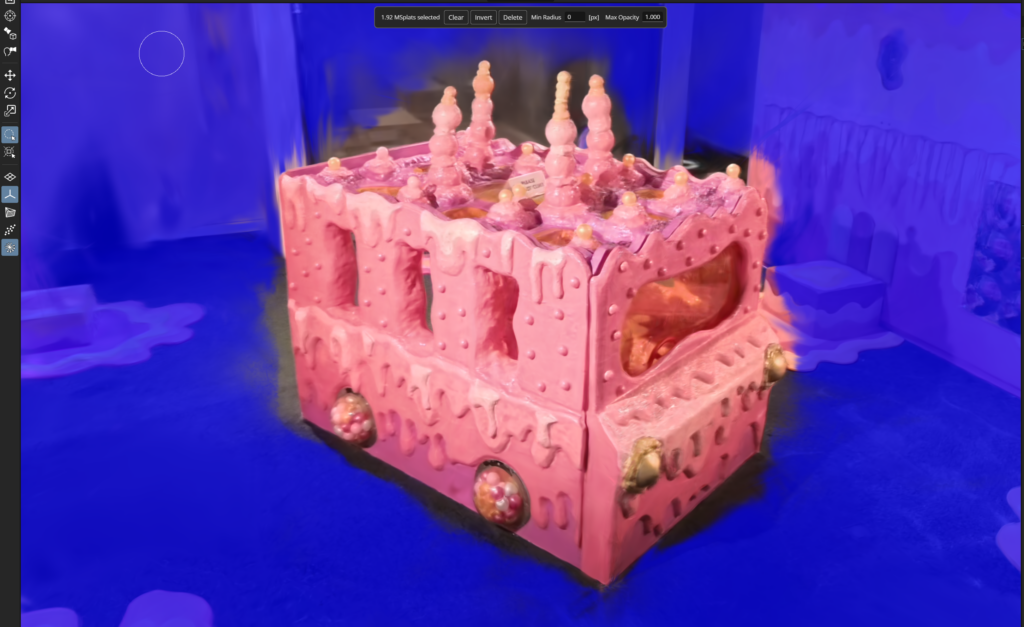
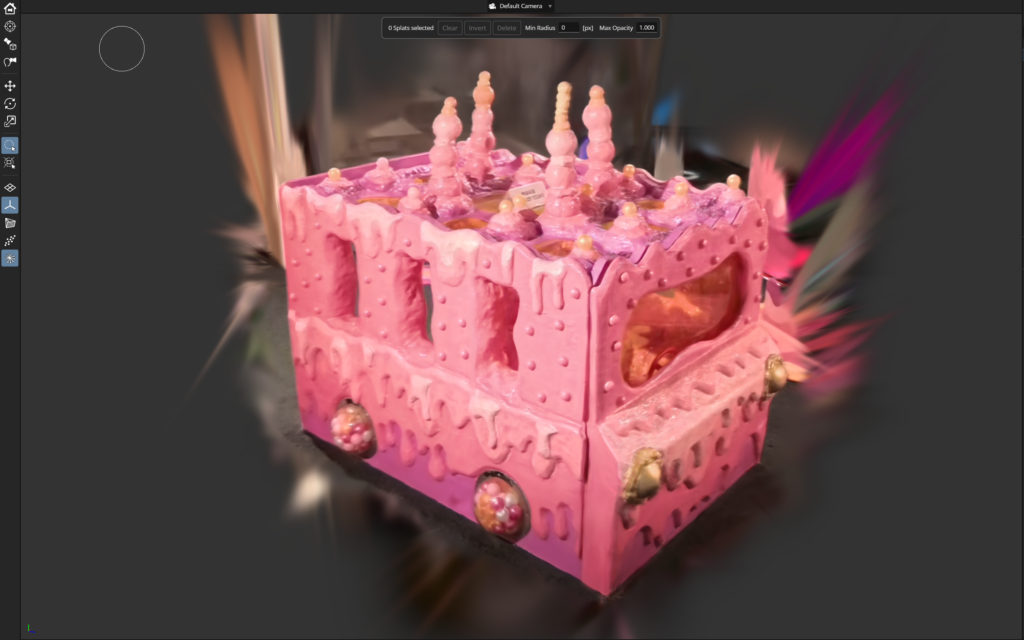
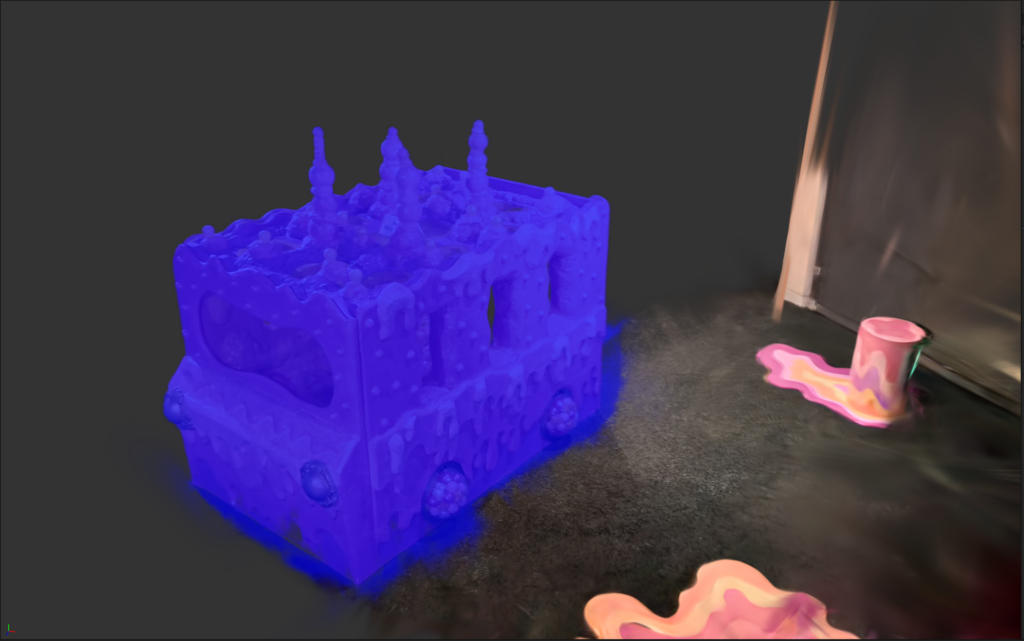
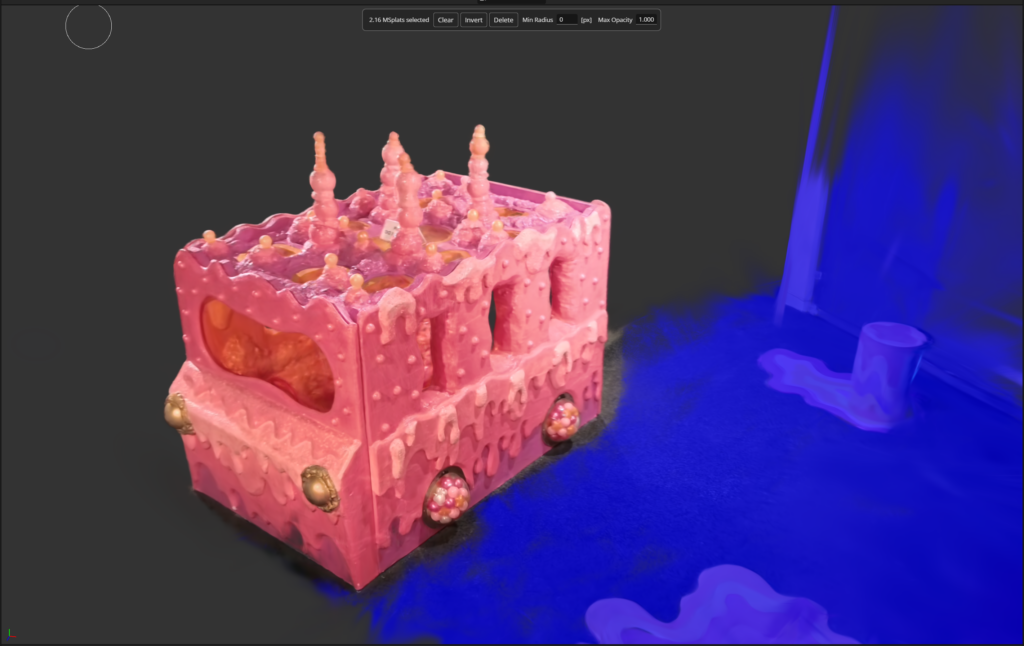

- Use the rotation tool to look at your object from a different angle. You’ll notice that the space behind your object is also kept in place. Repeat the clean-up process as needed.
Cleaning Up the Splats in SuperSplat
- In some cases, using PostShot to clean up is rather cumbersome. Another tool that our team used is SuperSplat. Find more details here.
Unreal Engine
For using Unreal’s 3D Gaussians Plugin, find their official manual here: https://akiya-research-institute.github.io/3dGaussiansPlugin-Manual/en/. They also discuss Lighting here: https://akiya-research-institute.github.io/3dGaussiansPlugin-Manual/en/how-to-import/#place-to-level
One of our main methods of choregraphing 3DGS models was using the Niagara Particle System in Unreal Engine. Find more details here.
Last Updated: April 2026