Thanksgiving is upon us, and thus this week was particularly short for the project (just 2 days long). It was an eventful week nonetheless, with a major playtesting session on Monday and an important team meeting in preparation for our Softs presentation next week.
Story Mode Playtesting
We went back to Cornell School on Monday to playtest our full Story Mode experience with Elise Neill and her sixth grade students (we also playtested with Mrs. Neill’s class during our last visit to Cornell).
We had been planning this visit for a while with Mrs. Neill and Rachel McVeagh (Cornell’s Instructional Technology Coach), and we are incredibly grateful to both of them. We had asked for a few conditions to be met for the session, because our playtesting goals were the following:
- Observe the students’ interactions with our project, to find out…
- If the experience flows as planned (if the introduction, customization, wiring, and programming stages build up to the maze gameplay successfully).
- How long Story Mode takes for students to complete.
- If students understand wiring instructions and can wire the components successfully.
- If students understand the relationship between the power log and the slider with the programming stage interface.
- Observe how a teacher facilitates the experience with the aid of a teacher guide prototype.
Thus, the playtesting session requests were the following…
- The teacher will read the teacher guide prototype sent by the team and take note of any feedback/suggestions/questions, to be discussed with the team after the playtesting session.
- The teacher will divide the class into maximum 7 groups of 2-3 students each.
- The team can provide up to 3 Chromebooks for student teams to use, so the school will need to provide 4-7 Chromebooks (for a total of 7 Chromebooks, 1 per team).
- Students must have access to Internet connection through the Chromebooks to open a website.
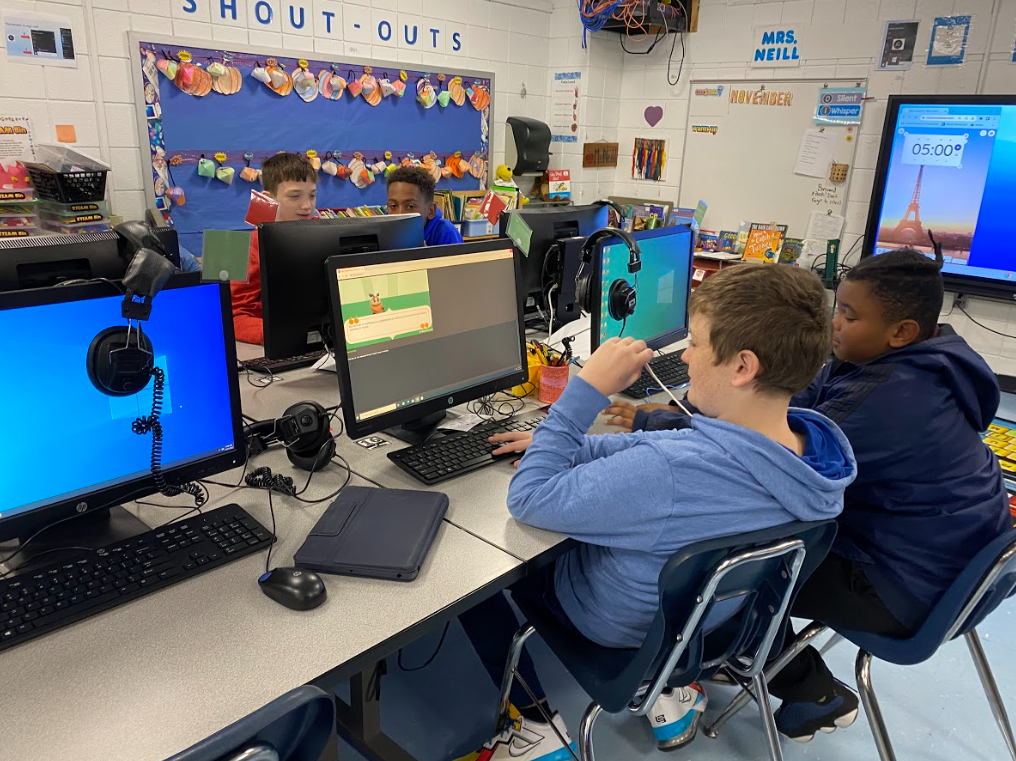
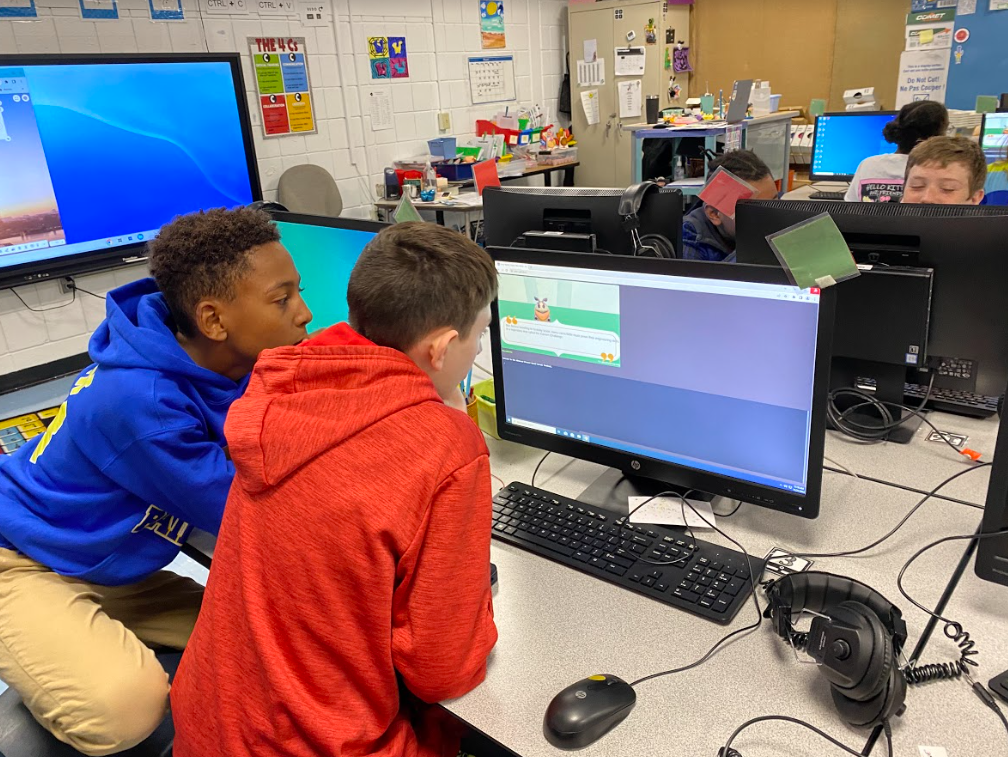
We told Mrs. Neill and Rachel we would provide all needed hardware components. Mrs. Neill recommended we use Cornell’s computer lab desktops instead of Chromebooks, so we decided to follow her suggestion.
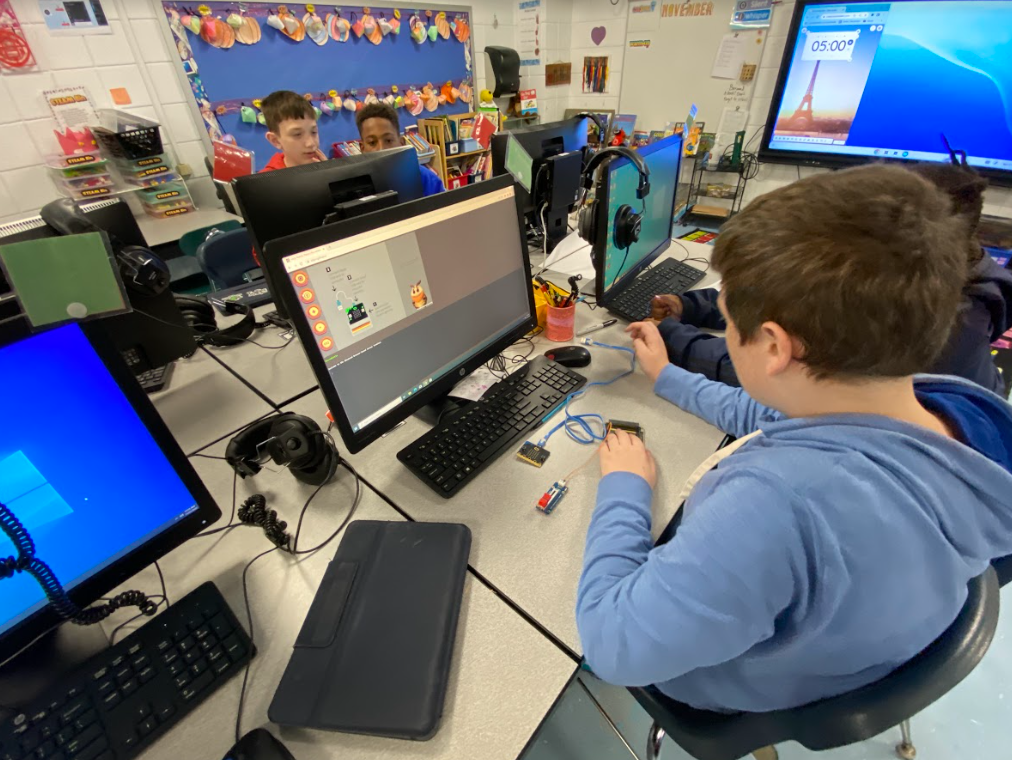
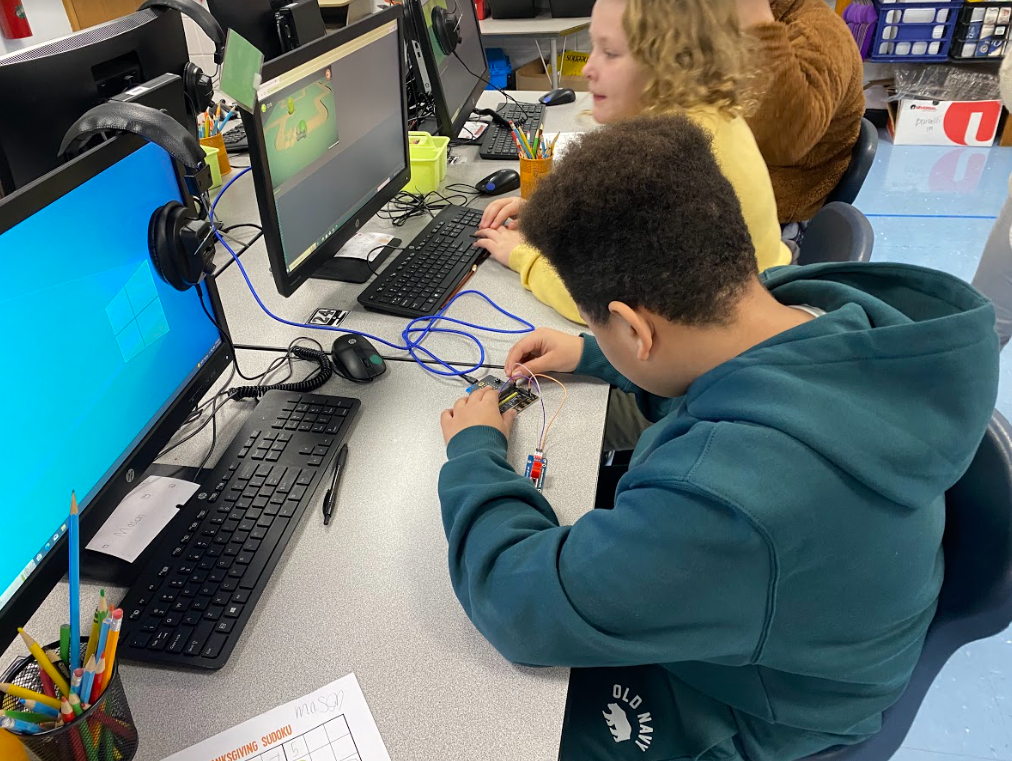
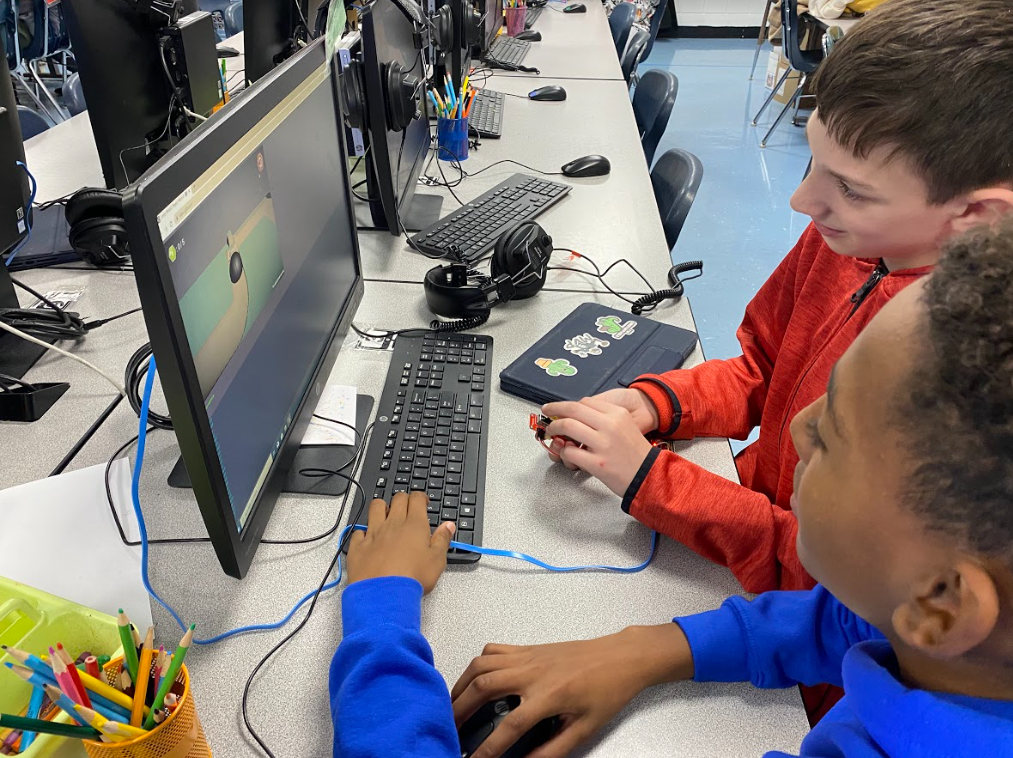
At the school, the team set up the activity by giving a very brief description of the session to students, handing all teams the hardware components they needed, and opening the demo website in their computers. Mrs. Neill and two of the team members then walked around the computer lab to help any students that needed assistance and answer questions, as they also took notes and photos.
Main Takeaways
As mentioned, the team took notes during the session and interviewed Mrs. Neill about the teacher guide. The following are observations, feedback, and takeaways that the team discussed in a meeting at the end of the day. The goal of the meeting was to establish what needs to be done by next week, so that the game is as complete as possible for our Softs presentation.
Students’ Feedback & Actions
- The experience took an average of 20 minutes to complete (YAY!).
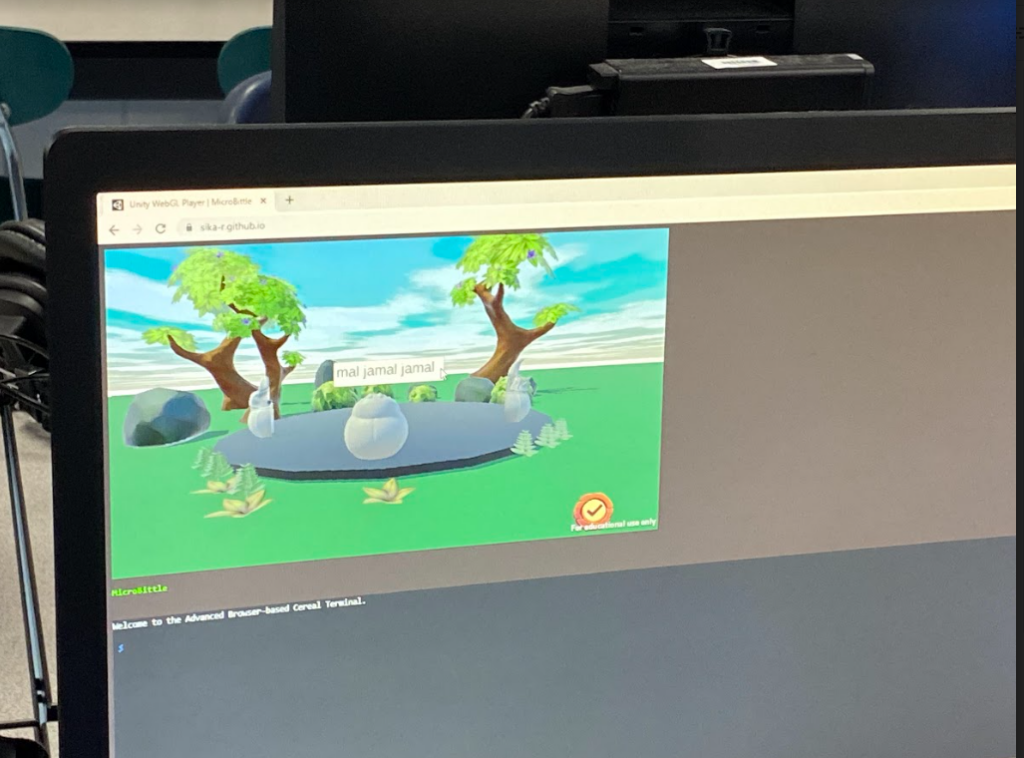
- Bard (the mentor character) is very cute.
- Groups read the introduction text out loud and commented on it (ex. “Are we gonna become a micro bittle?”).
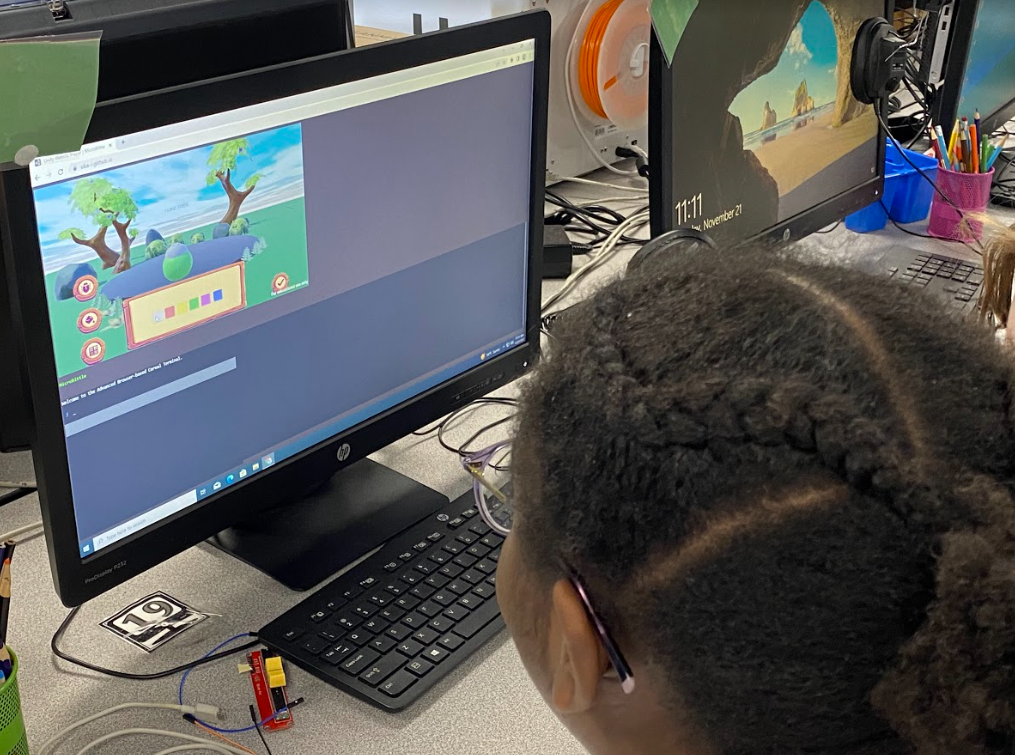
- Some students were not sure how to navigate the customization stage.
- Students complained about the limited number of texture/pattern options (only 2) in the customization stage.
- Some students didn’t realize the USB cable needed to be connected to the computer.
- Some students didn’t pay attention to the instruction that, for the wiring stage, the data pins to use from the expansion board must be P0, P1, or P2.
- Students generally ignored the programming stage (with how it was implemented, they didn’t really need to interact with it).
- Students needed a lot of assistance to pair the micro:bit to Google Chrome.
- Given that the programming stage was mostly ignored, many students didn’t initially understand how to control the power log in the maze.
- Students had no indication that they needed to activate the power log during the maze gameplay by pressing the micro:bit A or B button.
- Overall, students reported having a lot of fun. They were disappointed when the maze ended, given they were hoping they could play another maze or play the same maze again.
Implementation Needs
- Homepage was missing.
- Dialogue audio narration was missing for entire Story Mode.
- Cut scene for introduction stage was missing.
- Text instructions were not included in customization stage (hence students’ confusion about what to do).
- Texture/pattern selection interface should show texture/pattern buttons, just like color selection interface, as opposed to arrows.
- More texture options should be included.
- Wiring stage shouldn’t require hovering over all components to proceed, and it should allow students to click on components view at any point (which wasn’t possible with the demo).
- The programming stage’s function input field were populated with the correct values and selections by default. Therefore, students didn’t need to work through it. The fields should be empty by default, so students have to complete them.
- Gray background in wiring and programming stages negatively affect readability.
- Transition scenes between customization and wiring stages, between wiring and programming stages, and between programming and maze gameplay stages were missing.
- End screen was missing (official badge presentation and homepage button).
Redesign Needs
- micro:bit setup wiring diagram needs computer visual.
- Data pins wiring diagram needs to highlight pins P0, P1, and P2.
- Instructions need to be added to tell students that they must press button A or B to activate the power log during maze gameplay.
- UI audio feedback is missing (audio clips must be sourced).
Teacher Guide Feedback
- Include screenshots of the actual game stages in the teacher guide.
- Include a step-by-step explanation of how to pair the micro:bit and browser, with visuals (screenshots).
- The game’s end goal needs a better explanation, given it wasn’t clear in the teacher guide prototype.
- Include a troubleshooting guide, where teachers can look up a specific problem and quickly learn how to troubleshoot it.
- Include a slide deck that teachers can show students during class.