We came back from Fall Break this week and got ready for Playtest Day at the ETC. Our plans to playtest at West Liberty University were put on hold – however, the opportunity to test Story Mode with guests at our project room on Saturday granted us valuable feedback to guide our work for the following weeks. Prior to that, we had a second playtesting workshop with Mike Christel on Monday, which helped us understand what we could get out of playtesting that week.
Playtest to Refine Workshop
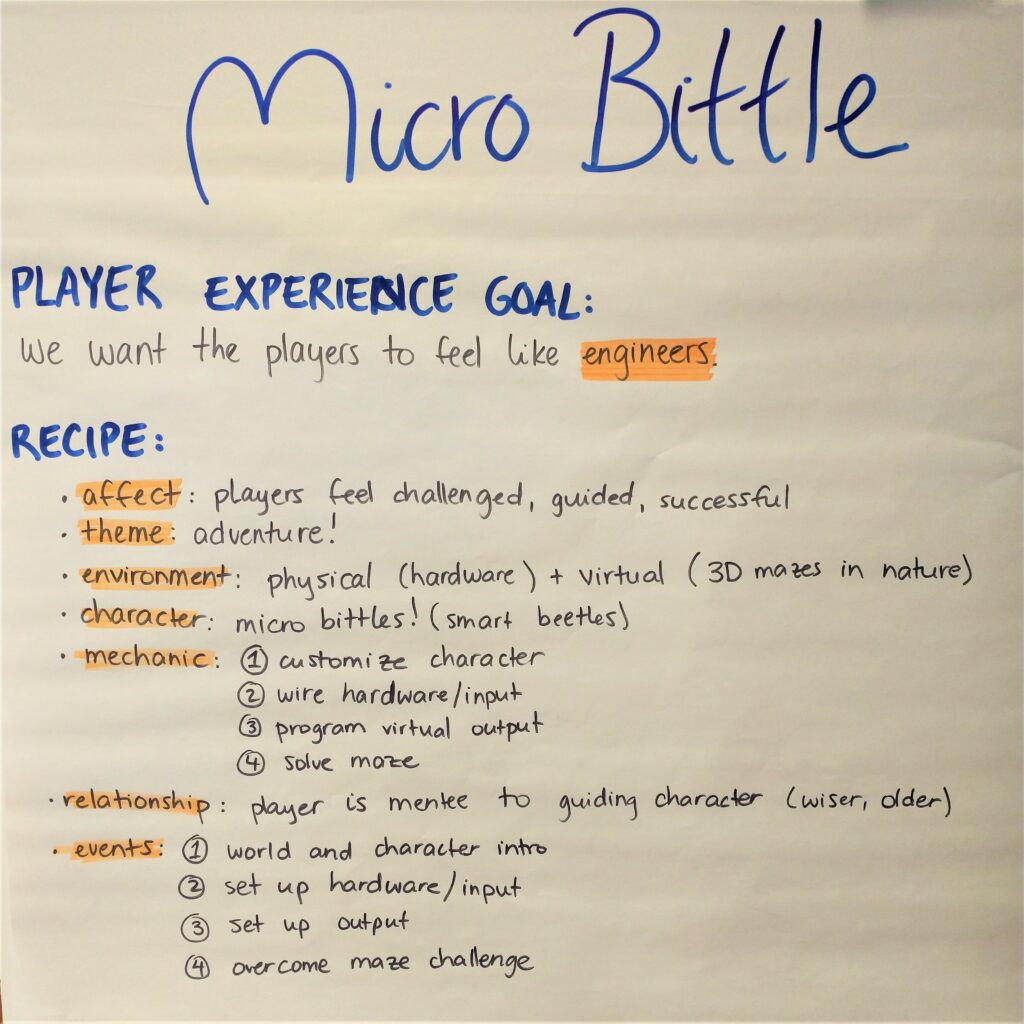
During this week’s workshop, we were asked to lay out a “recipe” for one of our player experience goals and get feedback on it. We chose the goal of making players “feel like an engineer“, which touched upon the lore of the game (micro bittles are explicitly said to be engineers) and on the process of creating a device to aid in overcoming an obstacle. Our poster with the “recipe” can be seen below.
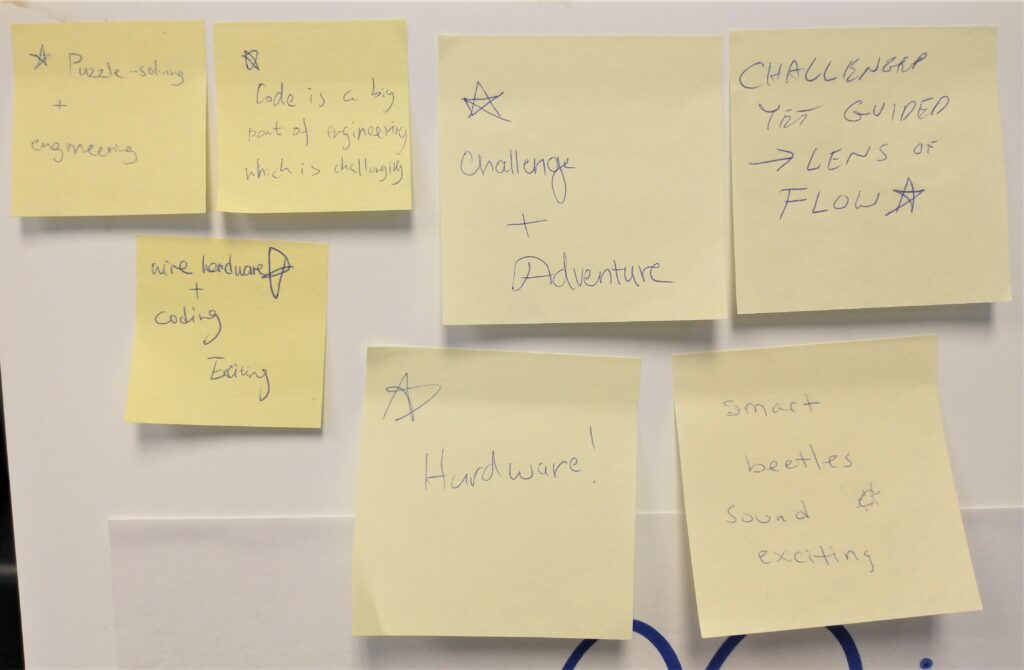
Other ETC students and faculty were asked to leave comments about what they liked from our “recipe” (marked with a star) and questions about it as well. We got very positive feedback on aspects like combining a challenge with guidance, incorporating hardware and programming into the experience, and using adventure and intelligence as main components of our backstory and characters.
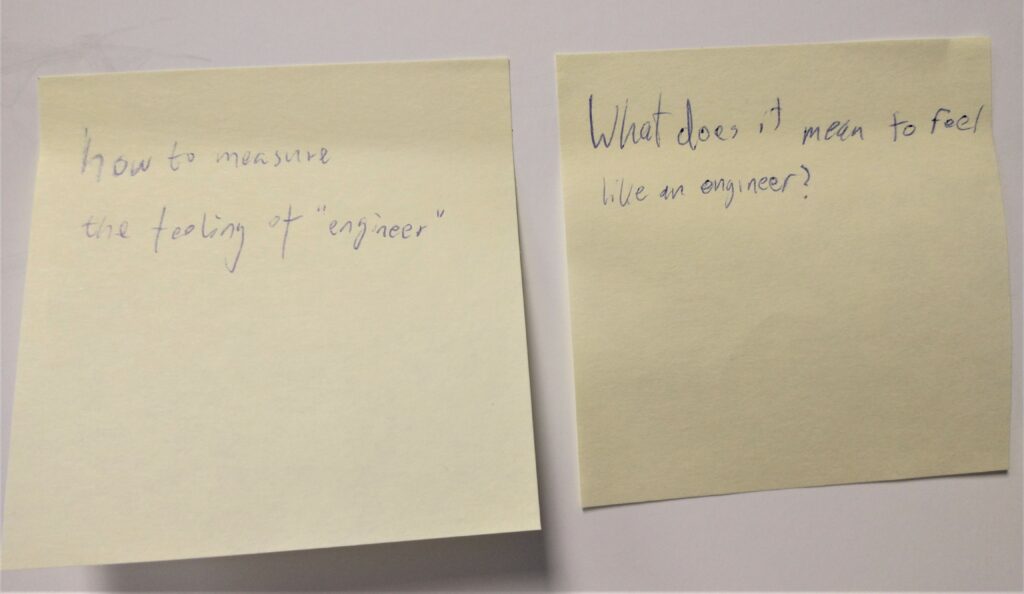
We also got the (very relevant) question of what “feeling like an engineer” actually means. As a team, we want the feeling of being an engineer for 6th graders to come with understanding how technology (input and output) works in our game and using it for a well-defined goal (solving mazes framed as adventures). If we can make students feel accomplished, more knowledgeable, and more capable of using technology as a tool after playing our game, we will have succeeded in making them feel like engineers.
Playtest Day
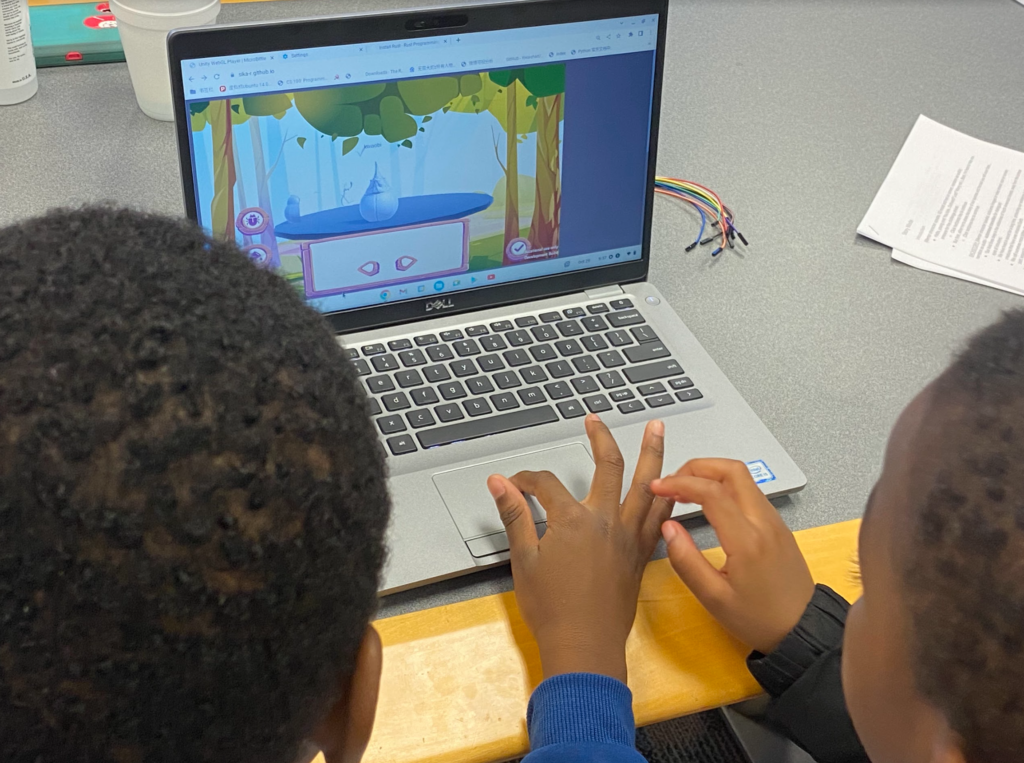
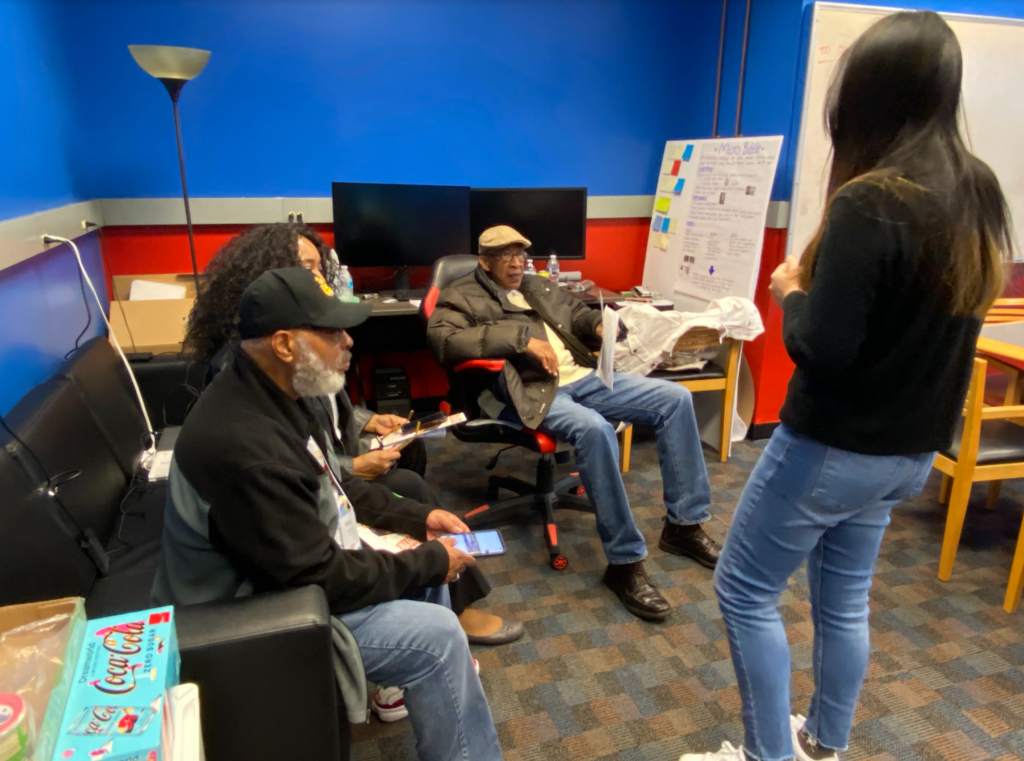
Prior to Saturday, we thought we would be playtesting with kids aged 10-12 on Playtest Day, which fit our demographic for the most part. However, when our sessions started, we realized that (for a few different reasons) we would be playtesting with a 6 year-old and an 8 year-old, a 10 year-old and an 11 year-old, and two groups of adults.
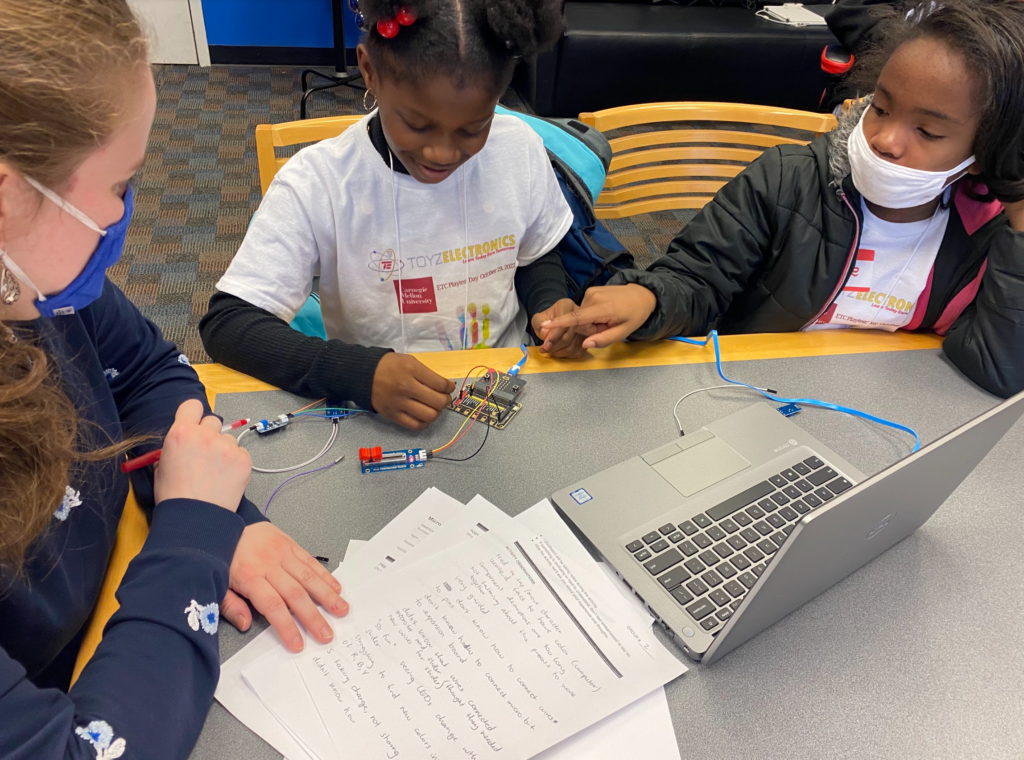
Though we were initially confused about how we should approach our sessions with these different demographics, we were able to adapt quickly and get helpful observations and feedback from all of them. During the week, we designed a form that one of us, as facilitator, filled out for each session to record playtesters’ answers to questions and comments about the experience, which proved to be very useful.
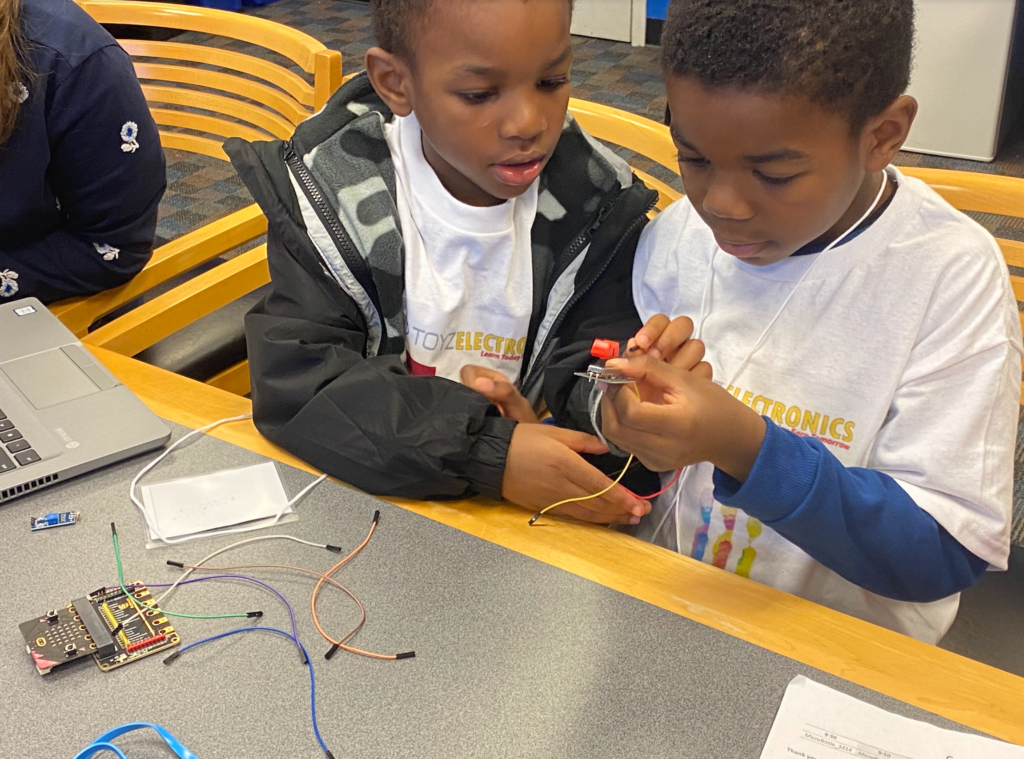
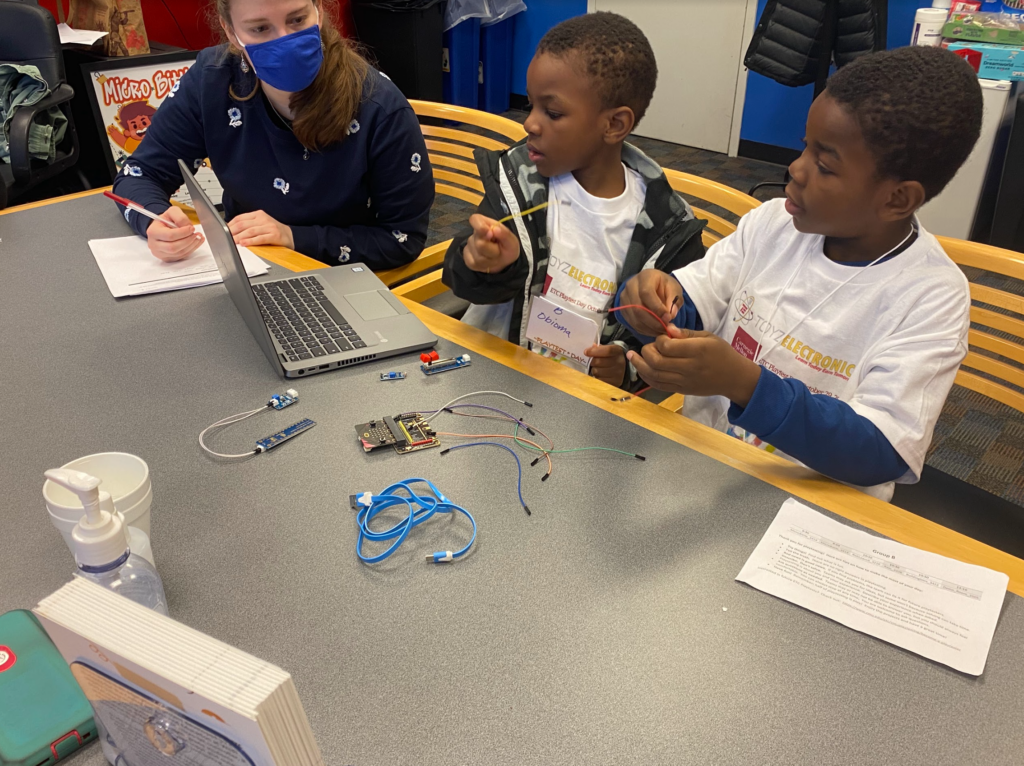
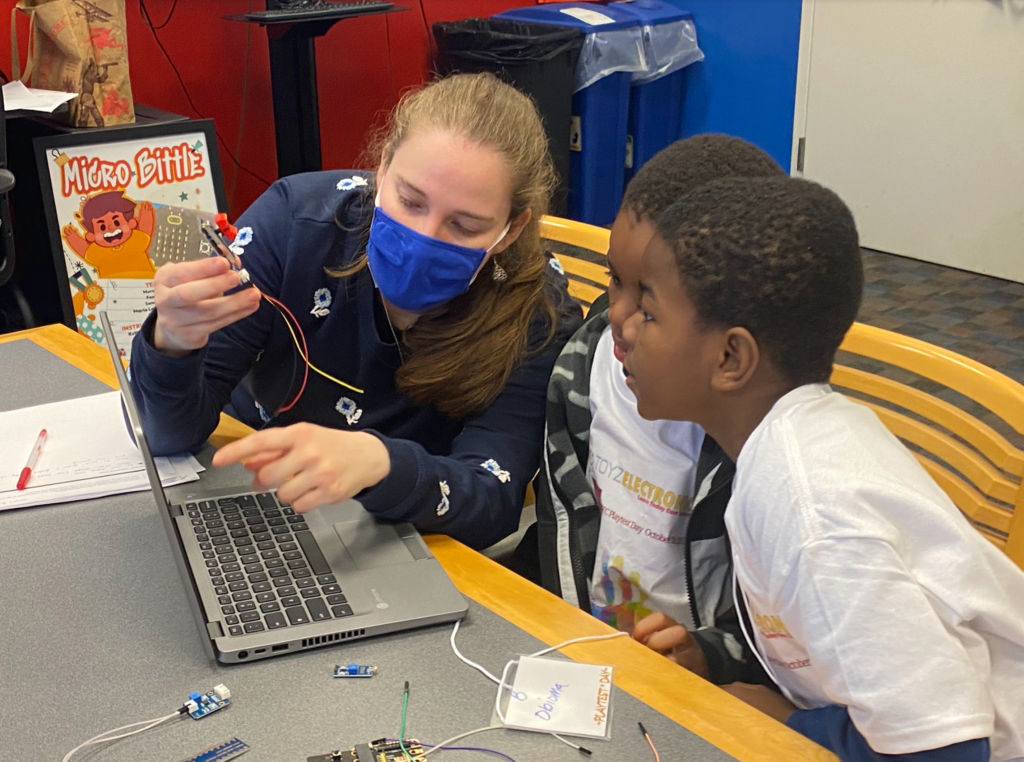
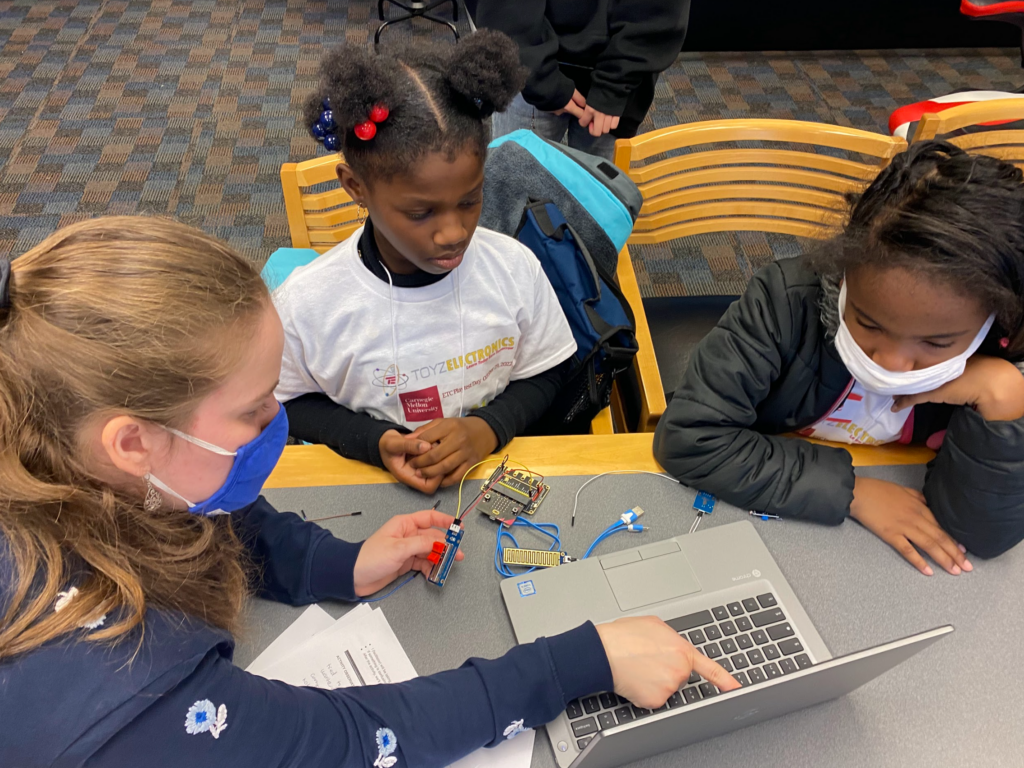
Our first playtesters were the 6 year-old and the 8 year-old, who were brothers and whose father joined us during the session. Given their ages, we decided to make the activity more guided than it would usually be, with a facilitator from our team actively walking them through the process. In this first 40-minute session, the playtesters were only able to wire the slide potentiometer (1 out of 3 sensors/controller needed in Story Mode), meaning they didn’t get past the wiring stage.
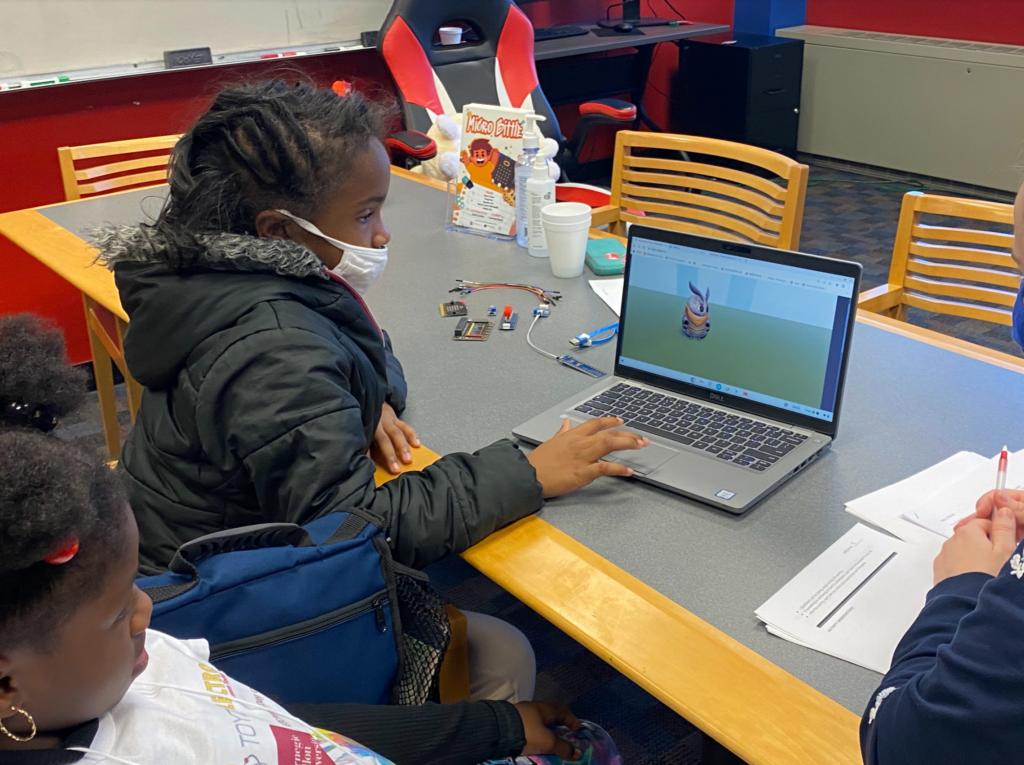
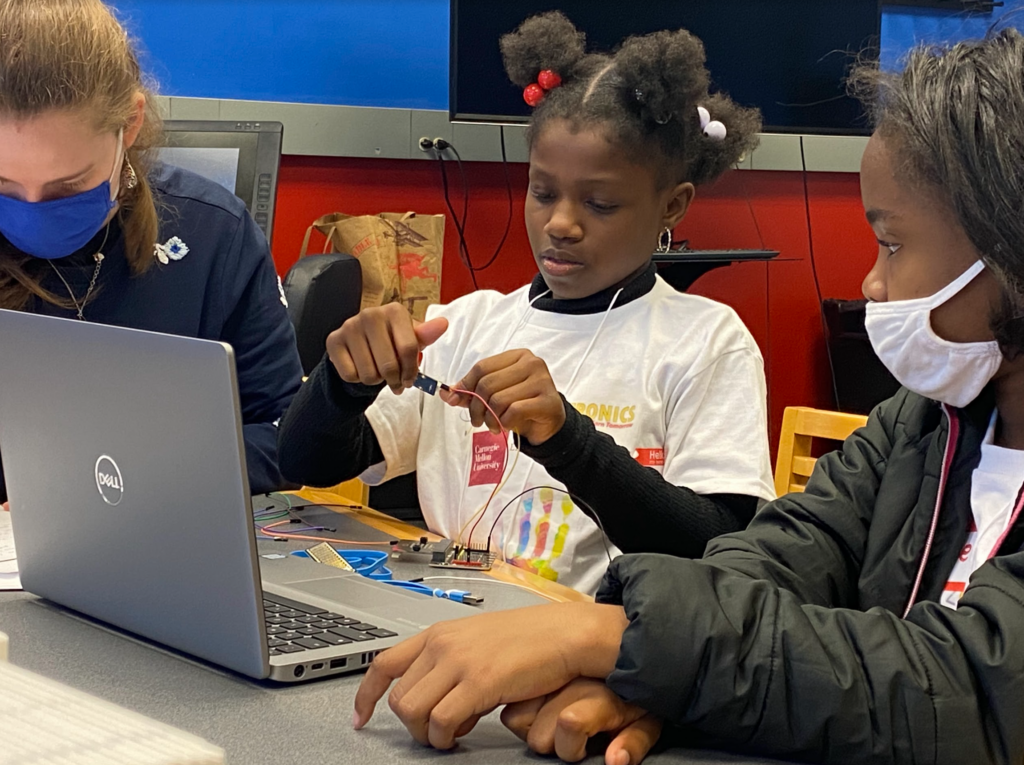
Our second group were the 10 year-old and the 11 year-old, who had just met each other and had no adults accompanying them. Their session was less guided than the previous one, but it still required more direction than we intend for our target audience. Just like with the younger children, these playtesters weren’t able to get past the wiring stage in 40 minutes, though they did try to wire all 3 sensors/controllers.
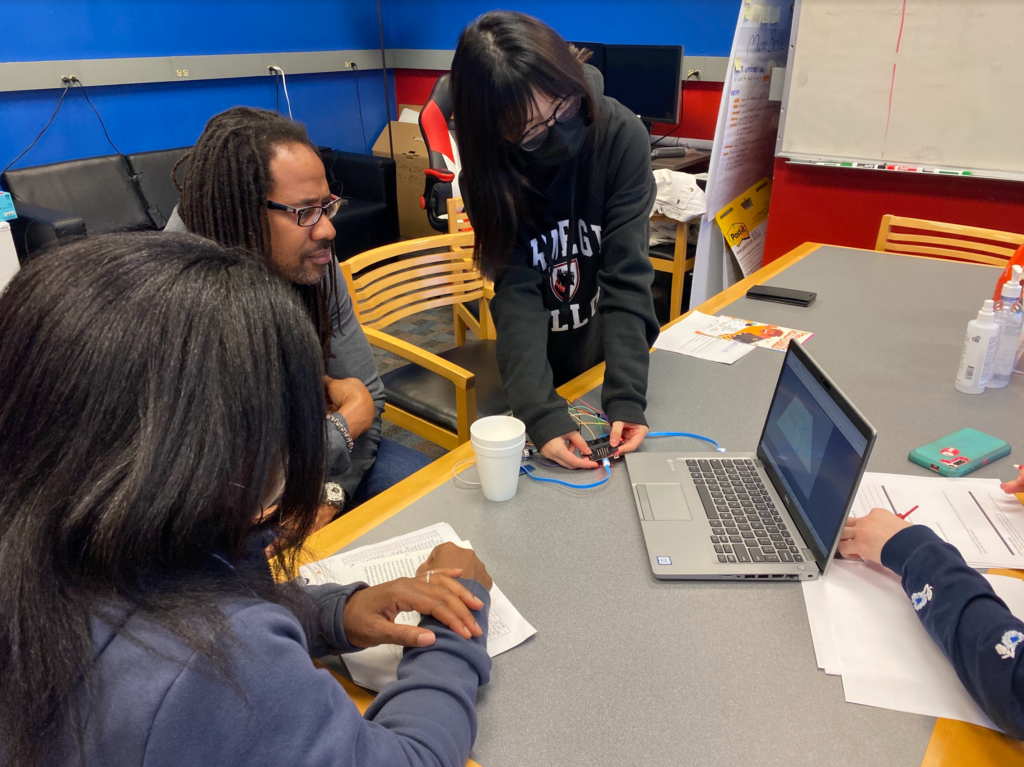
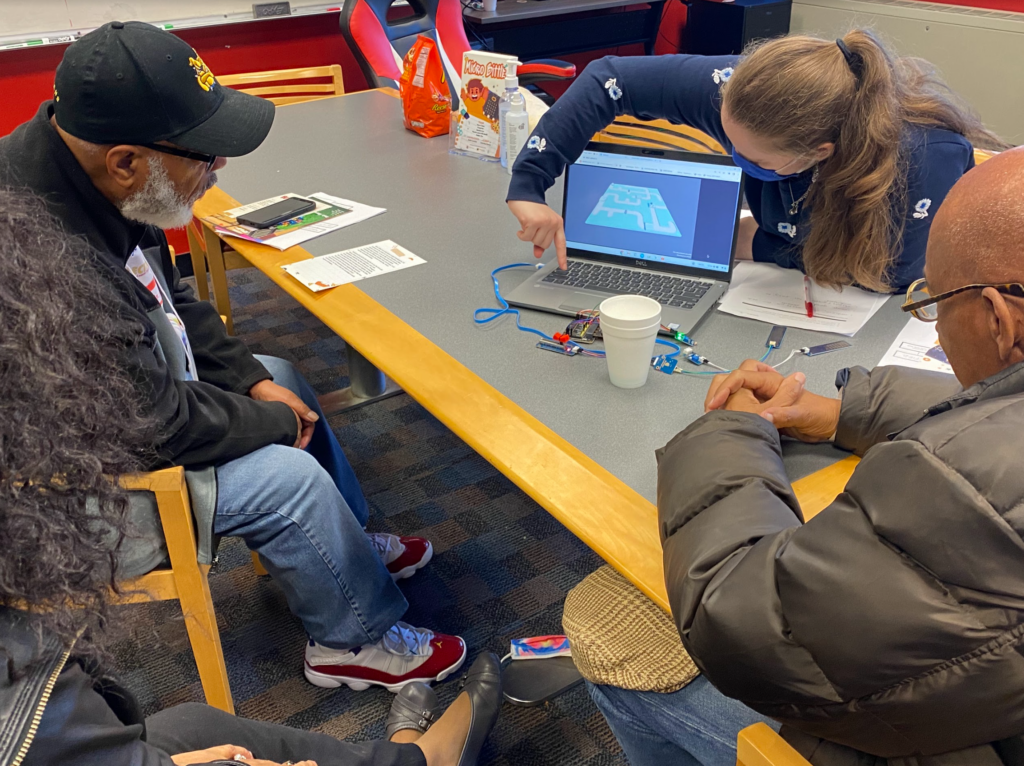
Our third and fourth groups were adults, some of them teachers. To get feedback on other parts of Story Mode, we decided to have them playtest the maze stage only (each group had 20 minutes to playtest). The third group used the sensors/controllers themselves, while the fourth group observed one of our team members solve the maze while she explained the process.

Playtesting Observations & Feedback
As mentioned before, we used a form to record our sessions. Some of the information we recorded is as follows:
From group #1:
- The playtesters didn’t understand the wiring diagrams to connect the slider to the micro:bit expansion board.
- They focused more on matching colors than using symbols or written information.
- The symbols in the wiring diagrams were too small for playtesters to understand.
- Once they received guidance about how to read the wiring diagrams and which symbols to look for, they liked the challenge of wiring and looking for symbols.
- The 8 year-old was clearly more engaged and understood more about the activity.
- They got very excited when they saw the lights on the micro:bit and slider turn on as these components were properly connected to power.
- The 8 year-old ‘s comments about input and output after the activity did reflect a level of understanding about these concepts.
From group #2:
- The process was guided by the facilitator. The playtesters didn’t really talk to each other to collaborate. One of them took charge.
- The playtesters got bored during the mentor character introduction and backstory sections – they were too long and had no visual variety.
- They wanted more customization options and the player character to look more detailed and similar to the mentor character.
- The component descriptions were too long for them in the wiring stage, they had no interest in reading them.
- The same happened in the wiring instructions – they didn’t read the text or used the symbols, so they didn’t know how to wire the components until guidance was given.
- Just as with group #1, they really enjoyed seeing the components lights turn on when components were connected to power.
- They enjoyed the challenge of figuring out how components had to be connected, and feeling like they were building and creating something.
- They ranked the overall activity as “mostly fun”.
- They reported not doing any activities similar to this one in school.
From groups #3 and #4:
- Group #3 liked the concept of using sensors/controllers as devices in a maze.
- However, they were confused during the game. They weren’t sure which device to use for each obstacle.
- Part of it was that the objects/graphics were not visually recognizable (for instance, the headlamp was not recognized as such).
- They reported maze movements being “a bit clunky”.
- Group #4 thought the game concept was “fabulous” and “very engaging”.
- One of the playtesters reported imagining this gameplay being successful in a broader teaching system.
- He recommended looking at mazes historically, and lean into the possibility of teachers using this game to teach students about the concept of mazes.
- The combination of software and hardware was confusing to this group, and they reported it being too complicated. They suggested using only software in the form of a mobile application.
As a team, we decided to pivot and adapt our design based on the feedback we received, and to make sure these changes are successful by scheduling other playtesting sessions. Next week’s blog will cover the modifications to our project and how we’ll test them. Stay tuned!