
This week we prepared for softs and tied up some lose ends in our physical design. On the hardware side we mounted the ball ejects (for our pop out holes) and switches, found a way to track the ball while in play, and connected these parts to our digital game. As for design we laid our board’s decals to reflect our factory mini game, implemented some new art assets, and covered the cabinet in fur!
Ball Ejects (pop-outs), Switches, and Lasers!
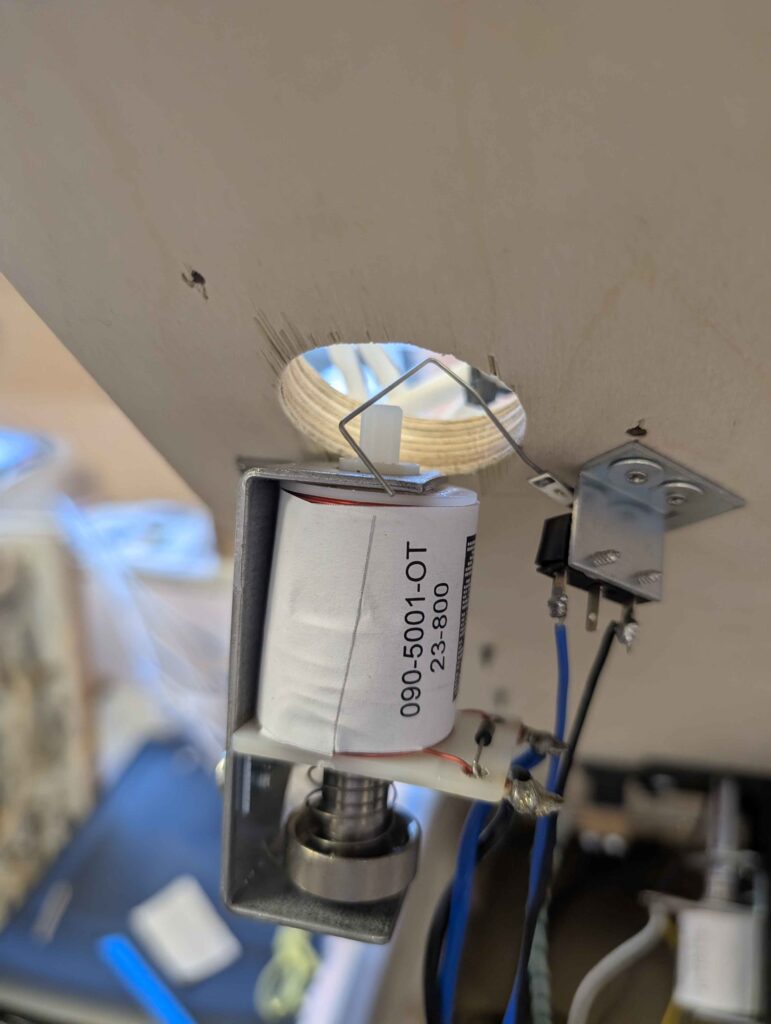
Below you can see a few pictures of what our ball ejects look like, they are essentially just springs that shoot out that little peg into the ball to get it out of the hole. They have essentially the same function as the pop-bumpers at the top of our cabinet, but they require an external switch to detect the ball and to know when to fire.
The Switch is actually the tiny wire you can see positioned in the middle of the hole. These tiny wires are just like buttons that get pushed down when the ball falls on top of it, the hard part is making sure the wire doesn’t hold the ball and get it stuck within the hole.
We went through a lot of trial and error when installing them until Dave gave us some tips. Apparently it works best if the ball rolls over it from the high point of the wire to the low point and, to make sure the ball doesn’t get stuck without triggering the switch it was important that we place them as close as we could to the center of the hole. Once we headed his advice we were able to get them consistently working, now I’m just crossing my fingers they wont need any adjustments after we use them for a while.



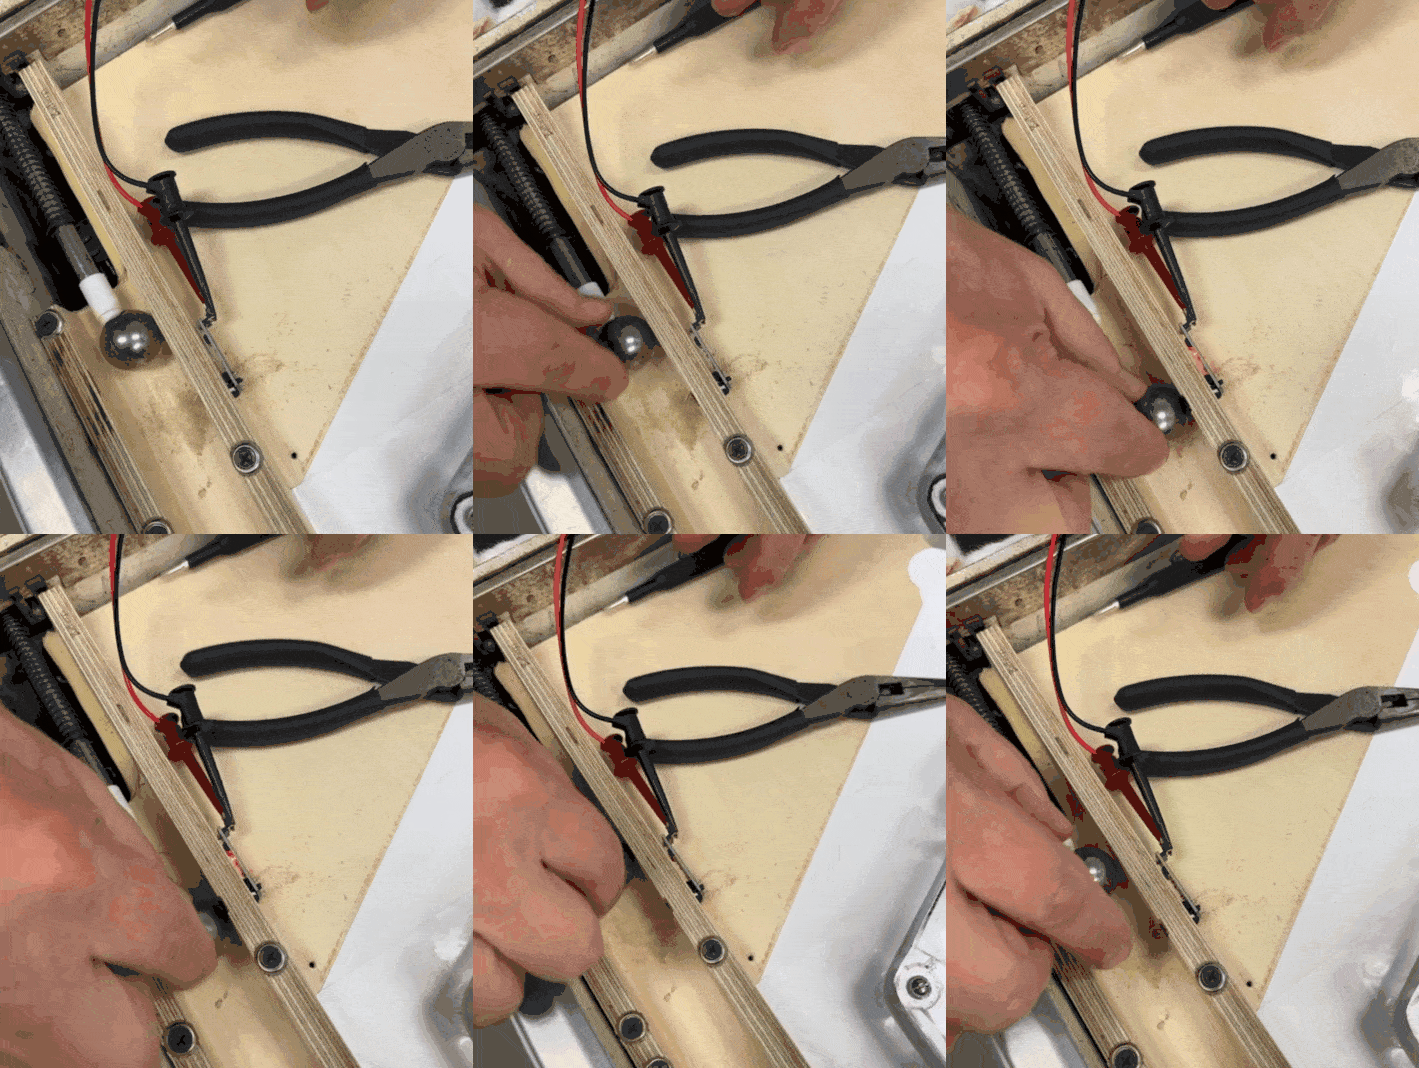
Apologies for this low resolution gif but here you can see the other kind of sensor we installed this week. Its a little laser. As you can see as the ball goes past it, it lights up and will send that information to our computer. We put one of these at the entrance of our playfield (just above the plunger) and one at the exit (just before the drain hole). It’s nice we were able to figure this out without the need of a roll over switch (the type we used for the pop-outs) since those require drilling a hole through the board. Our intention with adding these is to get information as to when players start rounds and also as they lose balls so we can add feedback to these moments.
Playfield Decals
Last week (see below) we found this cute construction tape to start designing our playfield with, and we were still in the process of making sketching our our final playfield design, but this week we have not only finished those sketched but also finalized them, printed them, and applied them to our cabinet!


Below you can see the iterations of our board design, from the beginning of the semester to what we did this week, we stuck with the factory aesthetic, but this time we really thought about how actual factories label and use lines to separate zones. We thought we could do that too for the different sections of our playfield. Using the measurements we put into Solidworks we drew directly over the playfield before scaling and exporting all of the drawings to 8.5 by 11 so we could print them on sticker paper.
The application went something like this, we covered the whole board using plain white sticker paper, before carefully laying down the second layer of colored stickers. We couldn’t be happier with the result! I’m sure you can also see we attached fur everywhere, we ordered these easter table runners off amazon and they are softer than we could ever hope for.


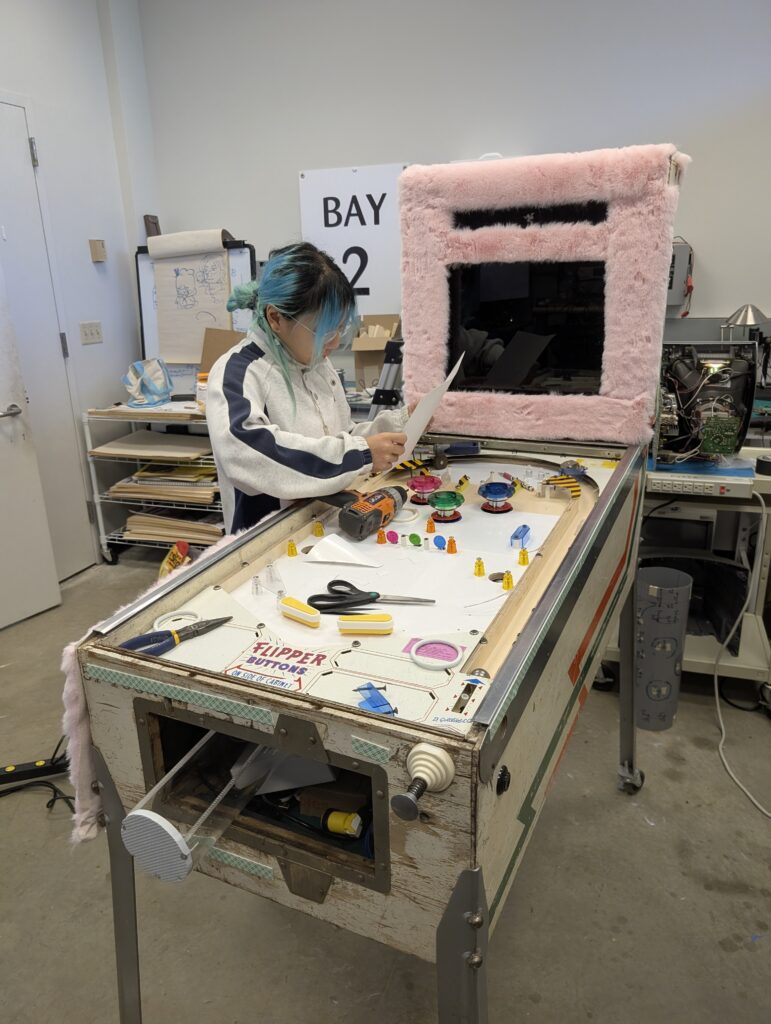


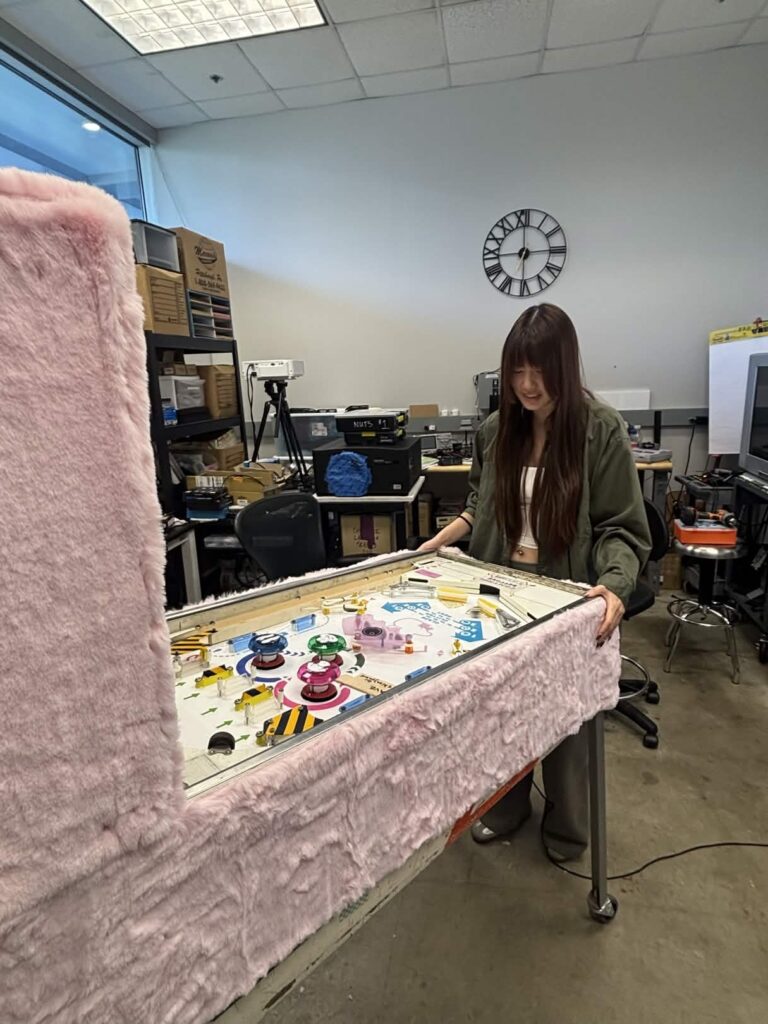


PS. One last thing we made was our ball catch (you can see it hiding inside the cabinet in the last image). It’s just a plastic tube for now but Dave is helping us mount it to the inside.