This week, the team was has officially started production. Last week we had gotten feedback on our design approach and was given clarity by the client. Our focus this week was implementing key components of our design and assessing scope related risk. In addition, we also conducted a 1-1 playtest to get an idea of how the children will interact with task we are presenting to them.
Playtest
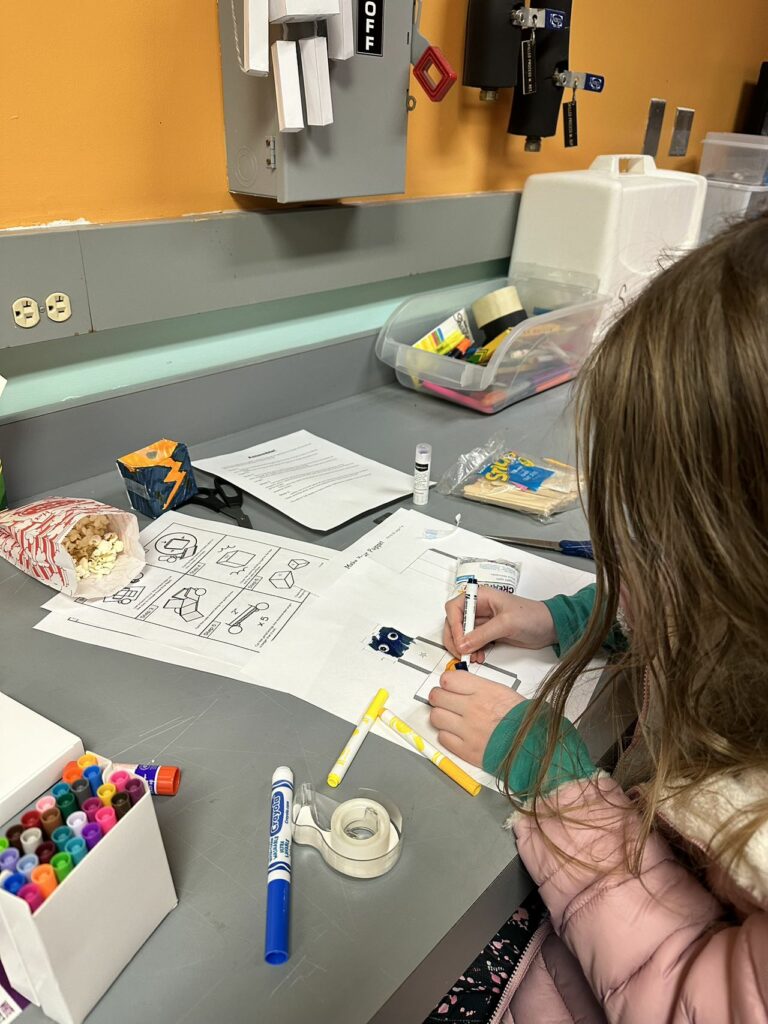
It was very unfortunate that we weren’t able to conduct our originally planned playtest last week. However it was still very crucial that we understand how children engage in the puppet making process. Therefore, we asked our professor Dave Culyba is we could do a playtest with his 10 year-old daughter Hazel. Hazel was up for playtest and we meet on Thursday afternoon to set everything up.
In our project the children will design the puppet within the software and then print out instructions for it’s assembly. We want this project to run in groups so we had one team member sit and help Hazel wherever she wanted. The goals for this playtest were to answer these questions about the template and design:
- How long does it take to assemble the puppets?
- Are the instructions easy to understand and follow?
- Which part is the most difficult? The most simple?
- How engaging is this activity?
- What assumptions about the puppet are made?
- Are the cube shapes enjoyable to make?
In the previous weeks, our artist and producers have work on creating the template below. We gave these sheets to Hazel along with a completed puppet for reference.
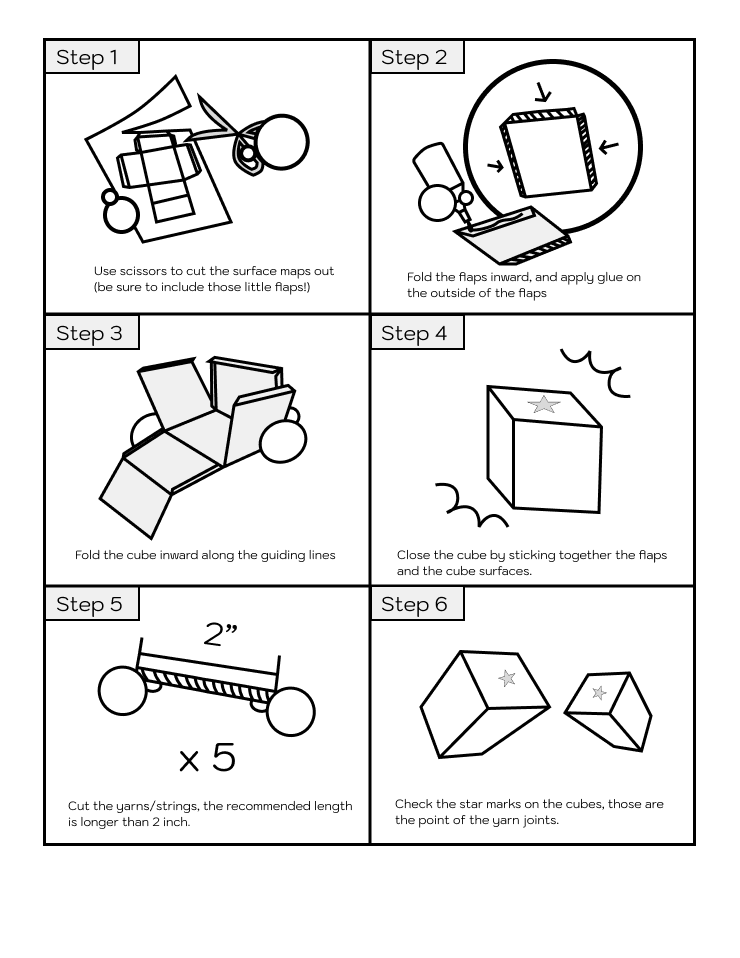
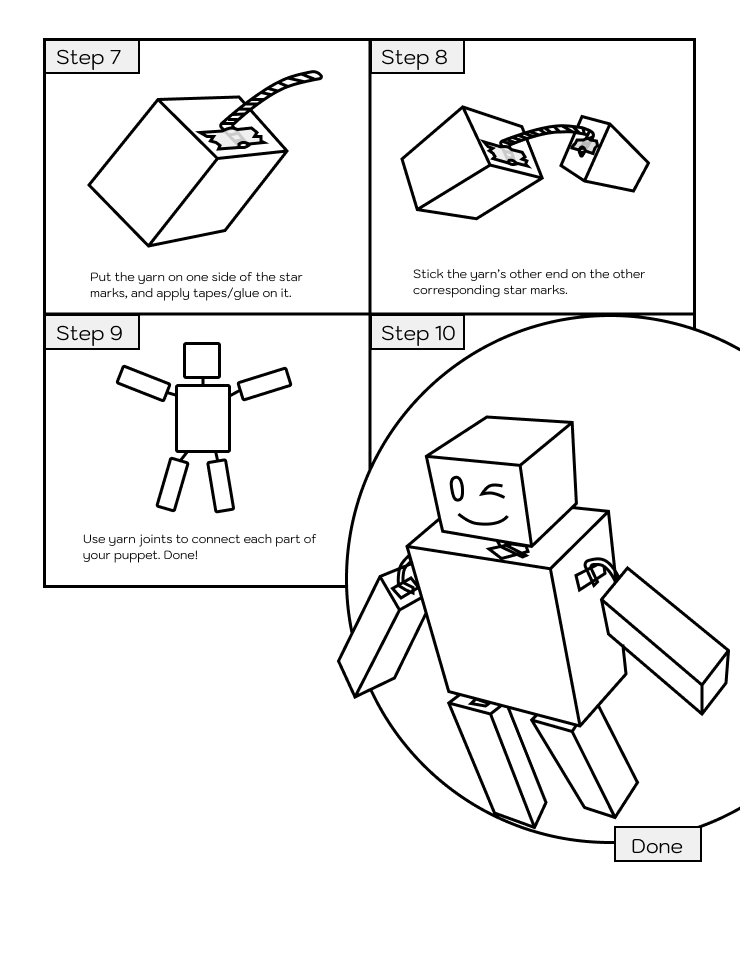
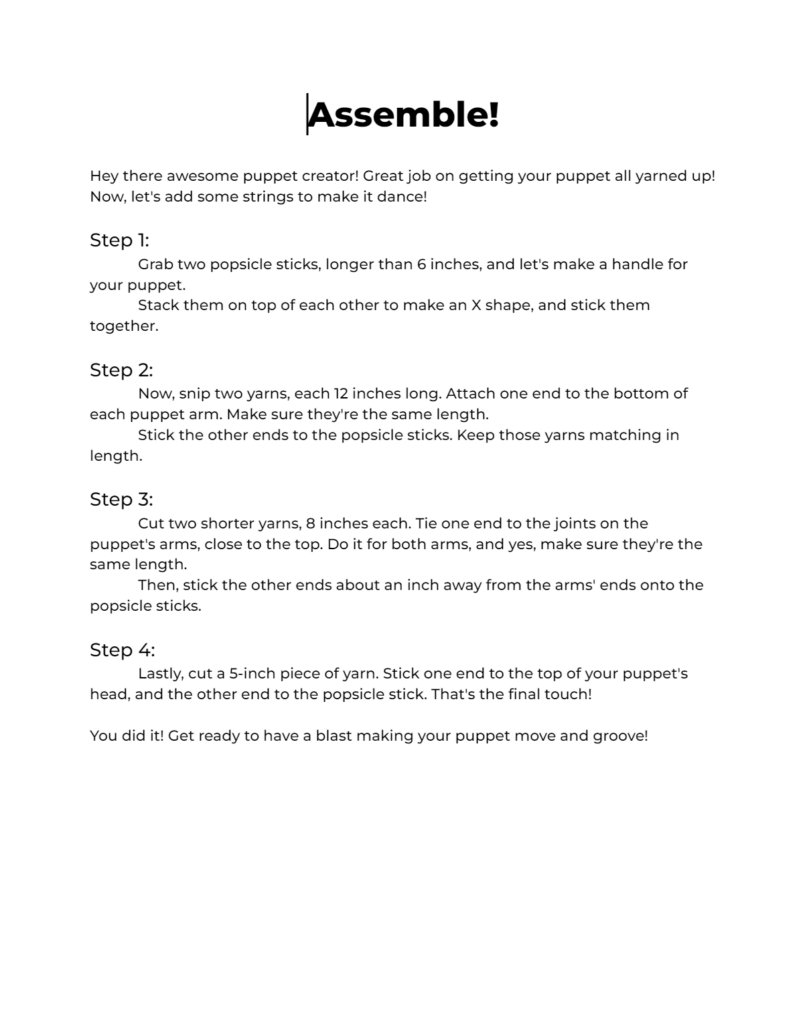
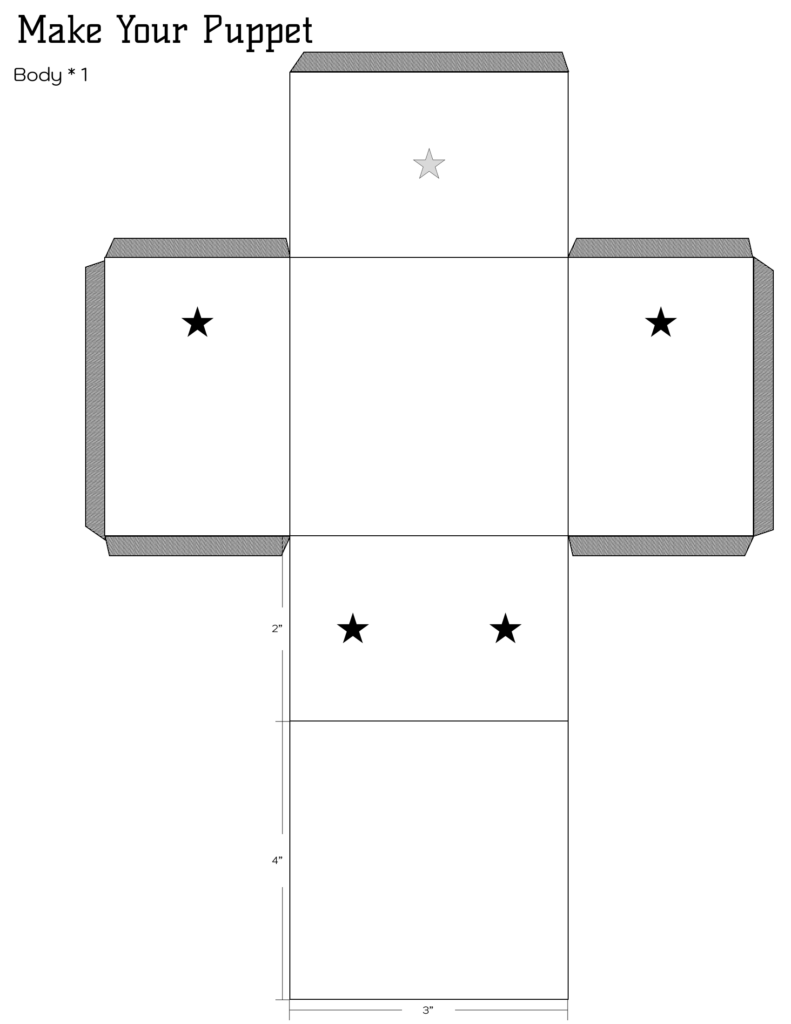
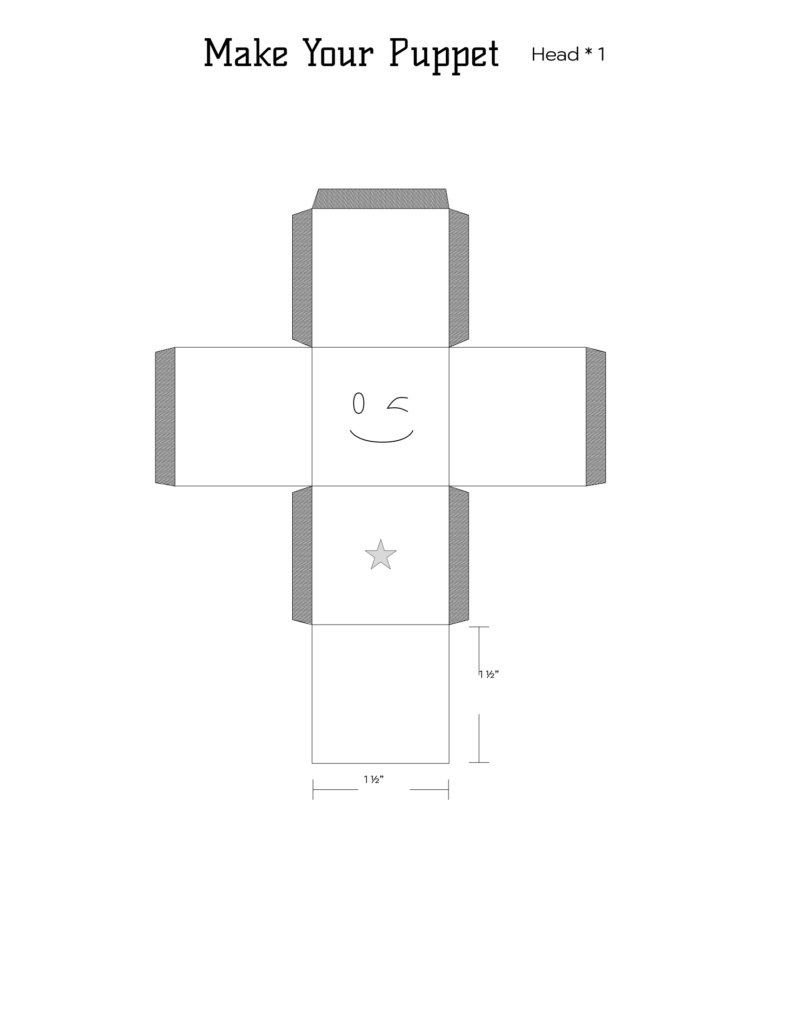
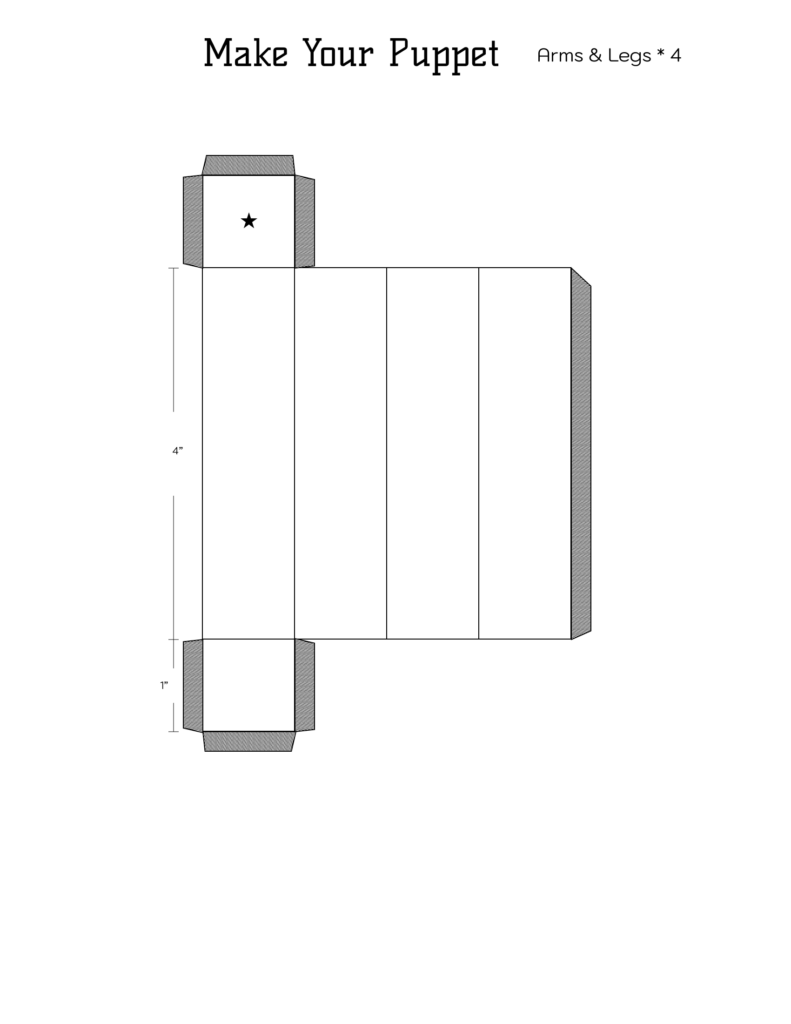
Our results from the playtest were overall very positive. Hazel was very engaged and excited to take her puppet home. We had originally given Hazel an hour and a half to complete the puppet and she did just that. We noticed that she mostly looked at the reference puppet for next steps rather than following the worksheet. When she did look at the worksheet, she was more successful with the pictured instructions than just words.
She had some difficulty gluing the tabs together when making the cubes and often opted to use tape instead. Taping the strings to the puppet was the easiest part for her. When we suggested other shapes like cylinders and cones, Hazel got very excited with the amount of choices.
When initially seeing the reference puppet, Hazel thought it was a robot and the made a robot puppet. This is an aspect our group can play more into.
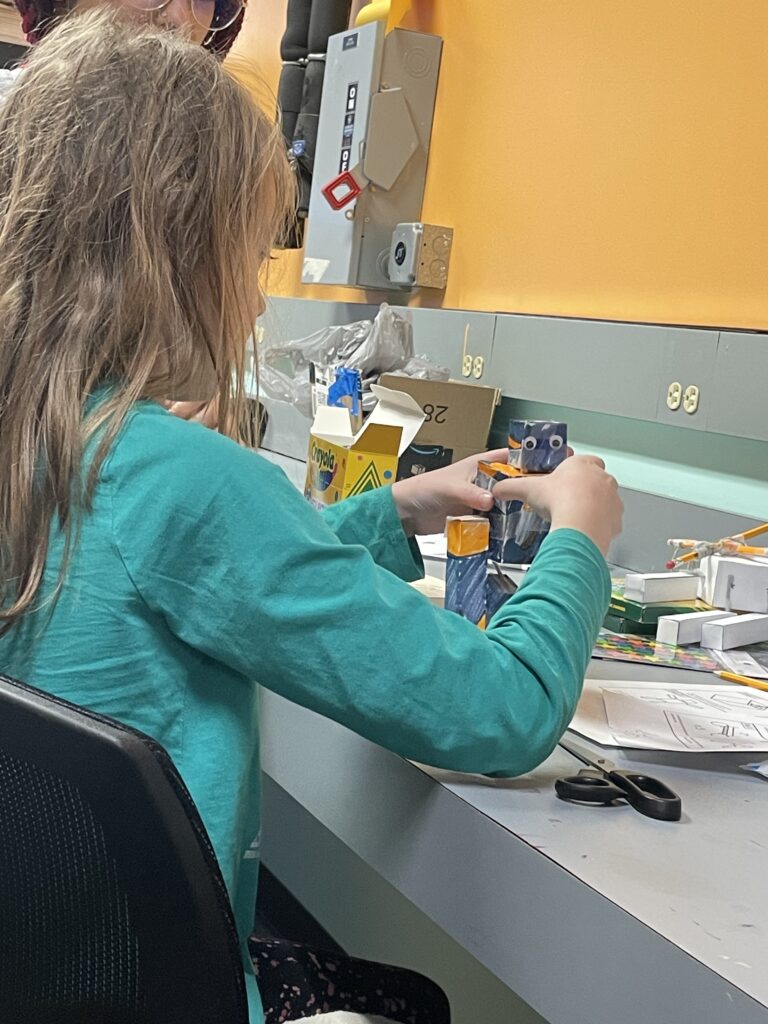
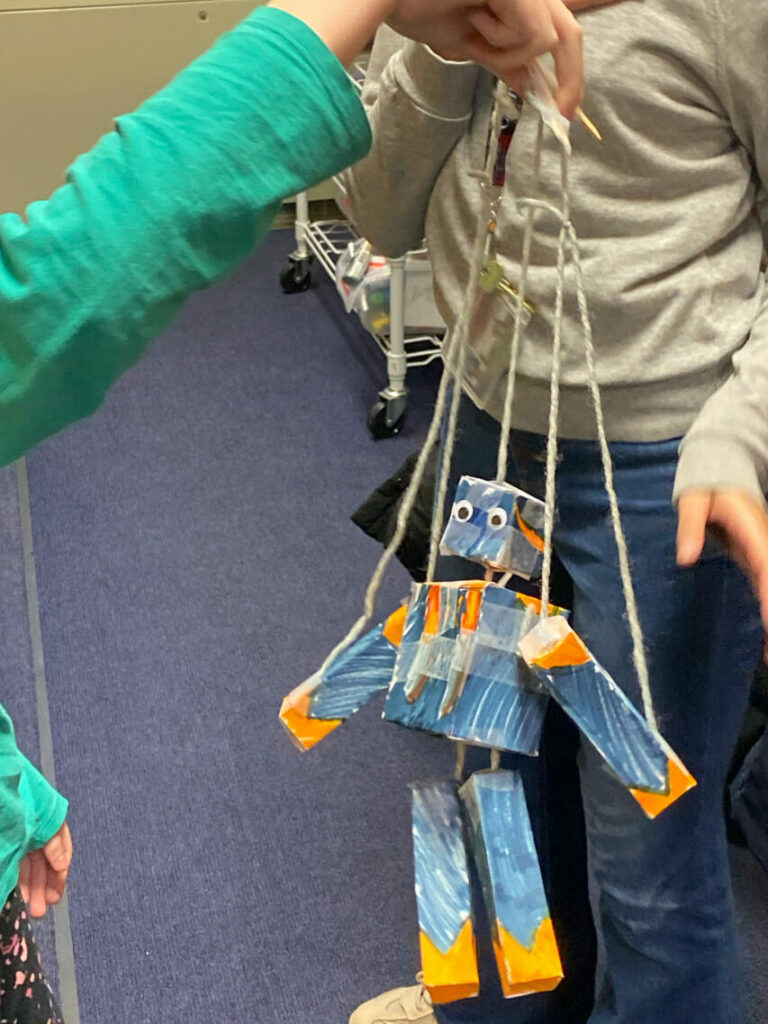
Now that we have an idea of what information the children need to make the puppet and what that process looks like, we can work more on the program itself.
Core Mechanics and UI
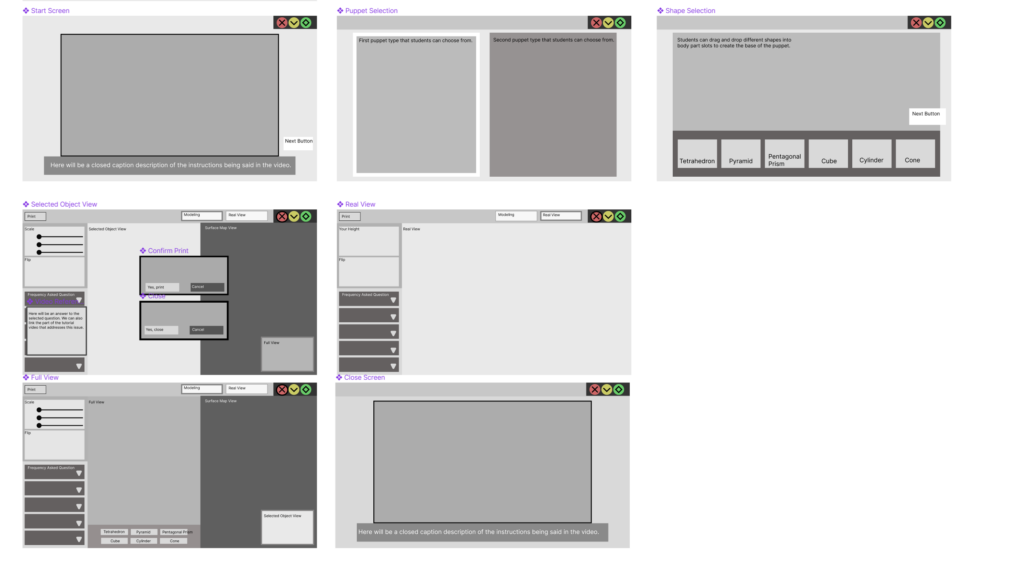
For our first prototype, we want to have the all the core mechanics and screens implemented; selected object view, full puppet view, real-size comparison view, and surface map view. (We will also need a QnA section, opening and closing screen. )Students should be able to assign different shapes for each puppet part, flip and scale the parts, and finally print out the template of their design. The producers have been working on the UI wireframe so we can organize the mechanics as the programmer implement them. As of now, 50% of the prototype is complete and the grey-boxed wireframe has been presented to the group.
Character Design
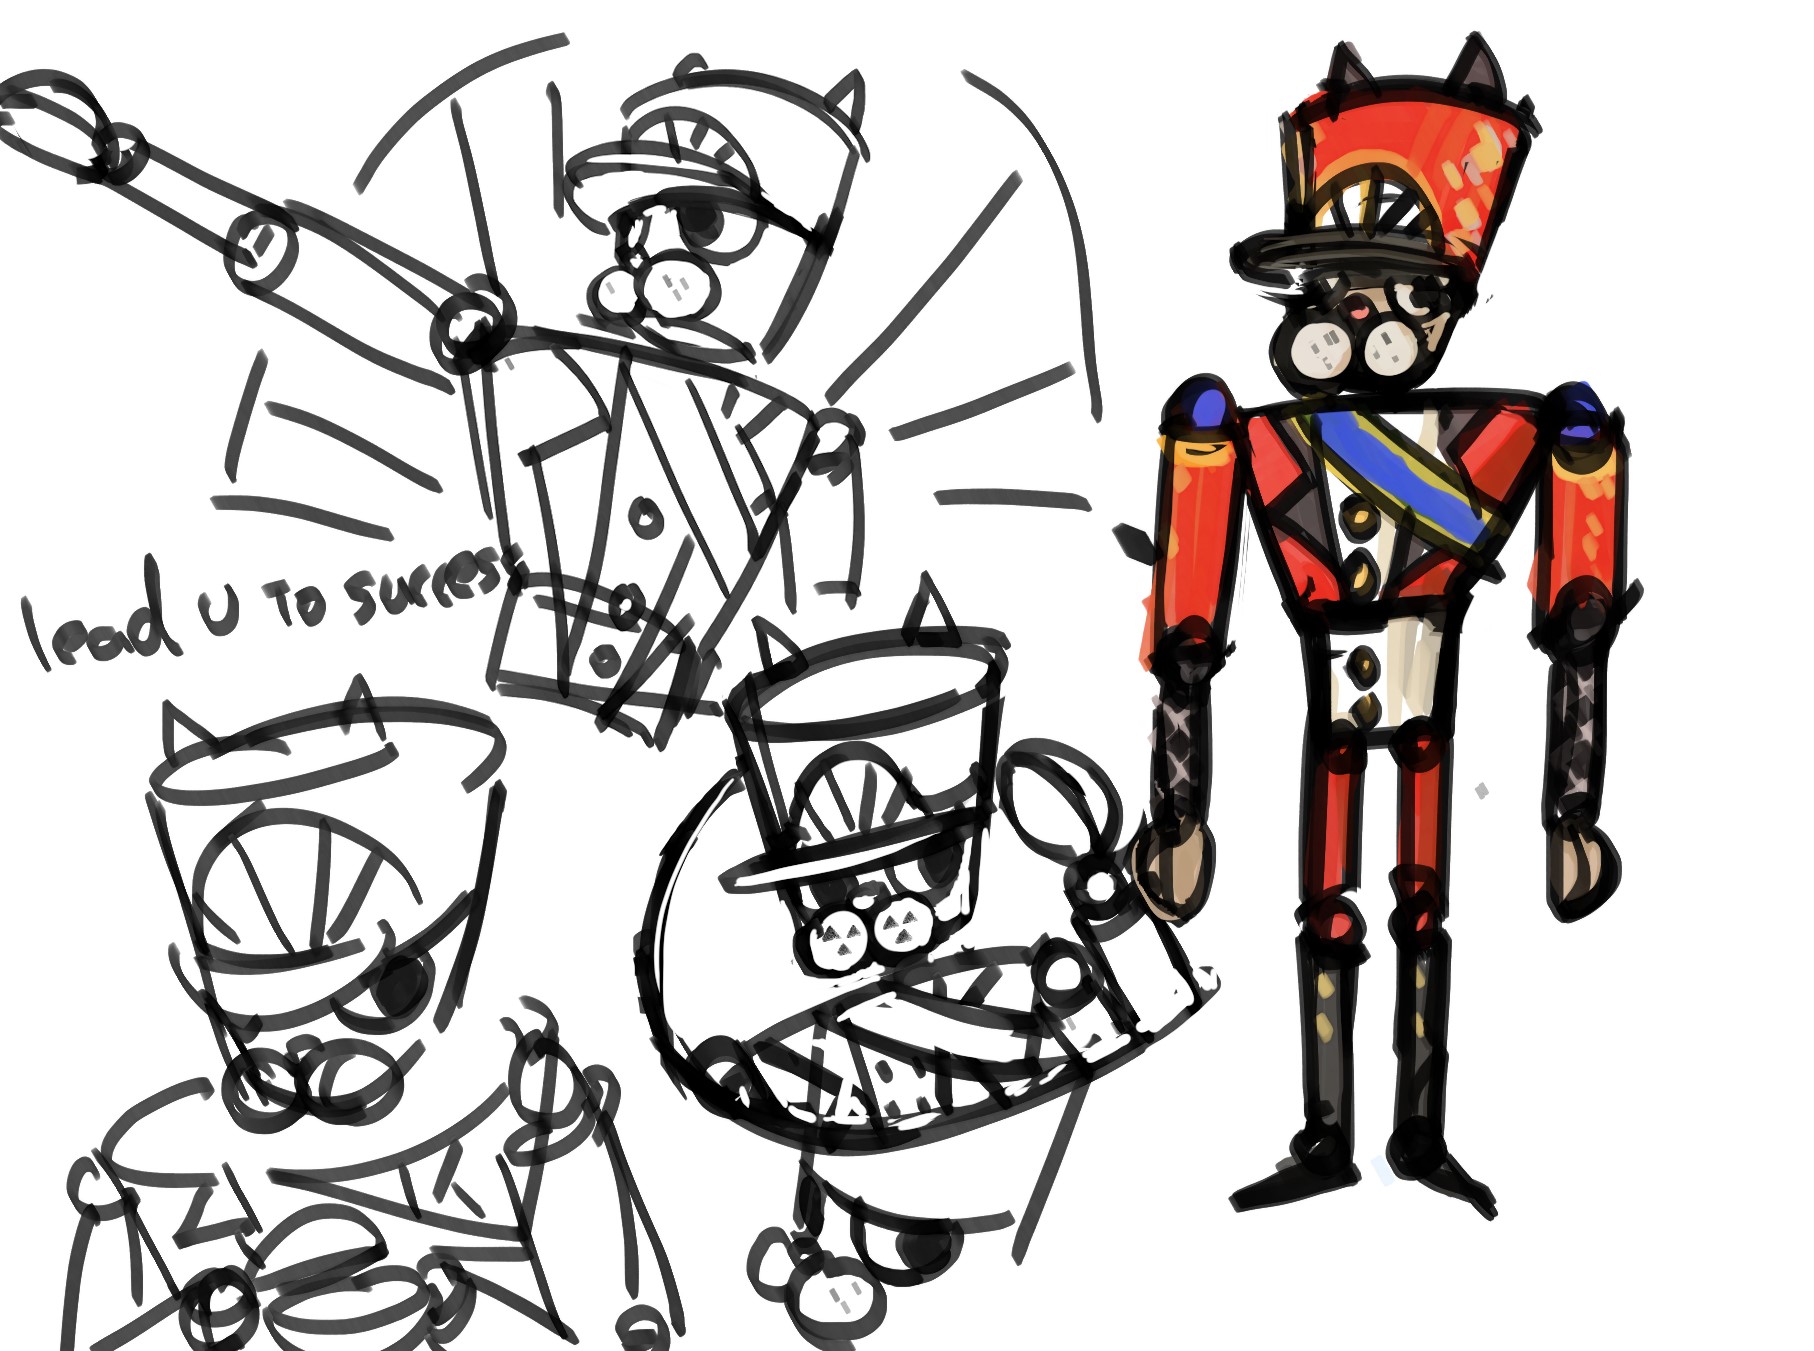
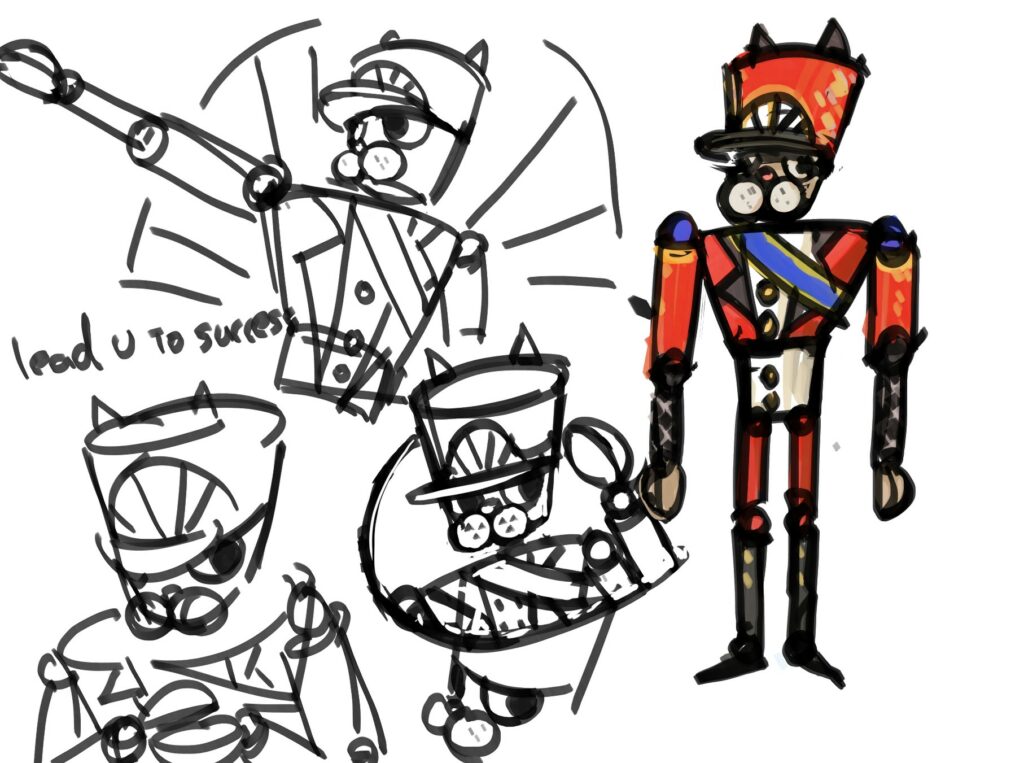
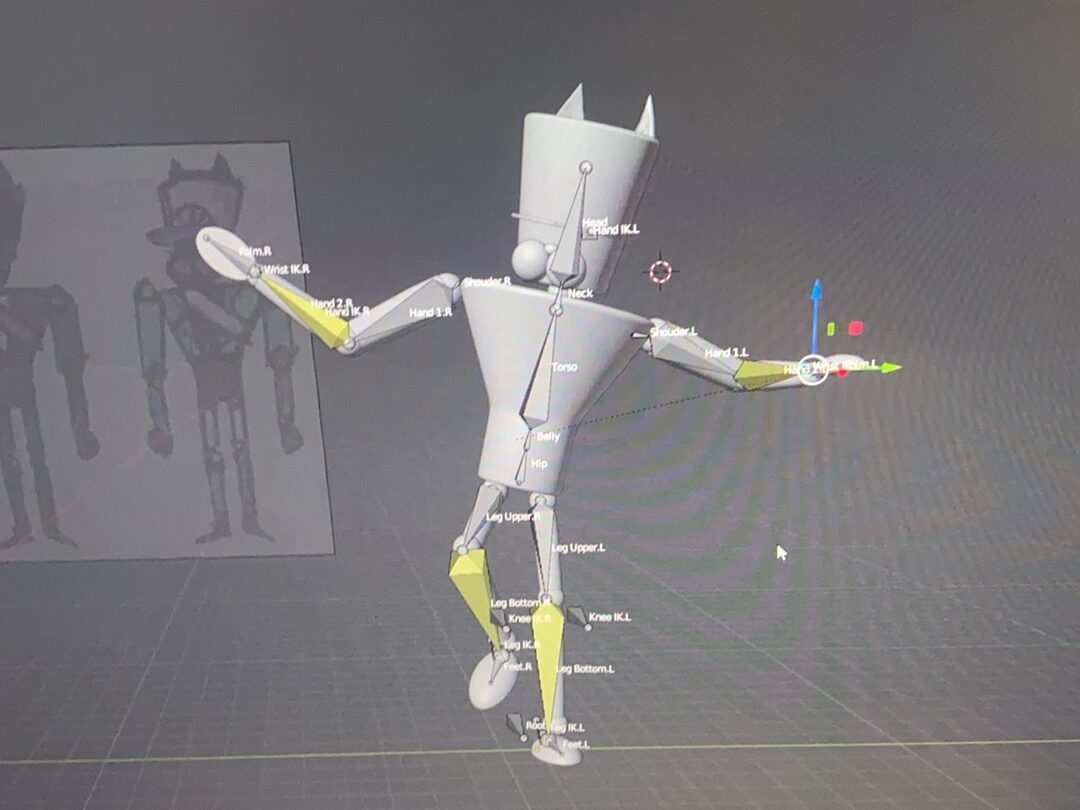
As the programmers begin to create our first prototype, the artist are working on our tutorial character and the world they live in. Below we have a wooden solider cat puppet that will be the puppeteer director. They will lead the children through the tutorial that shows how to make a tiny cat puppet.
Next Steps:
By next Friday, we would like to a completed first prototype with core mechanics built and the grey-boxed UI implemented. We are also want to build a paper prototype to test the UI and create a script for the tutorial video.
